


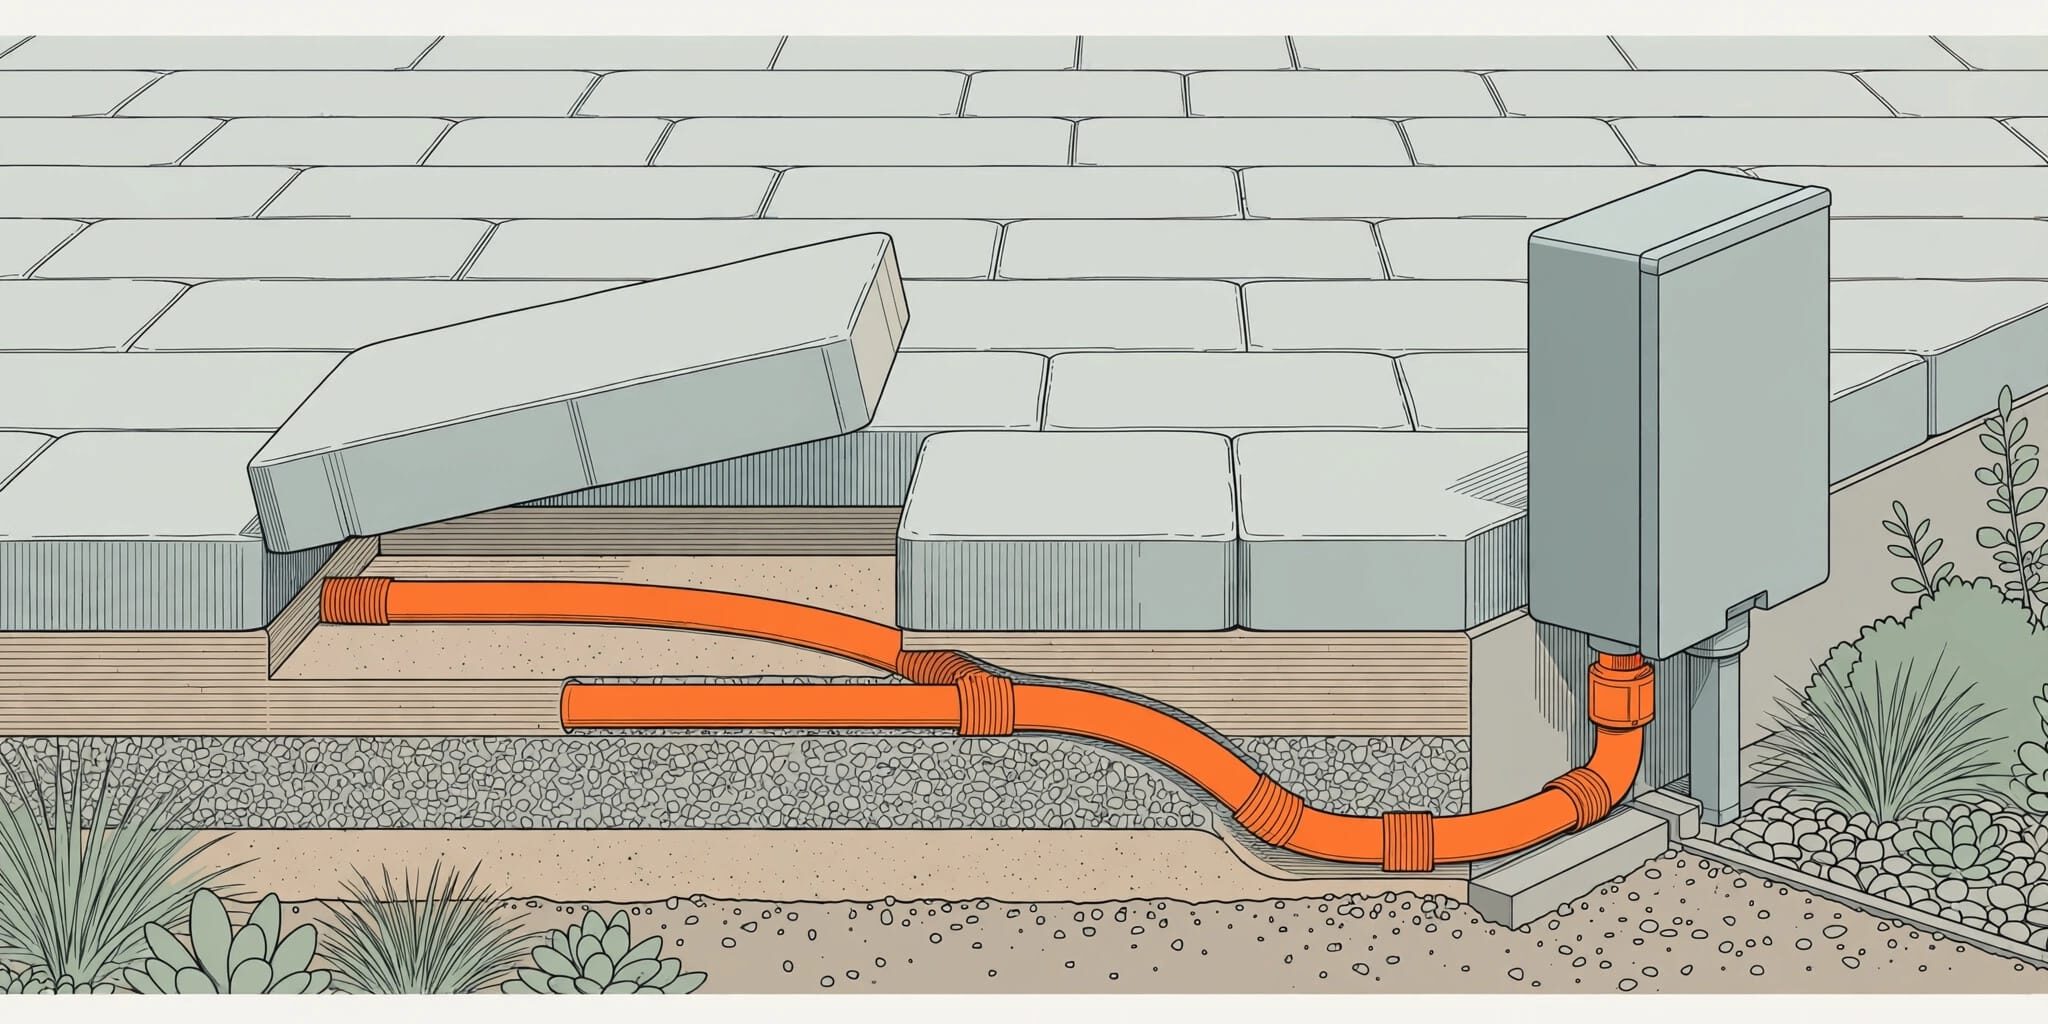
A new paver patio can look perfect until you need to open an outdoor electrical box buried behind its edge. I plan for safe access before anyone starts digging or setting stone.
The electrical work and paver work have to fit together. The underground raceway needs the right protection, the box needs a suitable location, and the paver base must stay firm around both. Here’s how I plan that work so the finished patio looks clean and can still be serviced.
Plan the outlet before digging
Decide what needs power and where you’ll use it, then plan power distribution around those needs. An outlet for a seating area may work well at the patio edge. A flush power unit in the middle of the pavers is a different project, with more demanding enclosure and drainage decisions.
Mark utilities and agree on the electrical scope
Before excavation, I recommend contacting Sunshine 811 to have participating underground utilities marked. Plan the conduit route before excavation. Check pool equipment lines, irrigation, landscape wiring, and private electrical lines, too; a utility locate may not identify every private line.
Ask a licensed electrician to confirm the circuit protection for a gfi outdoor circuit, outlet location, permit requirements, and inspection timing. If you’re adding line-voltage power, don’t let the paver crew close the trench before the electrical work is approved. That conversation belongs at the beginning, when moving the electrical route is still simple.
Set the finished grade first
I mark the patio’s final height, drainage direction, and box location together. A box placed against unfinished soil can end up too low once the aggregate, bedding, and pavers are installed.
For a rectangular patio, a 3-4-5 triangle helps establish a square corner: measure three units along one layout line and four along the other. Adjust until the diagonal between those marks measures five units. It’s a simple check that keeps cuts around a straight-sided box from looking crooked.
Choose an electrical enclosure that fits the patio
The right enclosure depends on where it sits, how wet it gets, and whether people will walk over it. I don’t treat a standard wall-mounted weatherproof box as a flush patio box.
An outlet beside the pavers is often simpler
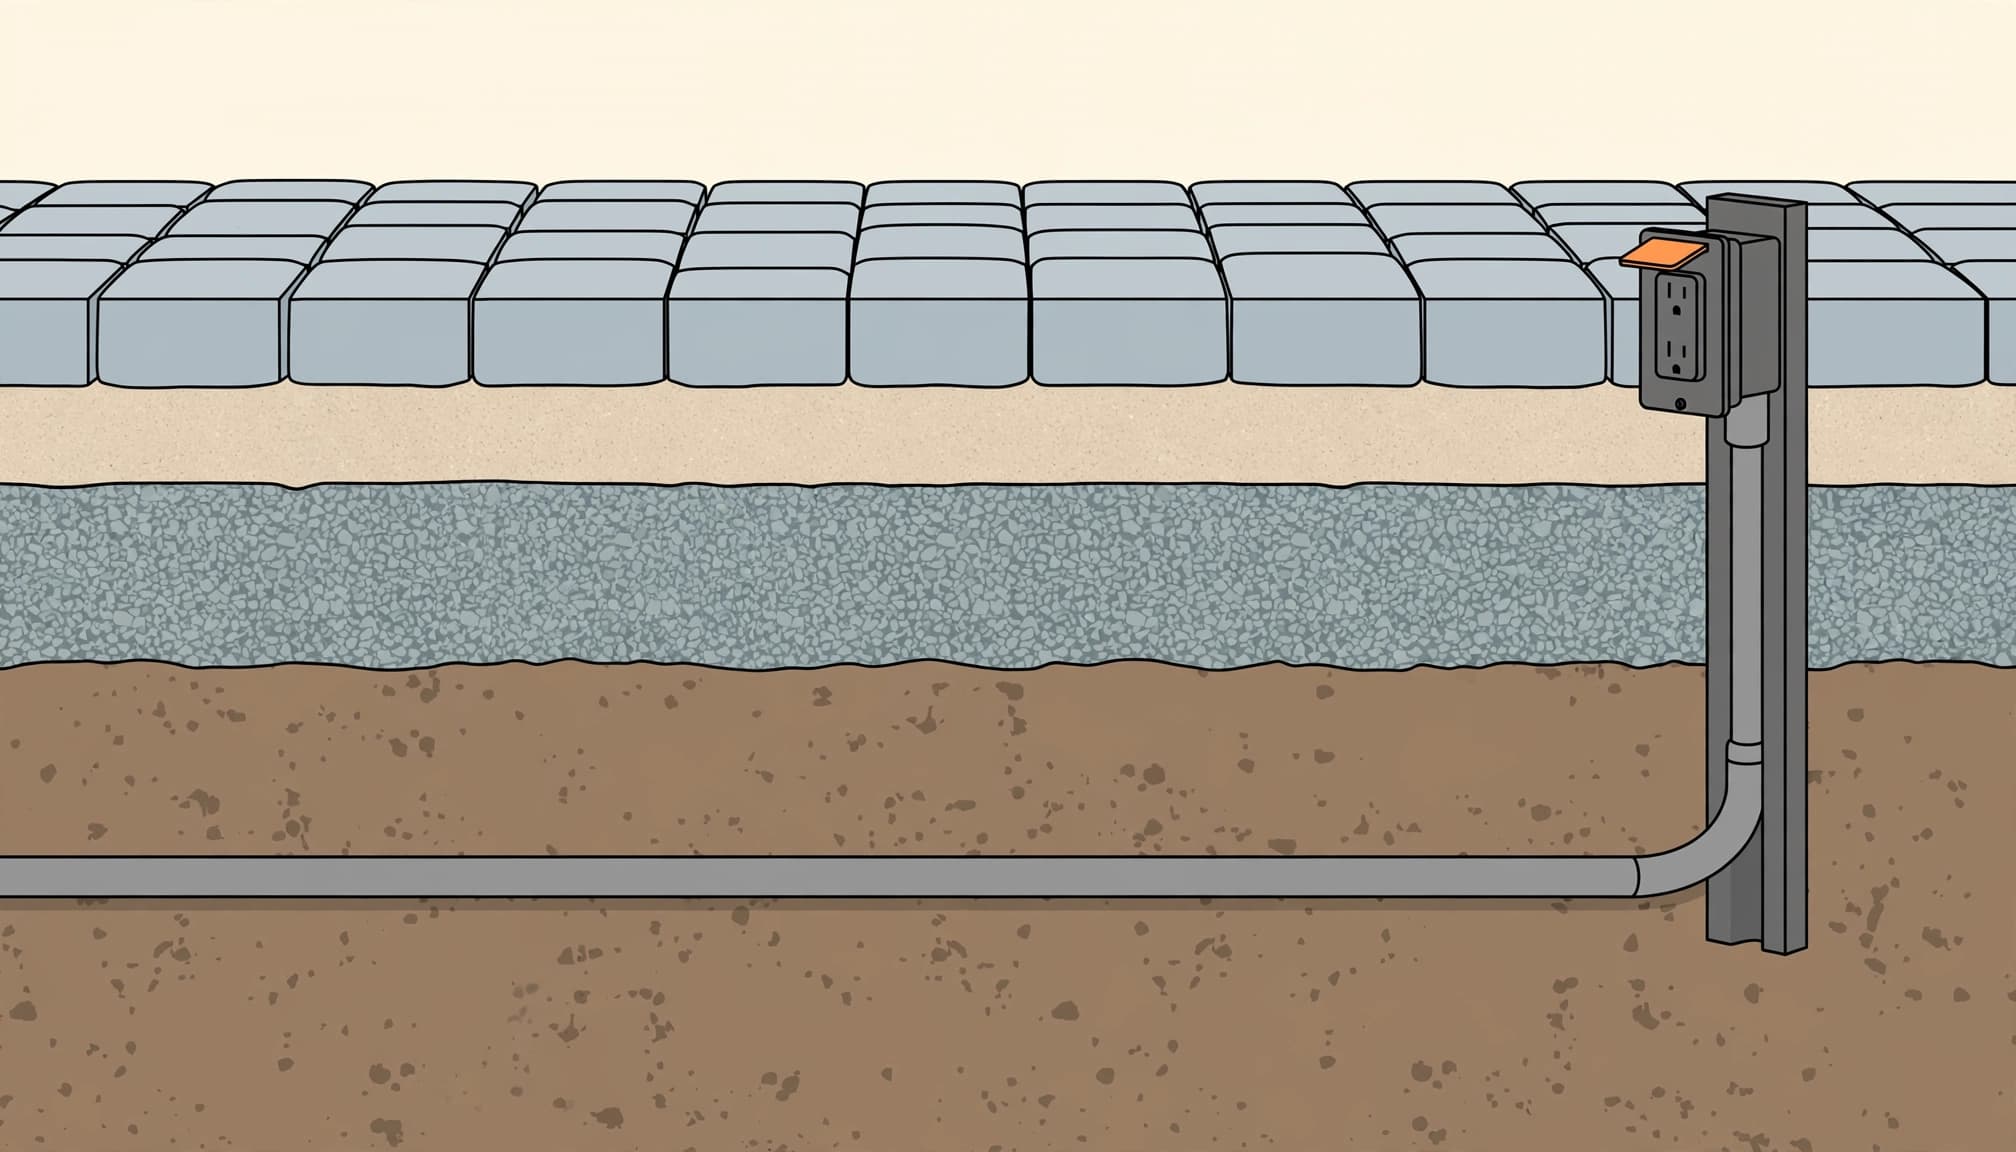
A weatherproof outlet on an appropriate post or nearby structure is accessible without lifting pavers. It also keeps plugs and power cords away from the walking surface. The electrician should select the electrical components, including the box, receptacle, and cover, for the exposure. Outdoor receptacles need suitable covers and ratings, including an in-use cover where required.
This is often my first choice for a residential patio. You get power where you need it, and future electrical service won’t require opening the middle of the hardscape. The post still needs a stable installation and a clean paver transition around its base.
Flush power needs a purpose-built unit
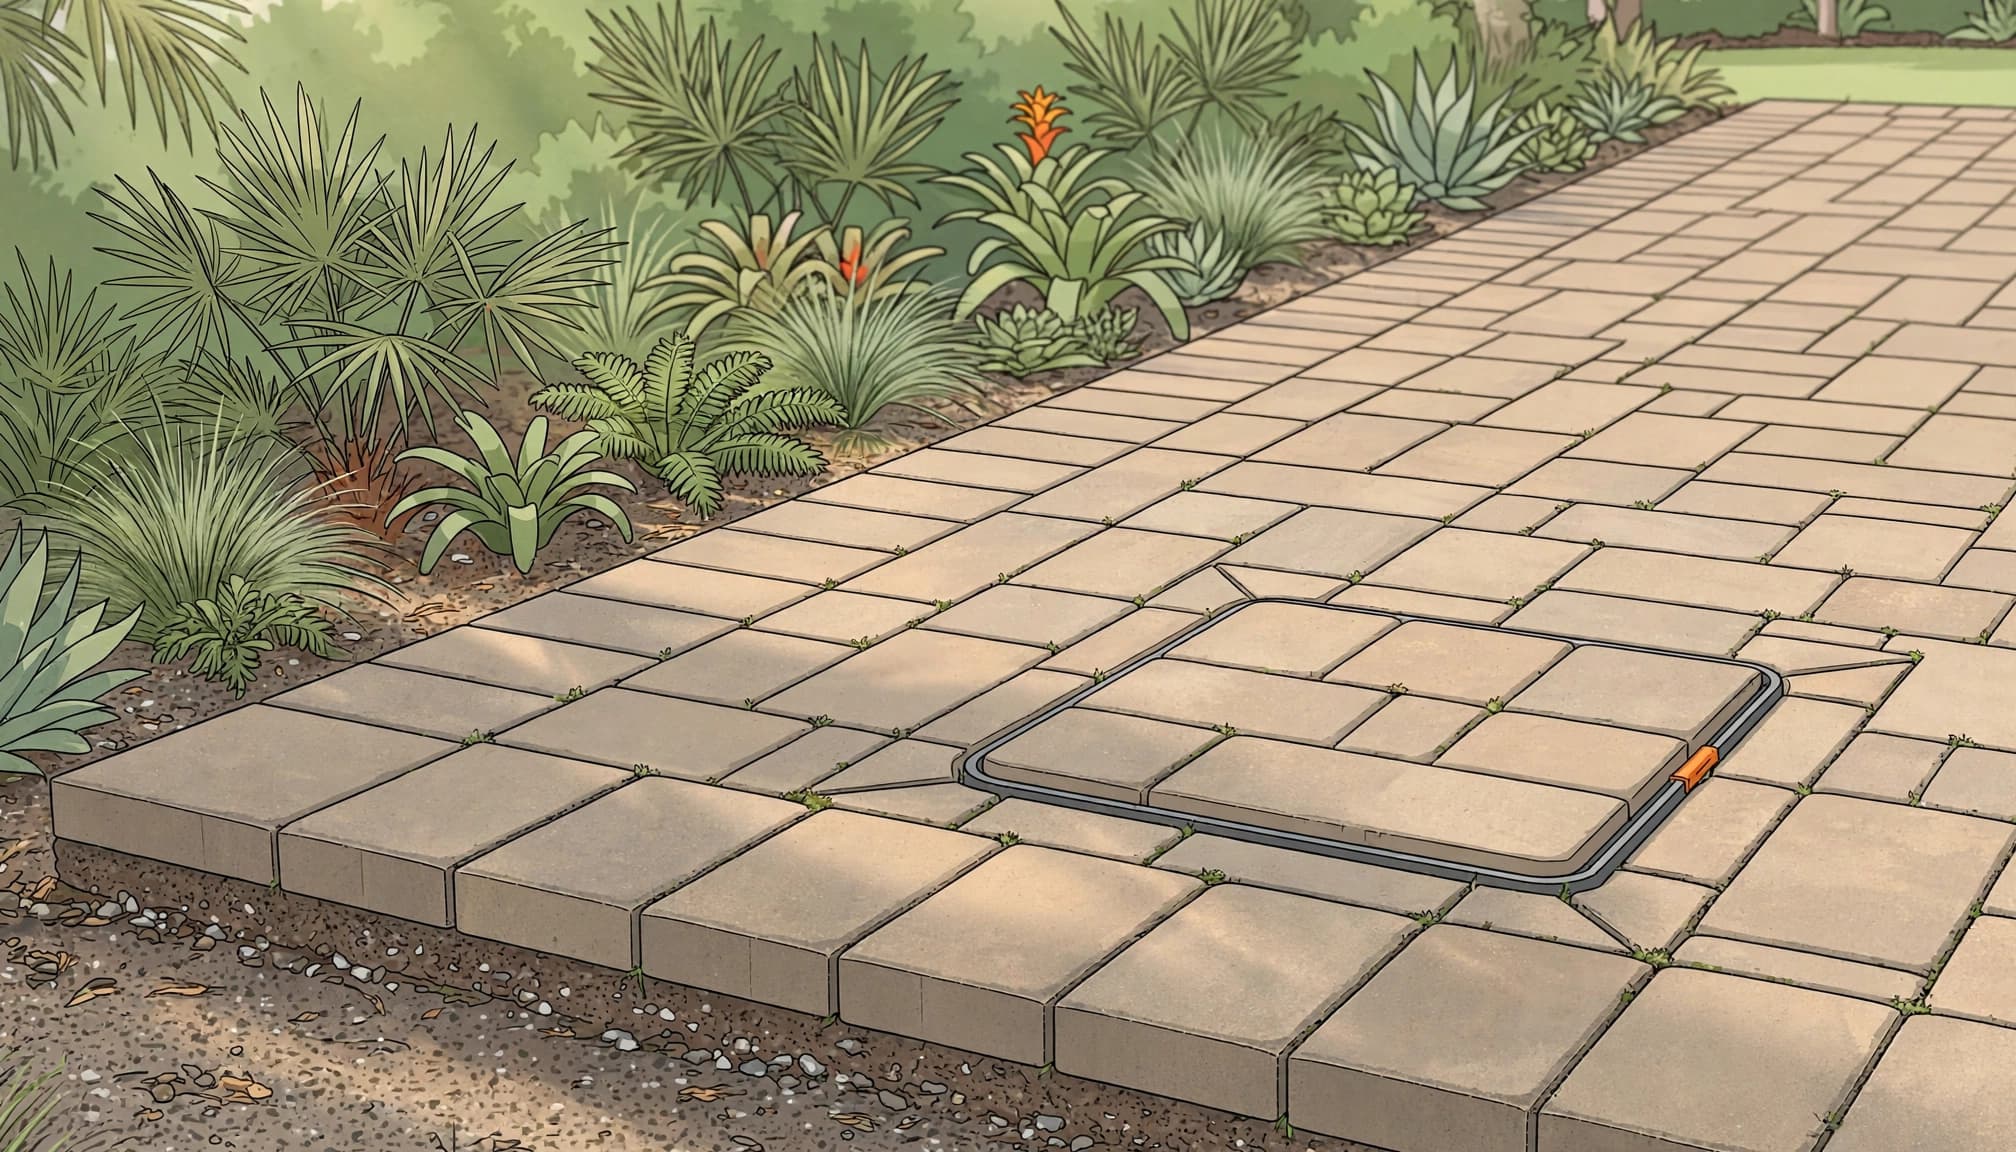
If you need an outlet within the patio, ask about an in ground power unit designed for that use. Purpose-built outdoor power units are different from ordinary boxes, and the complete assembly, including its cover, must be listed for the location and expected load.
Have the electrician check the product’s listing and installation instructions. Check its finished height and service access with the paver installer. A recessed lid that collects rainwater or cannot open after joint sand is added is a poor result, however neatly it blends into the pattern.
Run conduit beneath the patio the right way
I want the electrical run settled before the base goes down. Cutting a channel through a completed patio can disturb compacted aggregate, leave unsupported pavers, and make later repairs more expensive.
Confirm burial cover, not a guessed trench depth
Burial depth is an electrical-code decision. NEC Article 300.5 addresses underground wiring methods, and the required cover is measured from the top of the raceway or cable to the finished surface. The NFPA overview of NEC Article 300 explains why the wiring method matters.
You may see 18 inches cited for a PVC raceway in a general yard location. A 12-inch provision can apply to certain GFCI-protected residential circuits, while other locations require more cover. Those numbers aren’t a blanket rule for your patio. As the outdoor wiring depth summary shows, conditions change the answer. A driveway crossing deserves separate review.
Protect transitions and keep connections accessible
A common choice is schedule 40 conduit, but the electrician must specify the wiring method and fittings for your installation. Place the raceway below the paver base at the approved cover depth, not in leveling sand where a future repair could strike it.
Movement matters where a buried raceway rises into a fixed structure or enclosure. An electrician can determine whether an expansion fitting or another approved detail is needed at that transition. Keep junctions in approved, accessible boxes. I would never bury a service connection inside the compacted base simply to hide it.
How to install pavers around electrical boxes safely
Once the electrical route is installed and any required inspection is complete, the hardscape work can proceed. I coordinate the box elevation with the electrician before rebuilding the surrounding area, because correcting its height after the patio is finished means taking good work apart.
Rebuild the excavation in compacted layers
Remove unstable soil around the trench and box. Then rebuild the specified aggregate base in manageable lifts, compacting each one. Loose backfill beside a rigid enclosure will settle, and the pavers will show that movement later.
A patio excavation has to accommodate the paver thickness, bedding layer, and appropriate compacted base. Three inches is not a universal excavation depth. Soil, traffic, drainage, and the chosen paver system all affect the cut. I explain those variables in our guide to how deep to excavate for pavers.
Don’t use extra leveling sand to fill a low spot over the conduit trench. Bedding sand sets the pavers, but it doesn’t replace structural support. Keep compaction equipment clear of any enclosure parts that its manufacturer says must be protected.
Hold the right height around the box
The enclosure’s approved installation details control its placement. Check that its lid opens, drains as intended, and remains reachable after the pavers are installed. I set the surrounding base and bedding to the planned grade rather than forcing the last few pavers to meet a box at the wrong height.
Water should move away from the house and shouldn’t collect at an outlet post or recessed cover. In Southwest Florida, I check downspouts, irrigation spray, and existing low areas before calling the grade finished. Our Florida paver installation timeline shows where drainage checks and inspections fit in the larger job.
Cut and finish the pavers without losing support
The last few pieces around a box get the most attention because every uneven joint shows. Good cuts matter, but support under those cuts matters more.
Leave room for the enclosure to work
Dry-lay the nearby concrete pavers and check the pattern before cutting. I avoid narrow paver blocks beside a box; they’re harder to support and more likely to shift. If the layout creates weak pieces, adjusting the pattern or border usually gives a better finish.
Use a suitable paver saw and follow its safety instructions. Cut to the enclosure’s required clearance, not so tightly that pavers interfere with its cover or maintenance. The box should never depend on loose paver pieces to hold it in place.
Finish the border, then check the lid again
Screed a consistent layer of leveling sand over the firm base, set the pavers, and complete compaction and joint filling as the paver system requires. Keep joint material out of the electrical enclosure and its moving parts.
I check the cover one more time after the surface is finished. It should open without scraping the pavers. Look across the patio for dips around the trench, and walk the edge to catch any rocking pieces while they’re still easy to correct.
Keep the box accessible through Florida rain
After heavy rain, inspect pavers around electrical boxes for standing water, washed-out joints, or sinking along the route. Check whether a downspout or sprinkler is directing water toward the area.
If the pavers begin to settle, adding leveling sand to the visible dip won’t repair a weak or washed-out base. I lift the affected pieces, find the problem, and rebuild the support before resetting them. The same principle applies when fixing sunken pavers and the underlying base elsewhere on a patio.
Keep soil, mulch, edging, and other materials from burying the box or blocking its cover. Leave enough clearance to open and service it. Contact the utility or a licensed electrician if the box needs relocation, alteration, or electrical work, and don’t attempt to repair damaged or water-affected equipment yourself. Paver cleaning and sealing can wait until the electrical equipment is safe and accessible.
Key Takeaways
- Plan outlet placement, finished grade, and the electrical route before excavating the patio.
- Ask a licensed electrician to confirm burial cover, enclosure suitability, permits, and inspections.
- Keep conduit below the approved paver base, and rebuild disturbed soil in compacted layers.
- Use a flush unit only when the complete assembly suits the location and remains serviceable.
Frequently Asked Questions
Can an outlet box sit directly beside a paver patio?
Yes, an appropriately installed weatherproof outlet can sit on a post or suitable nearby structure. Its cover and receptacle must match the outdoor exposure. I prefer a location that keeps cords out of walking paths and leaves enough room to open the cover.
Can I place an ordinary weatherproof box flush with pavers?
I wouldn’t assume so. A wall-mounted outdoor box and an in-ground power unit are built for different installations. Ask the electrician to verify the complete unit’s listing, installation instructions, exposure rating, and suitability for foot traffic before selecting the pavers around it.
How deep does conduit need to be under pavers?
There’s no single depth that applies to every patio. The wiring method, circuit, location, and locally adopted code determine the required cover. The NEC minimum cover requirements are the starting point, but your electrician and local building department should confirm the applicable requirements before the trench is covered.
Can I add an electrical outlet under pavers to an existing patio?
It may be possible, but lifting pavers and cutting through the base creates repair work. The route still needs approved burial cover and an enclosure you can access. Sometimes an outlet beside the patio is the cleaner choice. Direct-burial cable and raceway also have different requirements, as this outdoor buried wiring guide explains.
Build a patio that stays safe and serviceable
A good-looking patio shouldn’t hide a box you’ll need to open later. I plan the electrical location, drainage, and firm paver base together so the surface stays attractive and the power remains accessible.
If you’re planning a patio around existing power or adding a new outlet, Get a Free Quote for a free consultation and estimate. We can plan the paver work around the electrician’s approved installation.