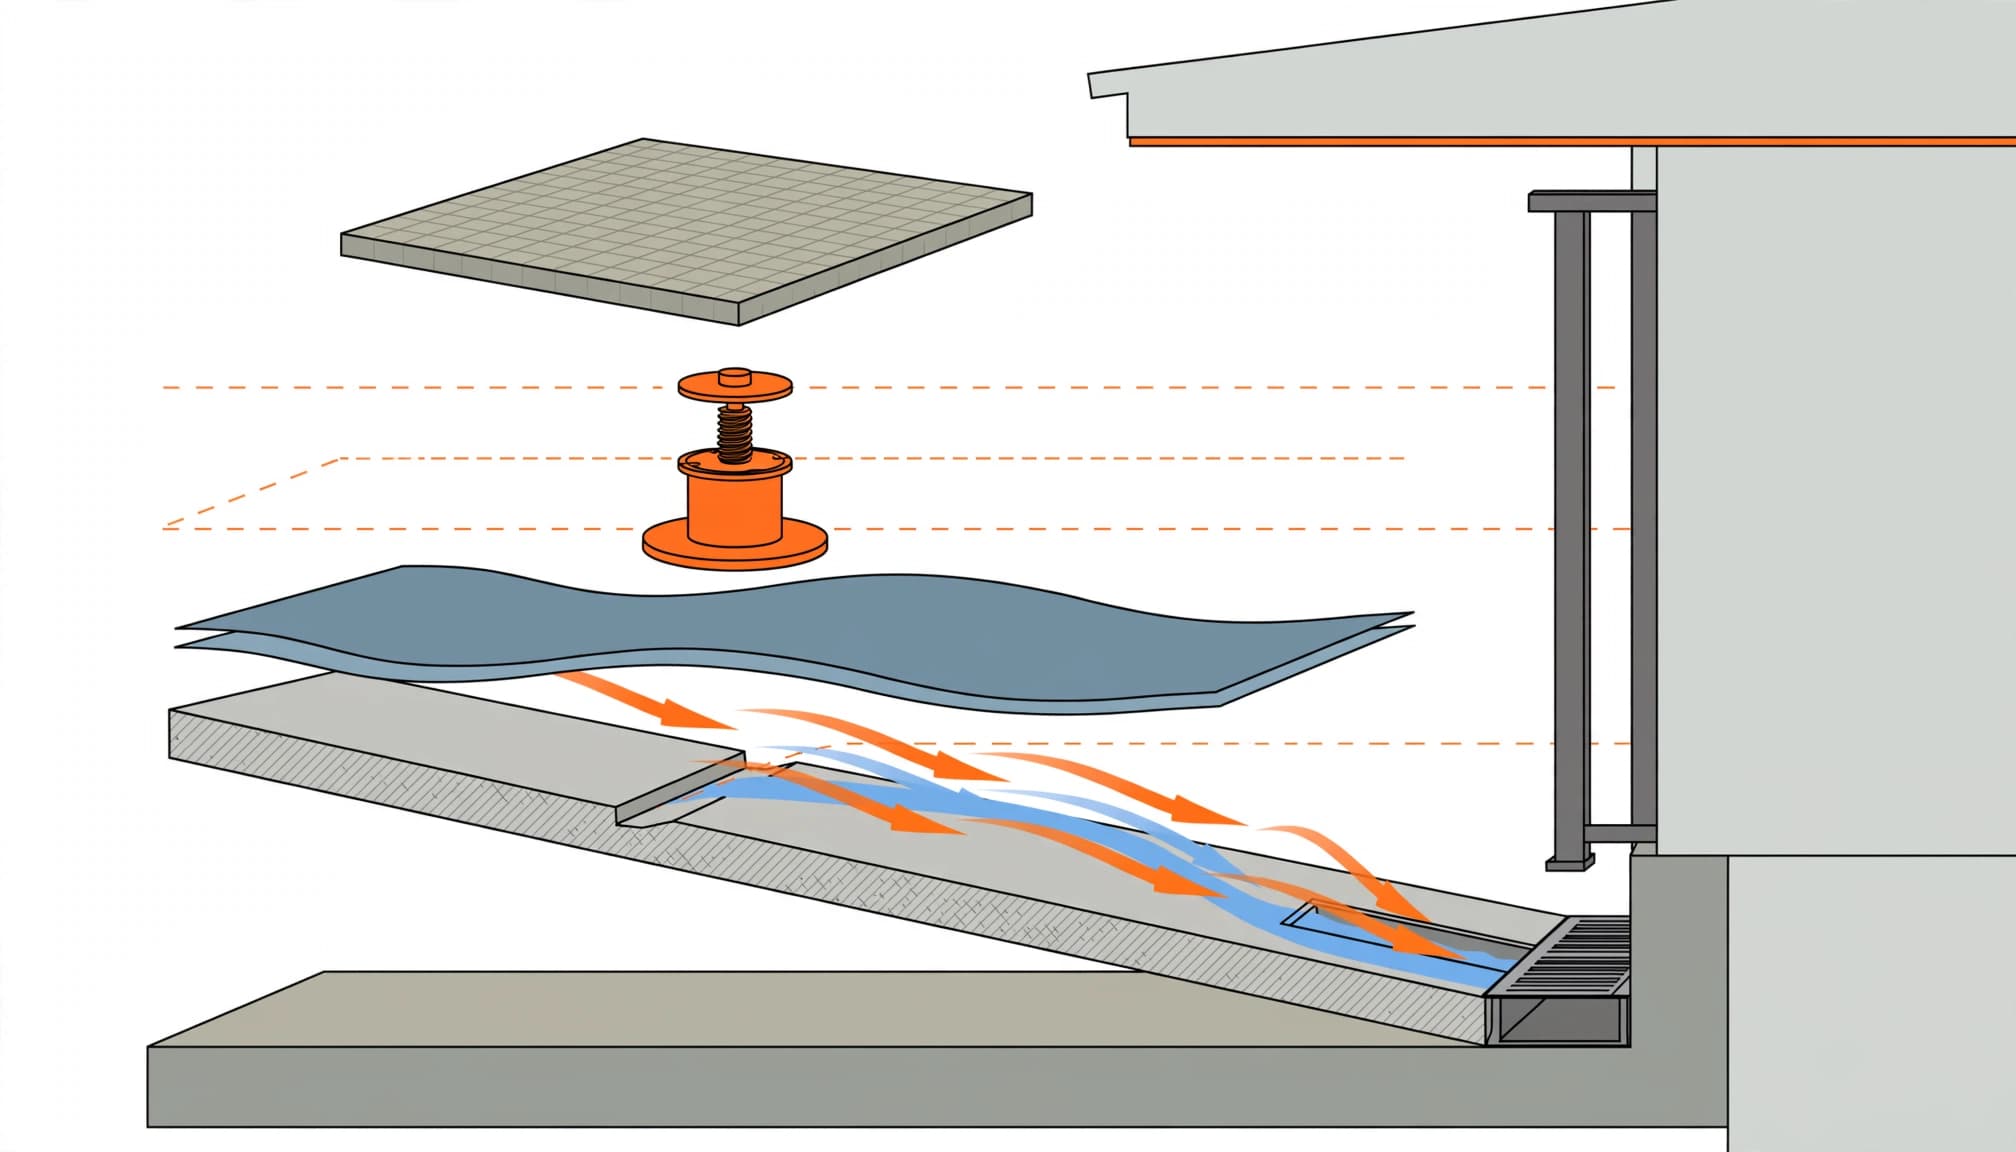
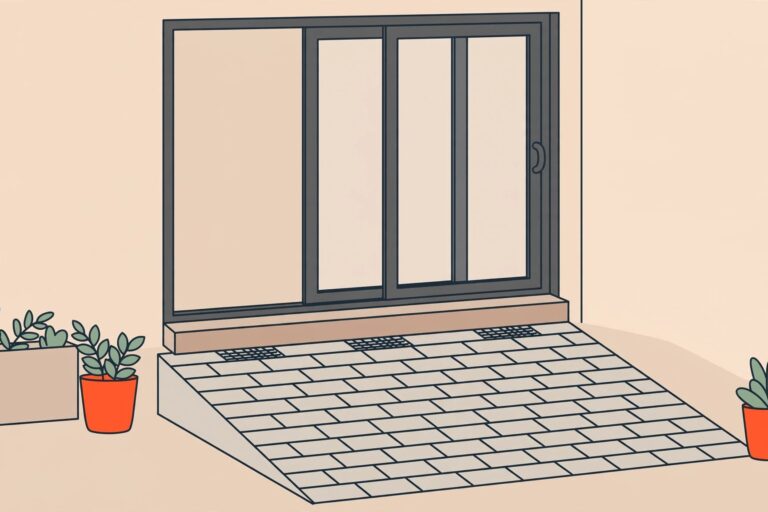
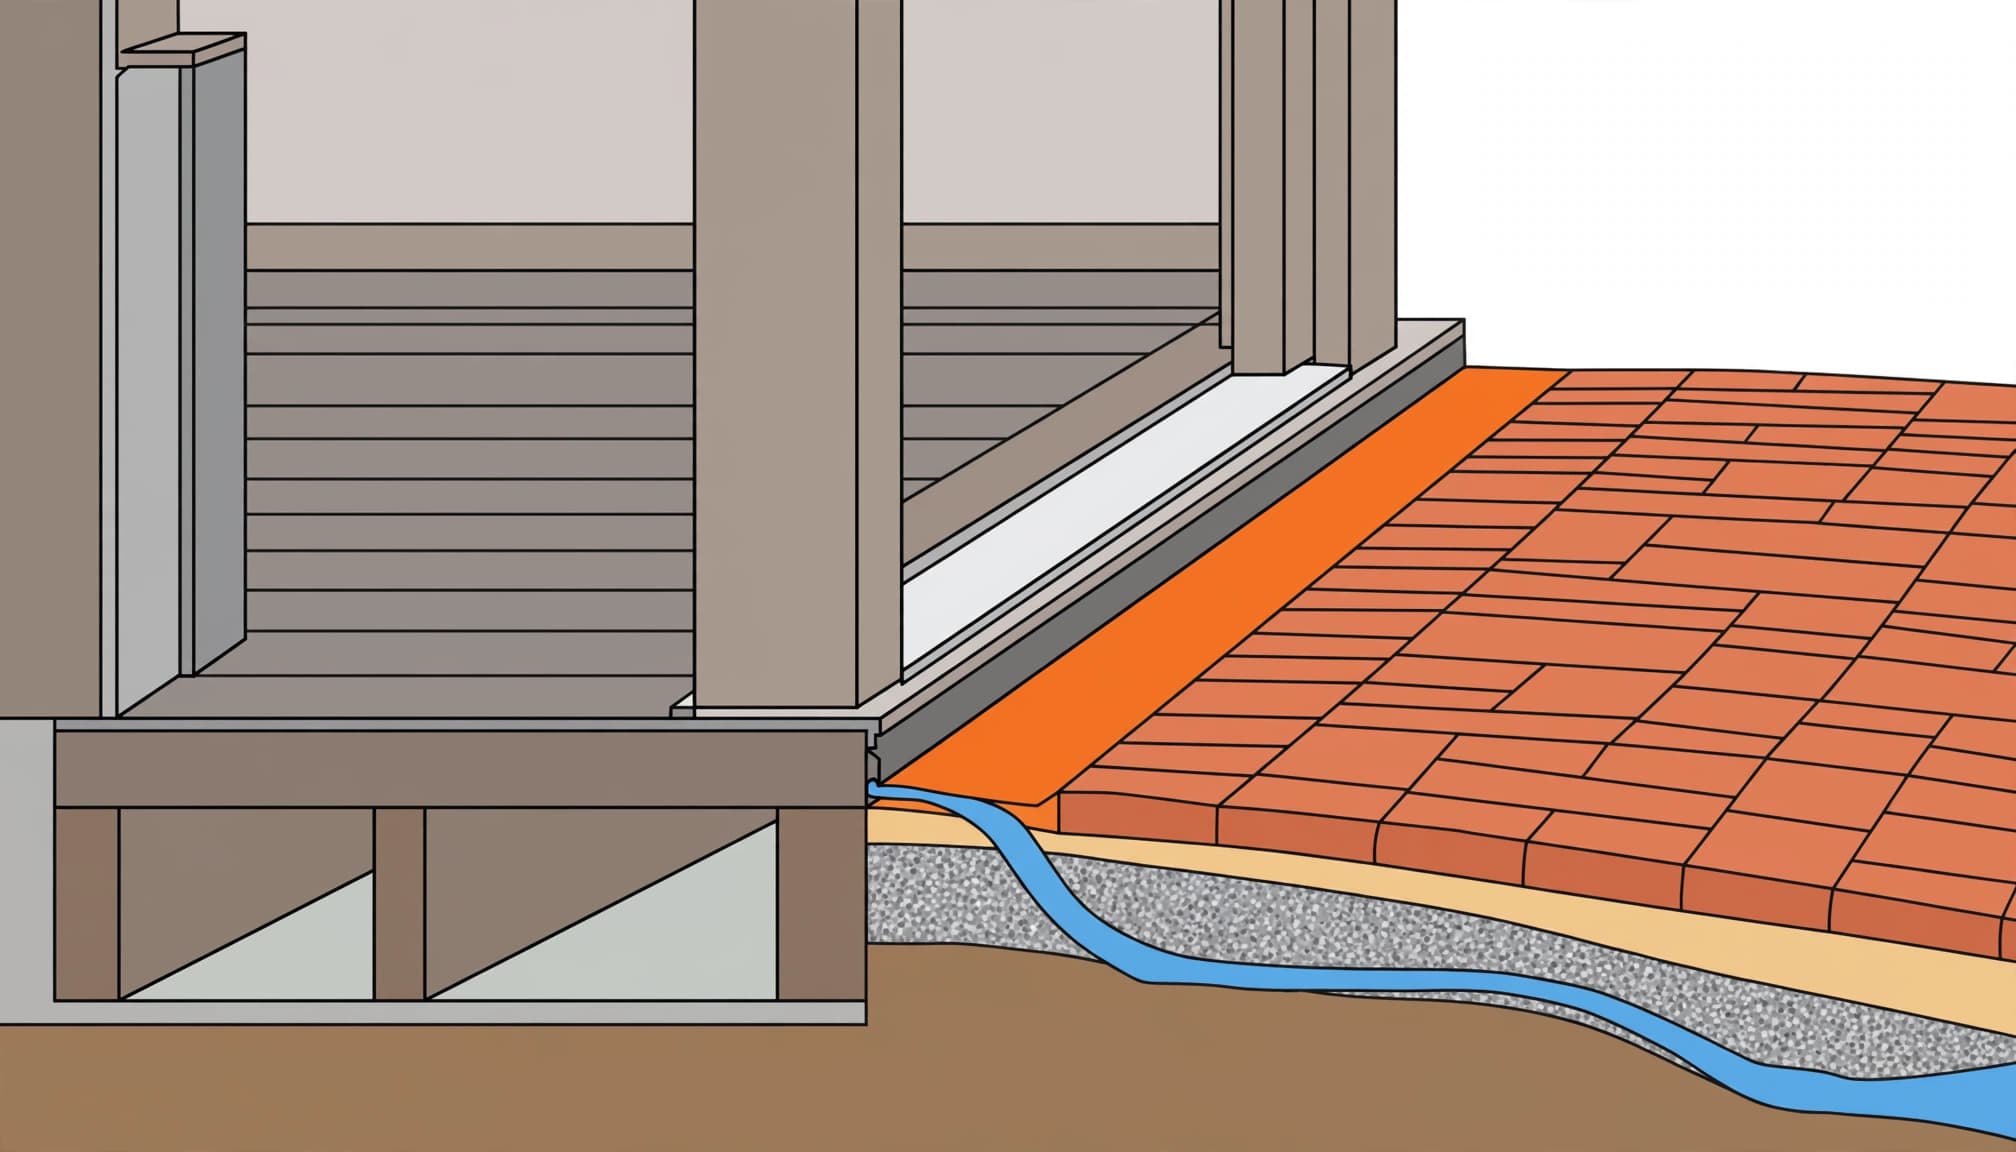
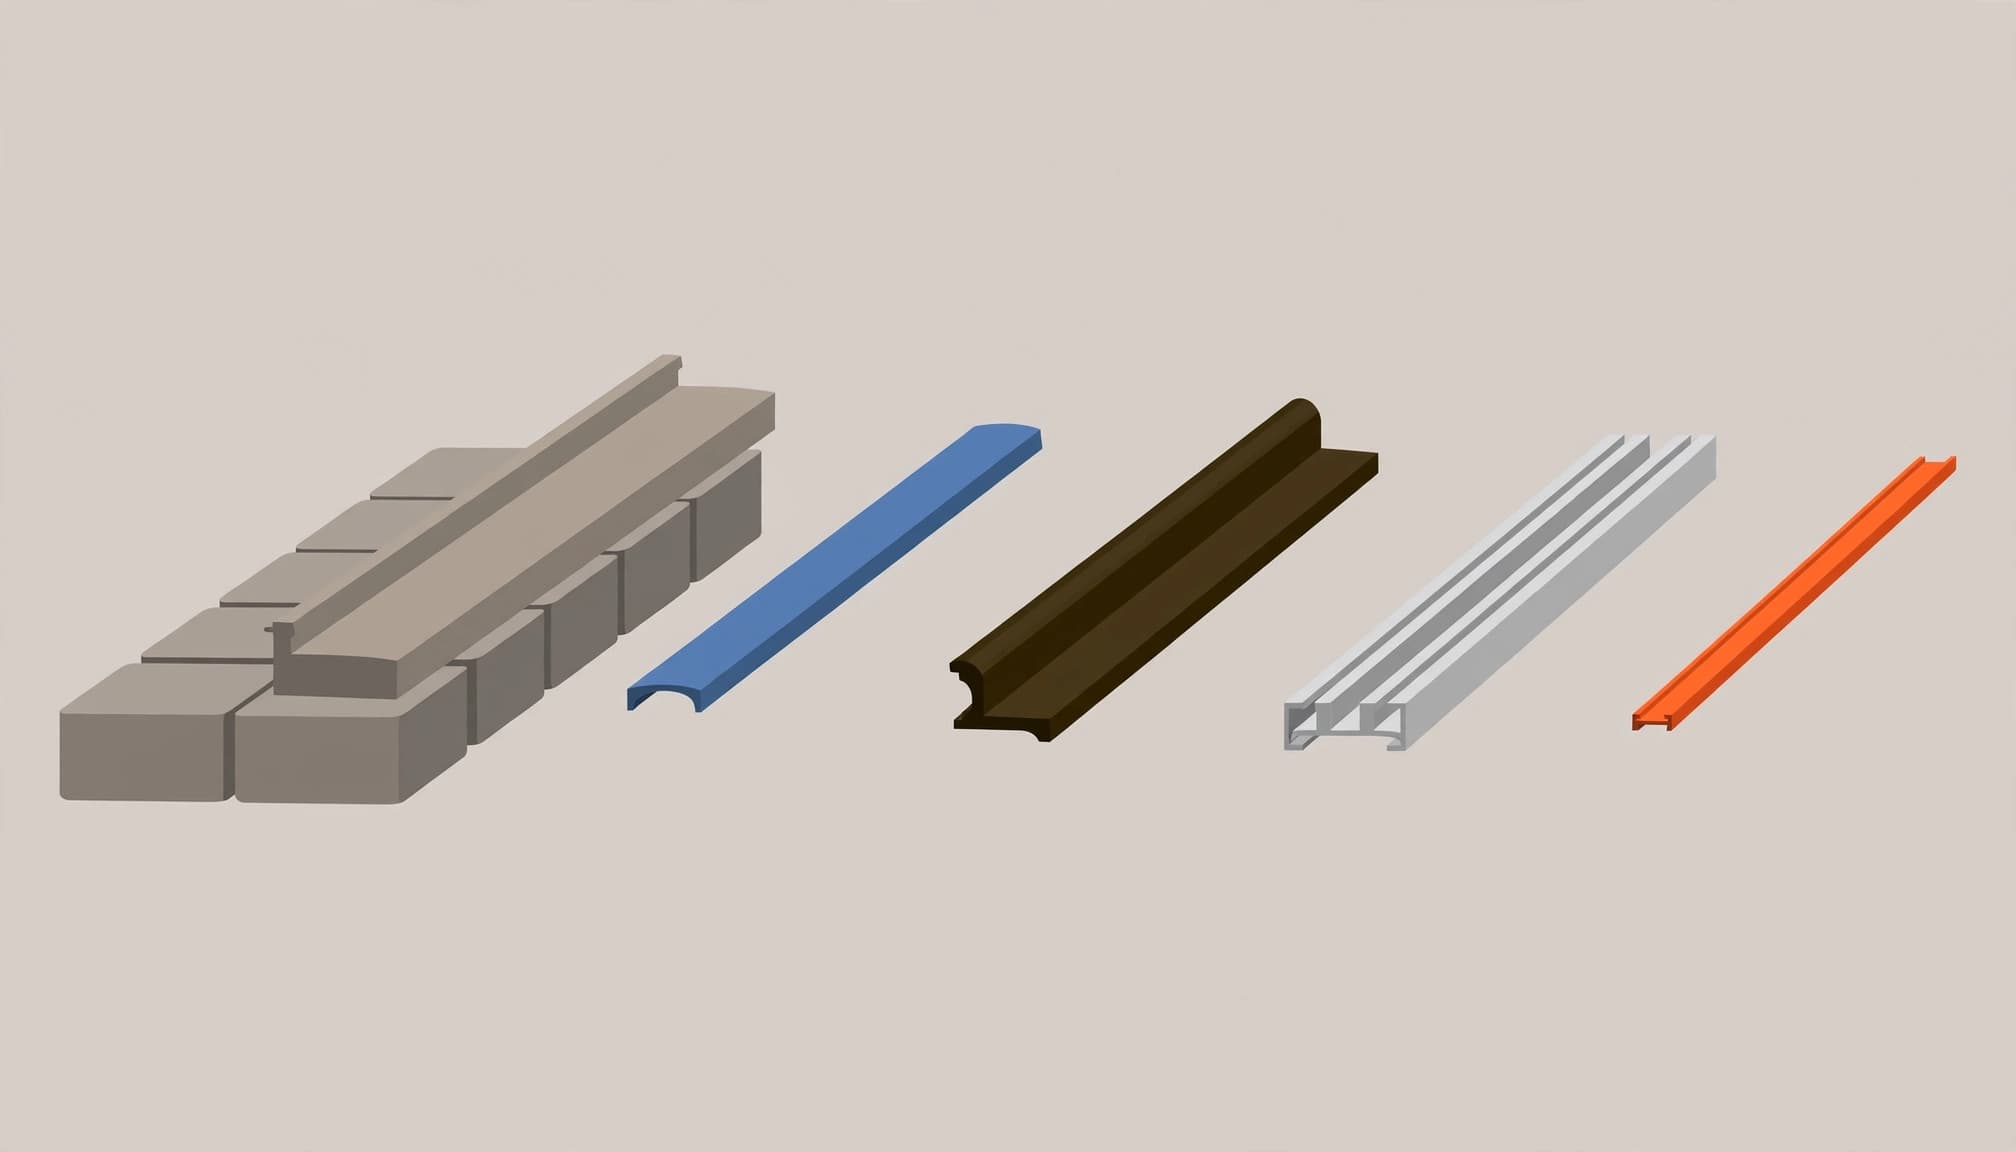
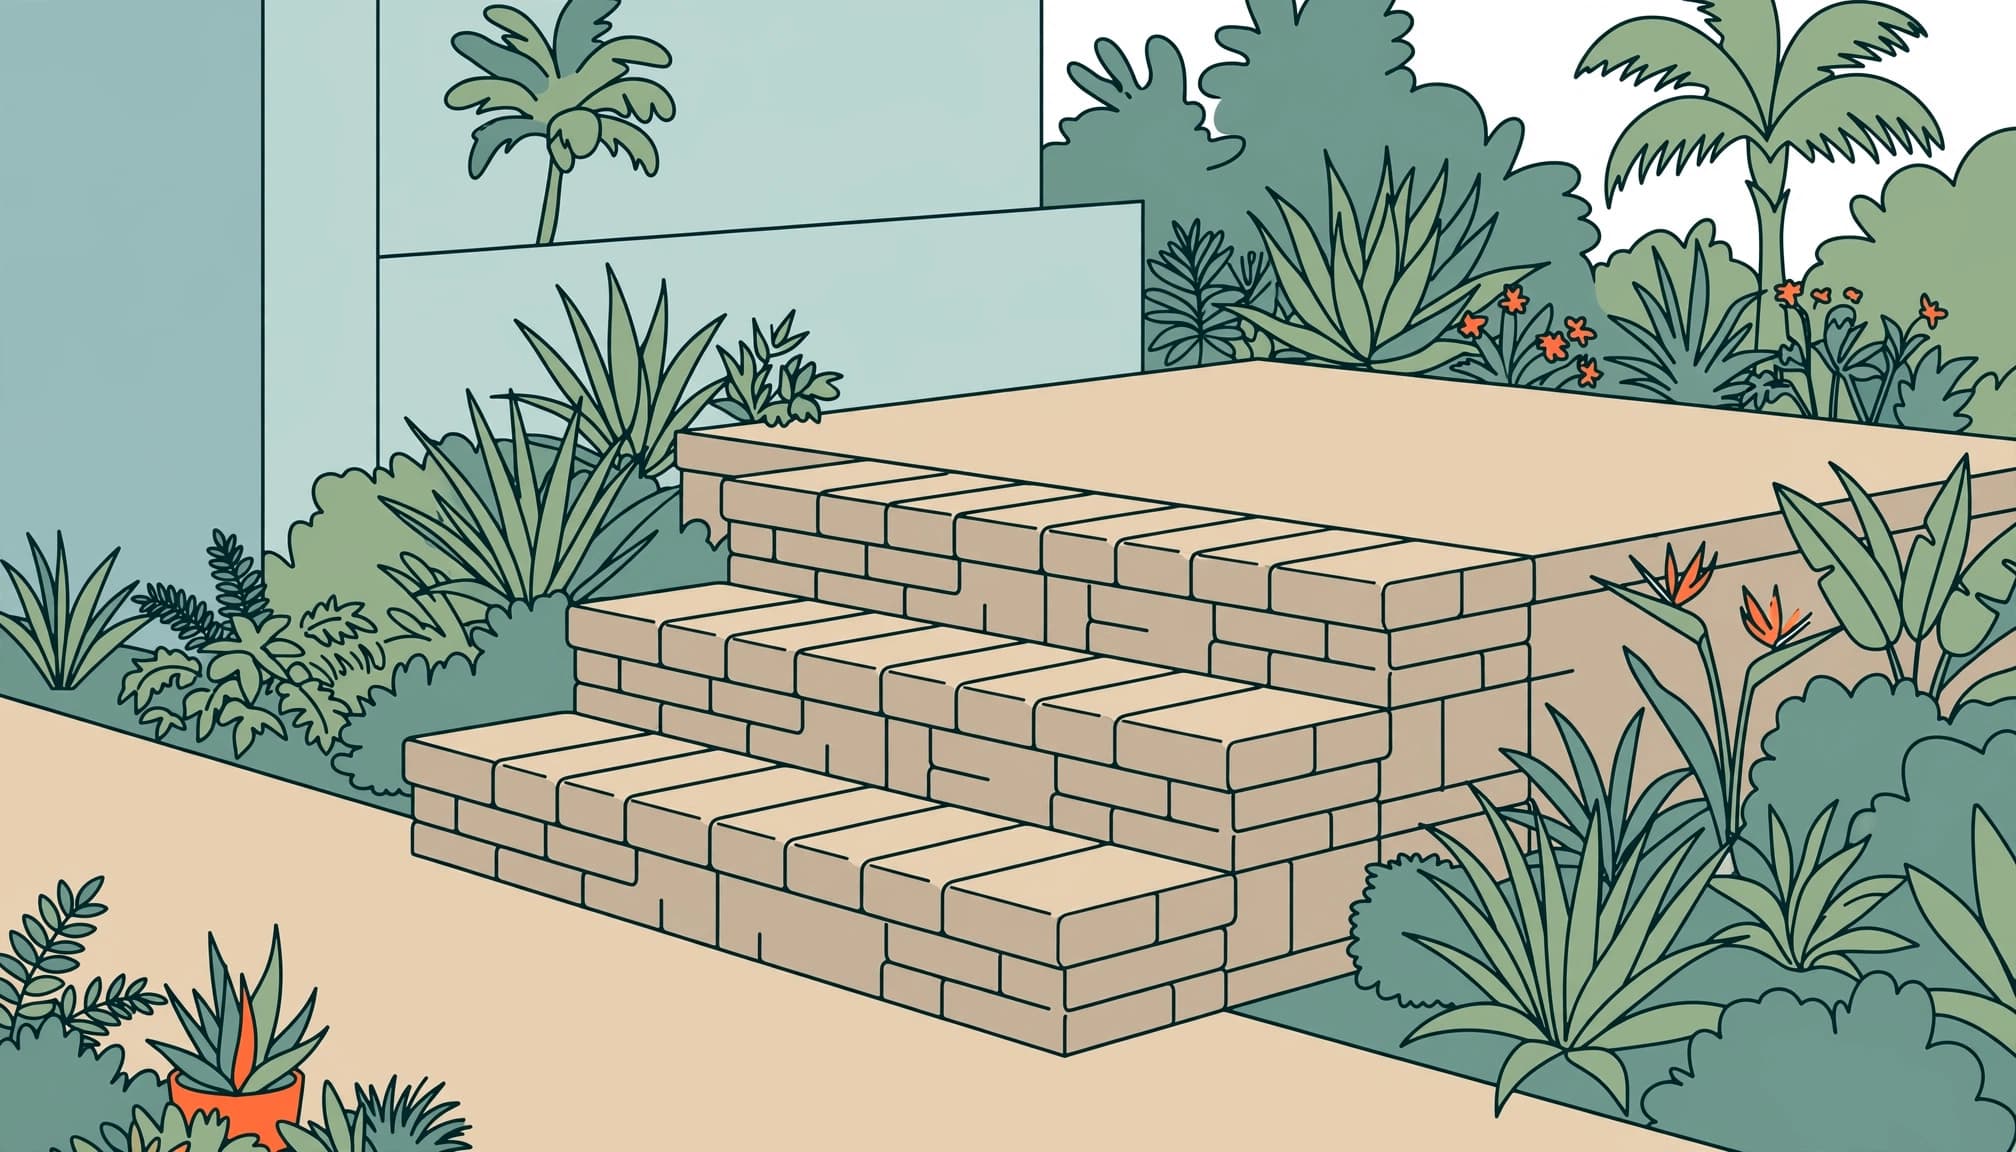
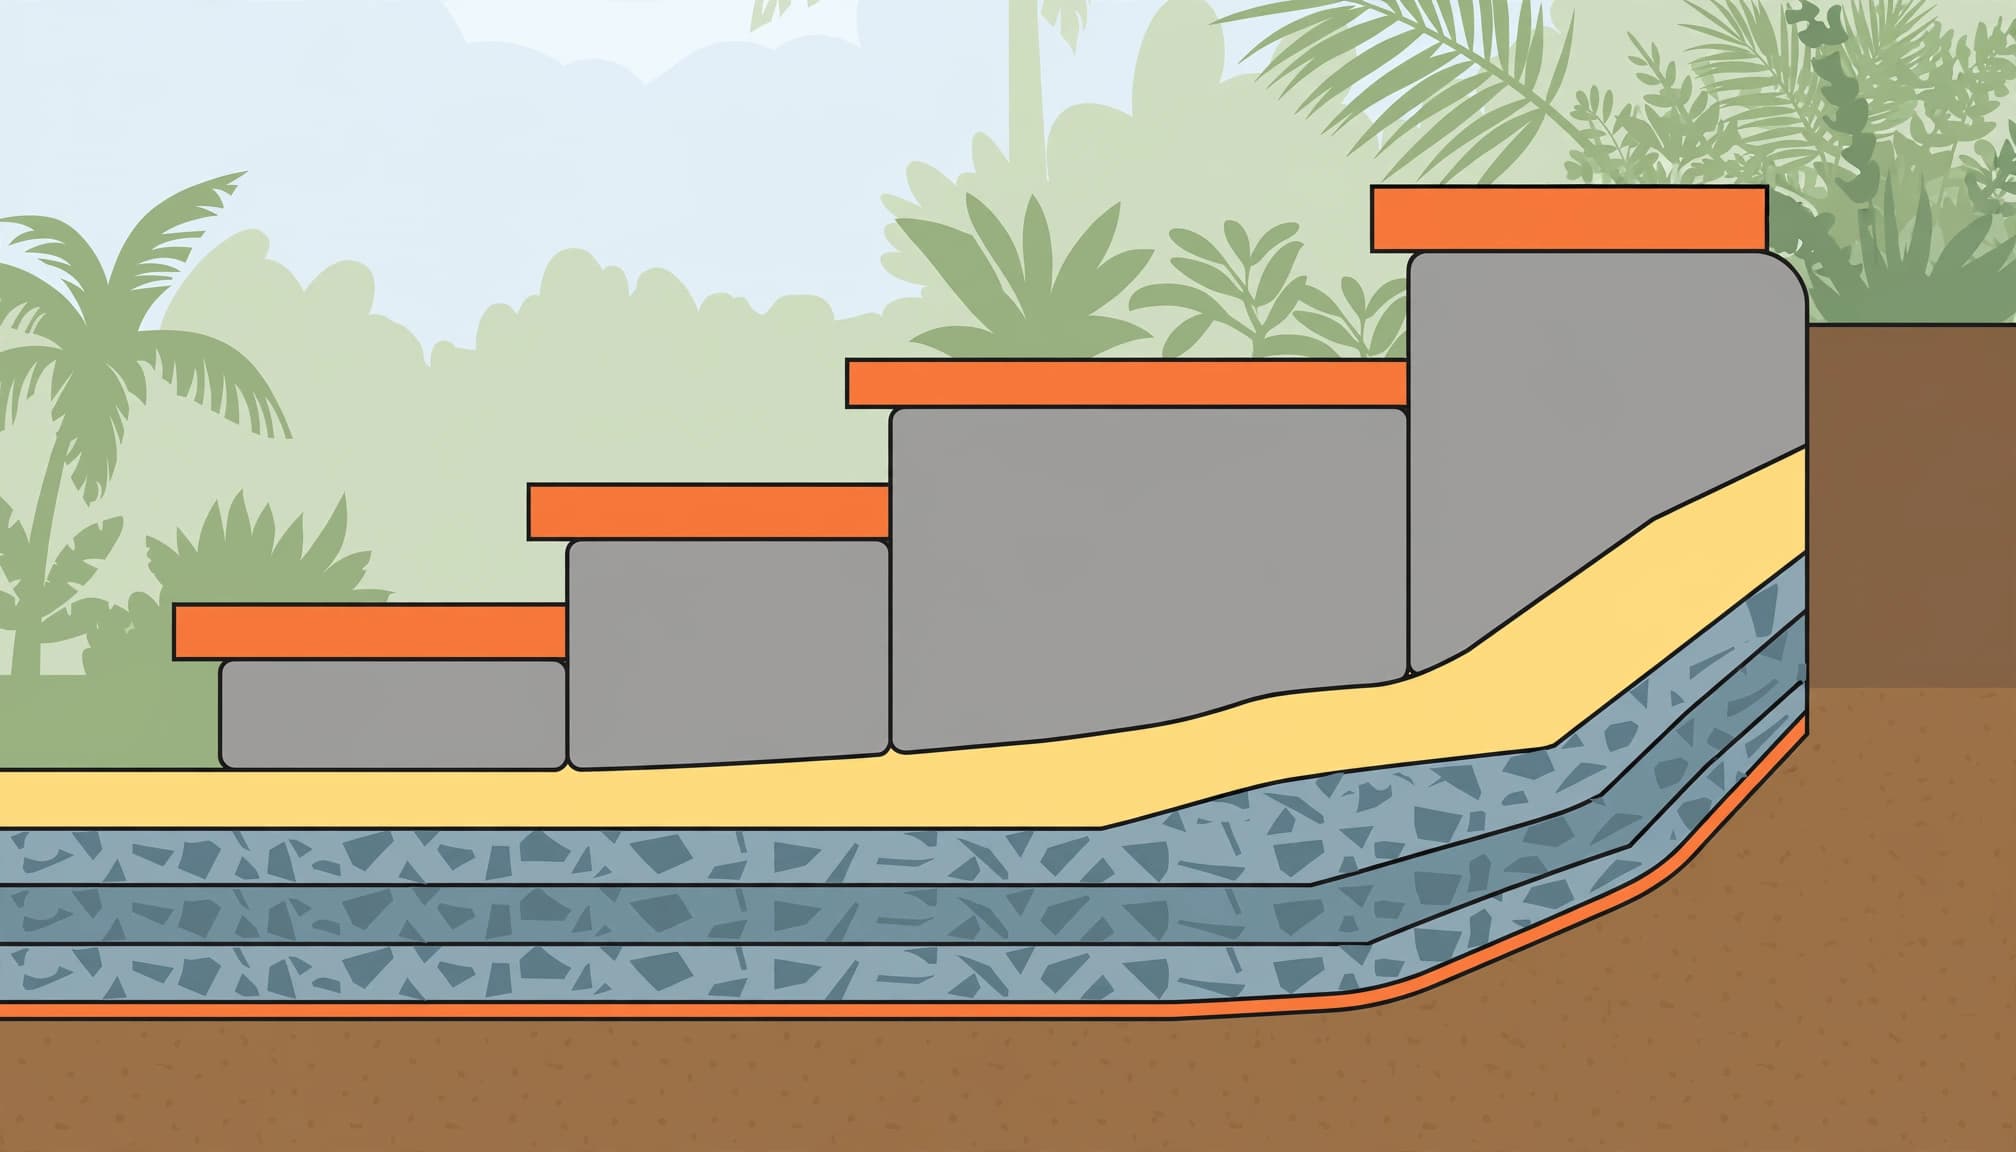
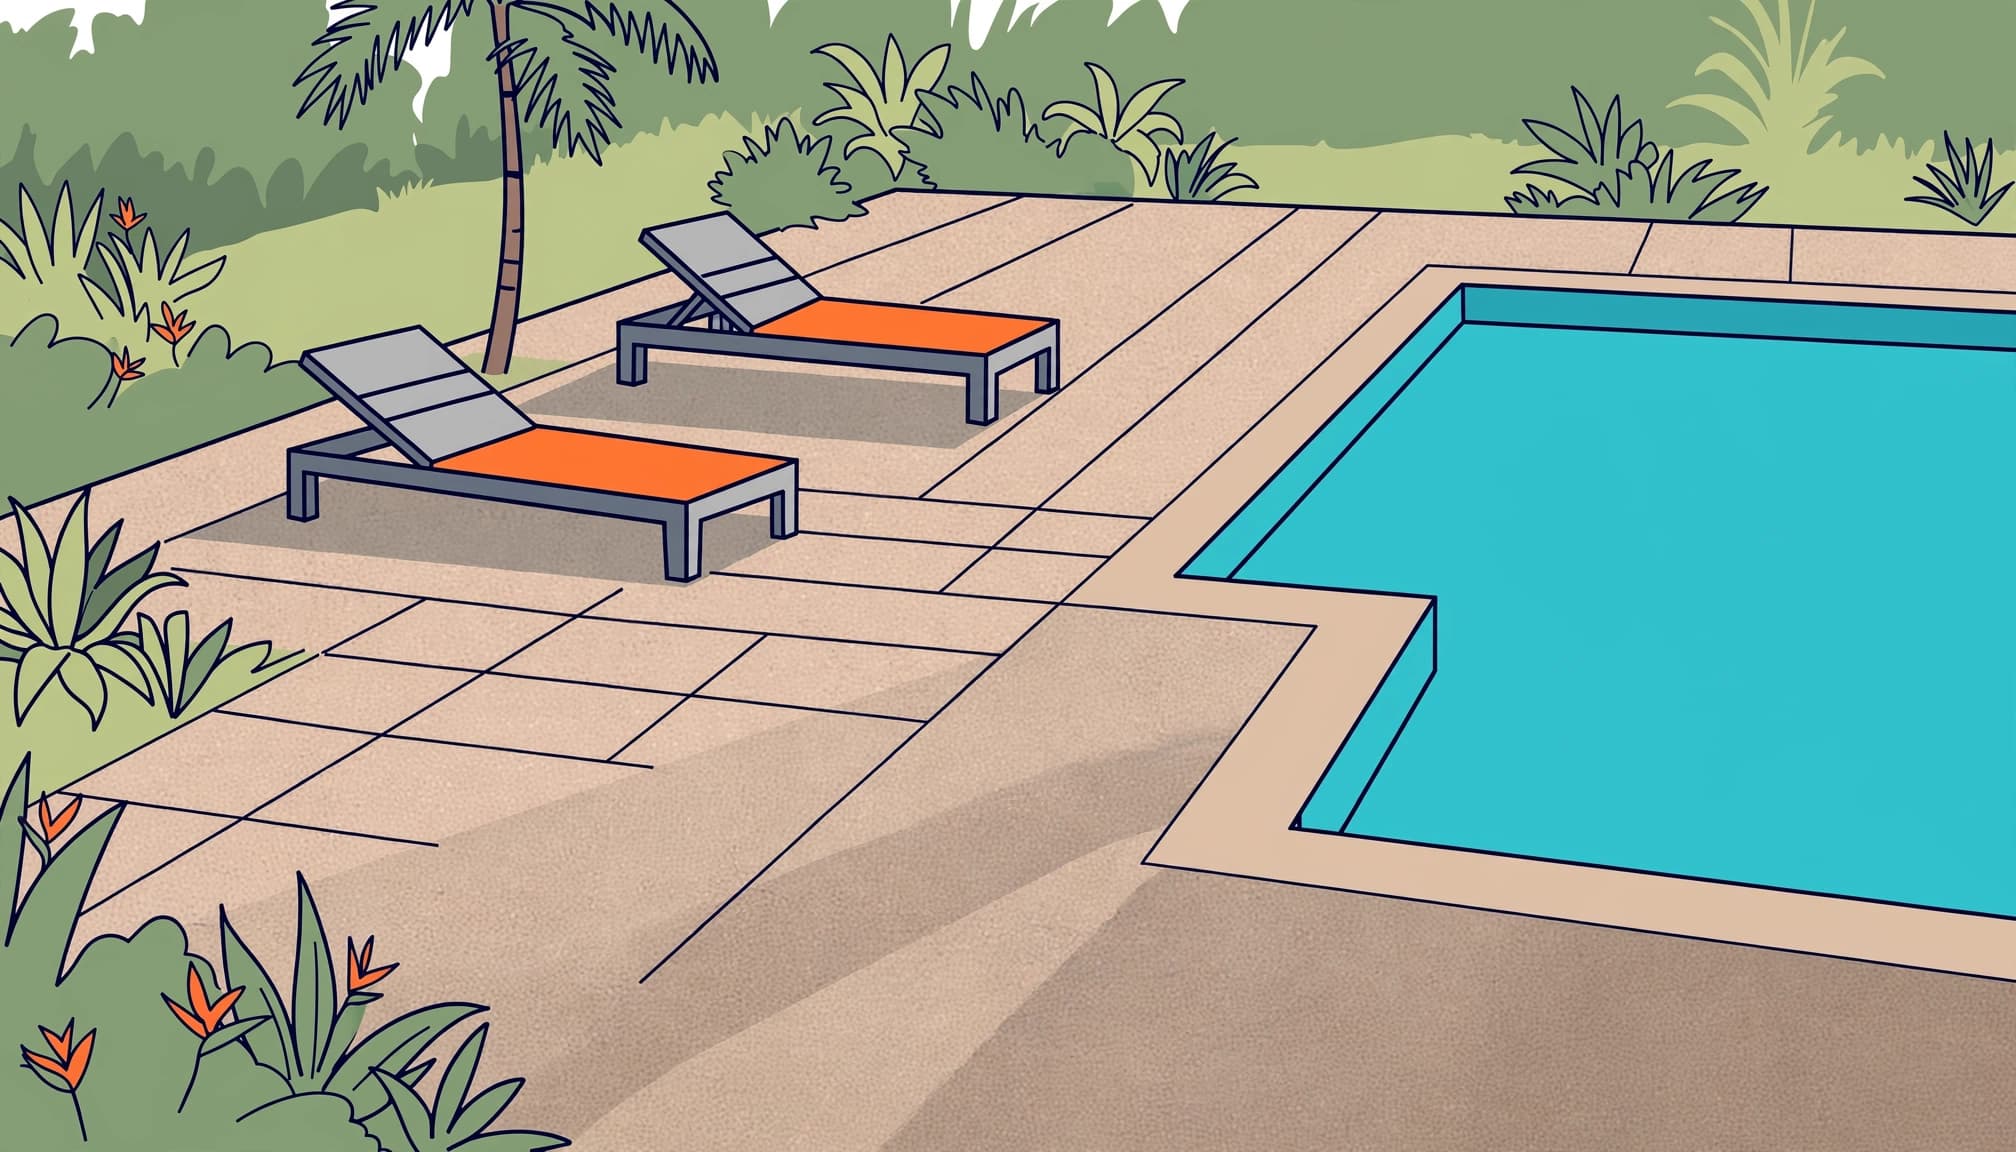
Yes, you can install pavers around an outdoor shower drain, provided the surface has proper support and the water has a suitable destination. I put base preparation and water routing first, because an attractive shower floor won’t stay dependable if water washes away the material underneath.
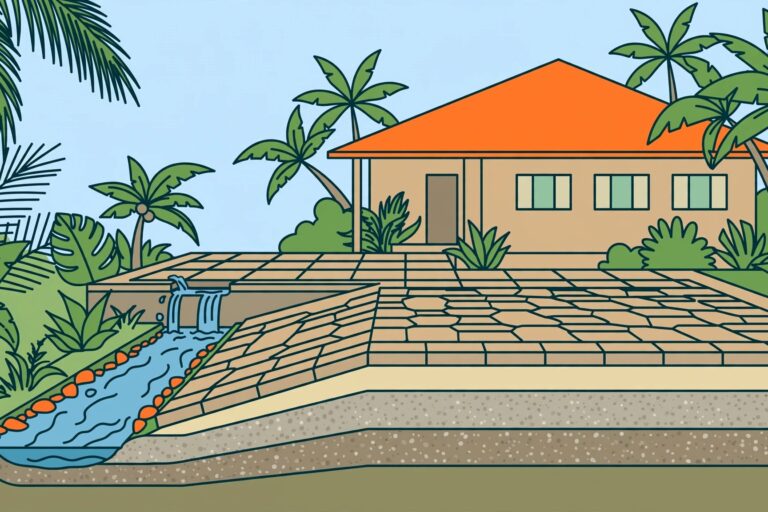
Your pavers can connect with an existing patio or form a separate shower area. The right water route starts with your soil, water use, and disposal requirements.
Key Takeaways
Water disappearing between pavers doesn’t prove the water-management system is working. It may be carrying bedding material away and creating tomorrow’s sinking pavers.
Standard pavers aren’t automatically permeable. A dependable installation needs coordinated surface grading, supporting layers, joints, and an outlet.
Which Drainage Option Fits Your Outdoor Shower?
I recommend choosing the water-handling plan before choosing the paver pattern. These four options handle water differently.
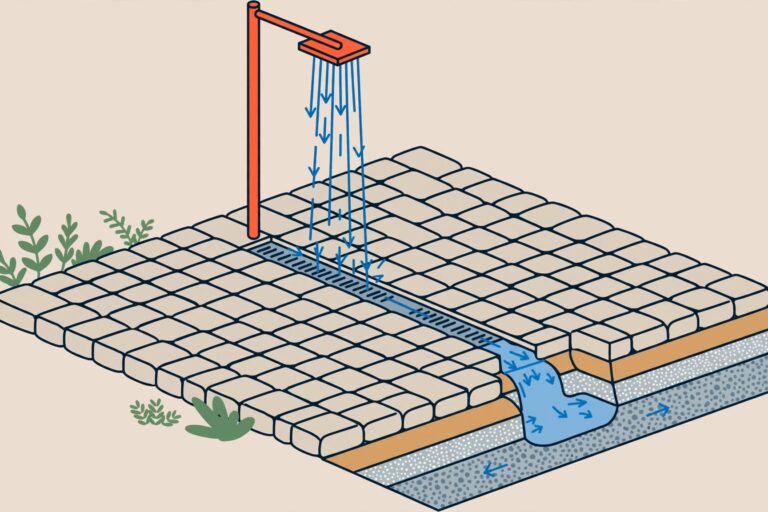
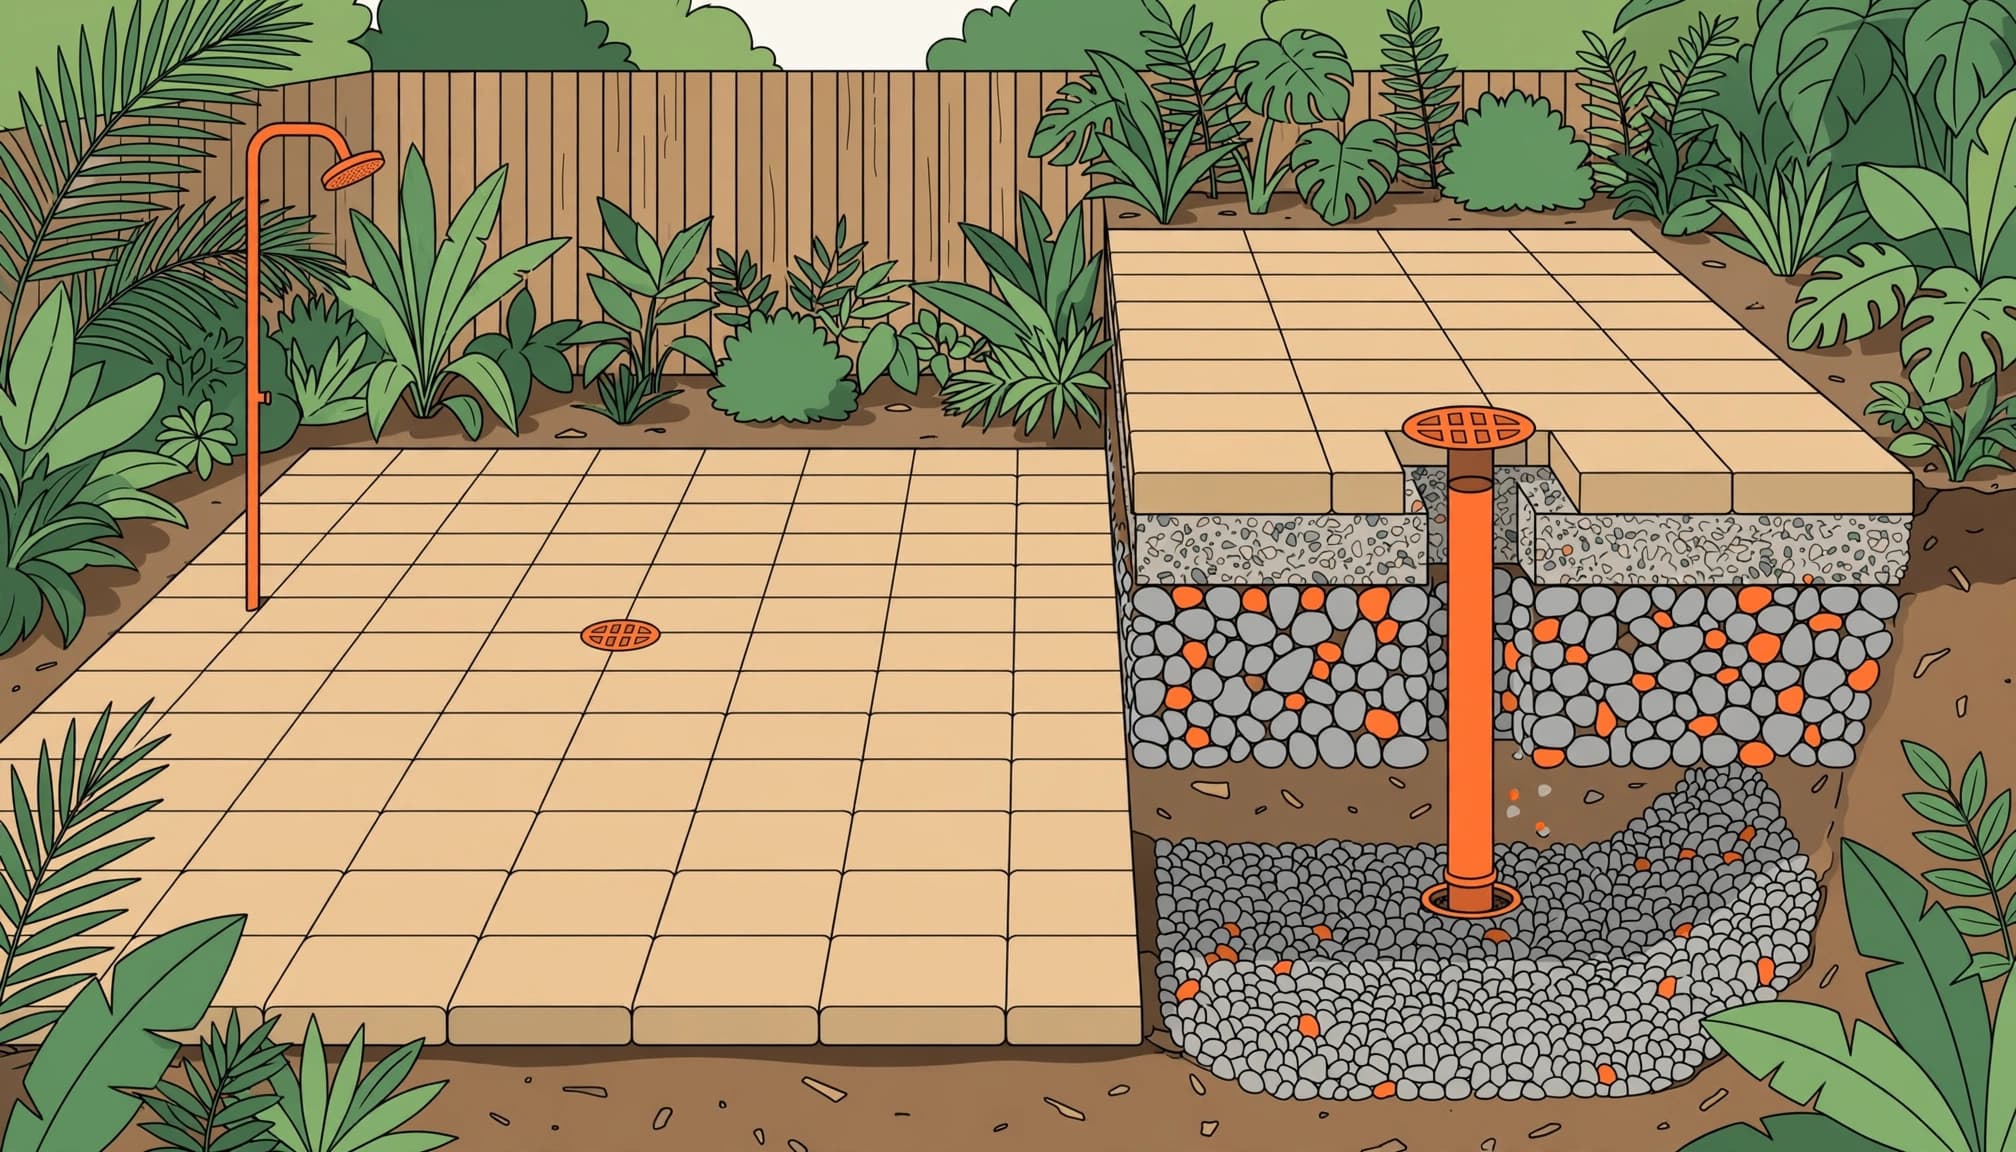
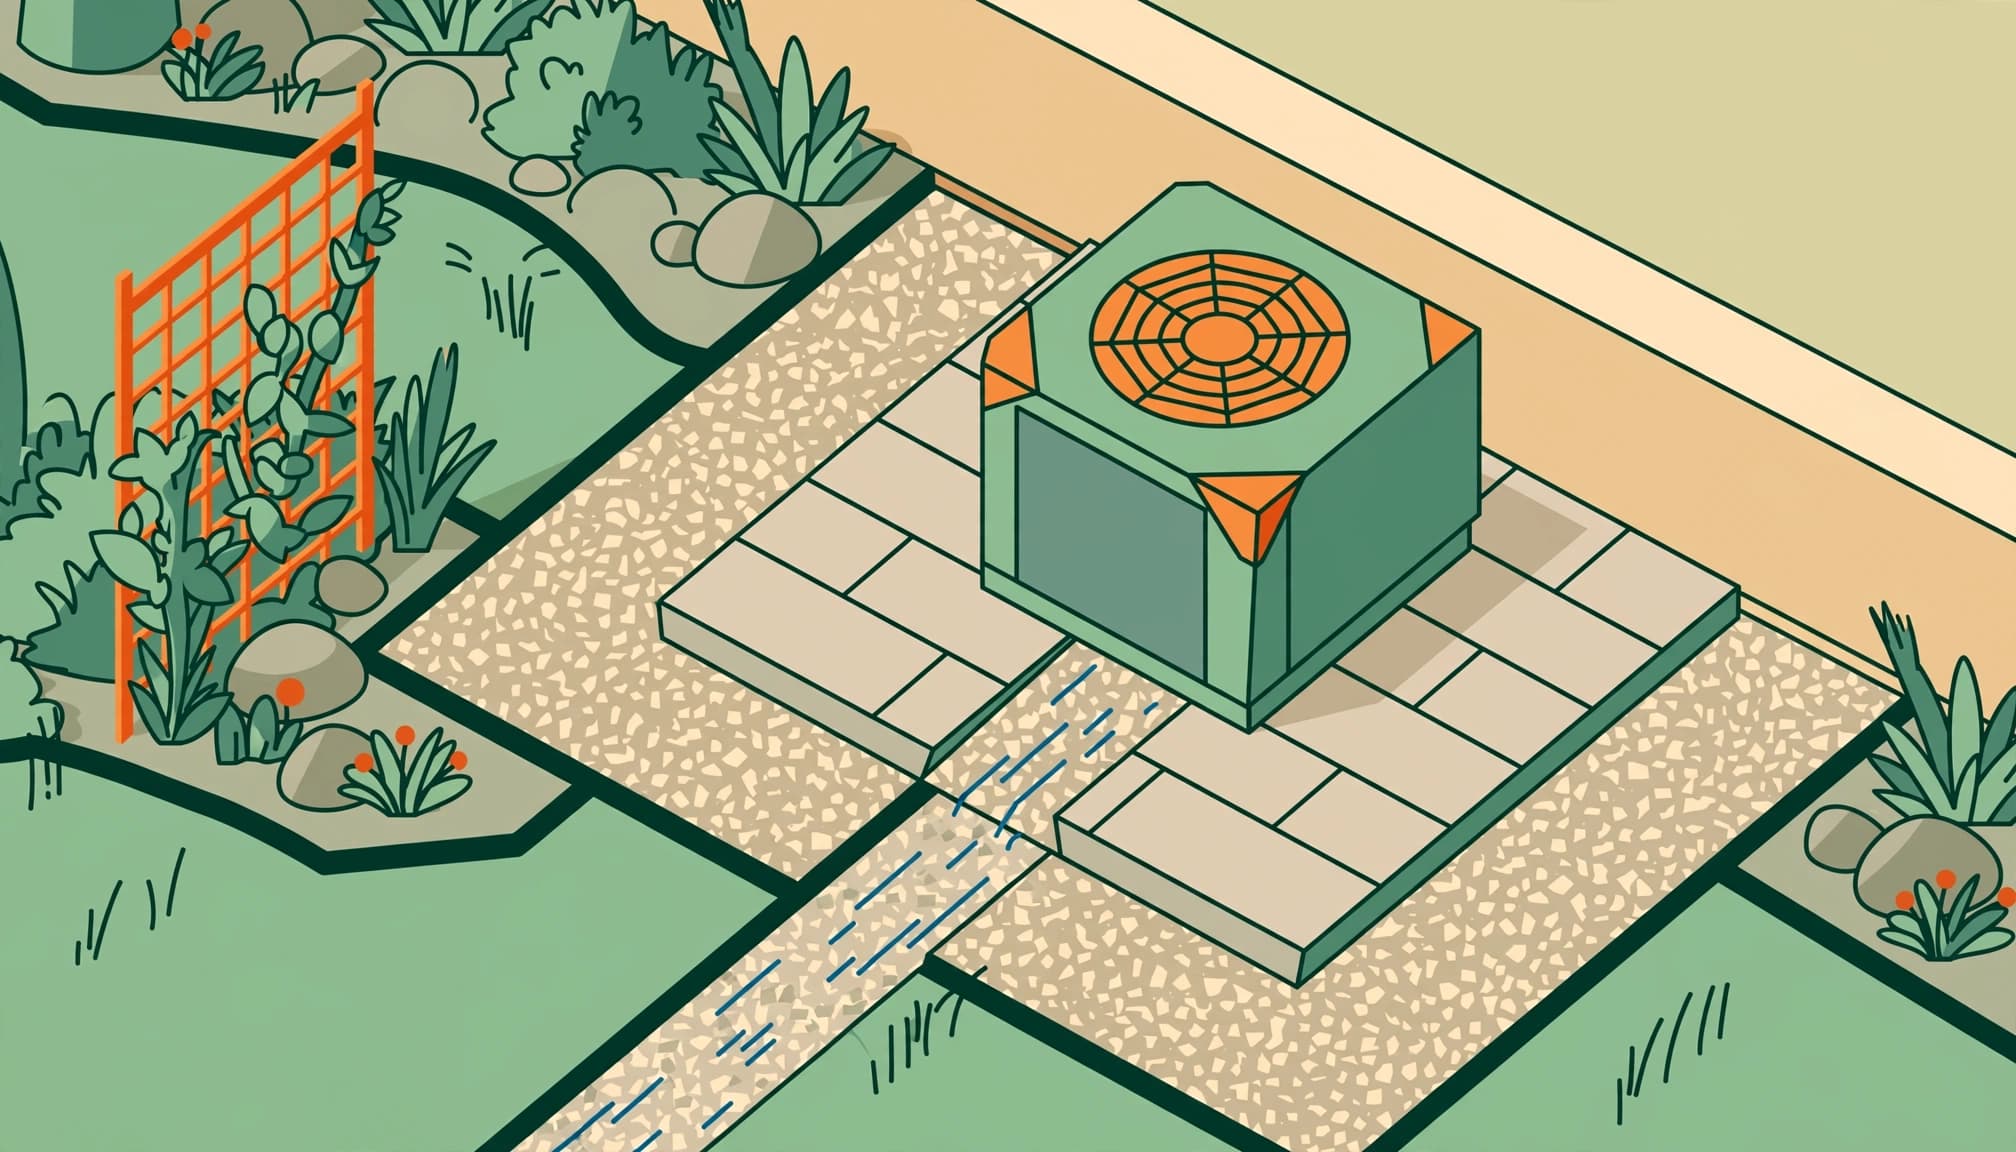
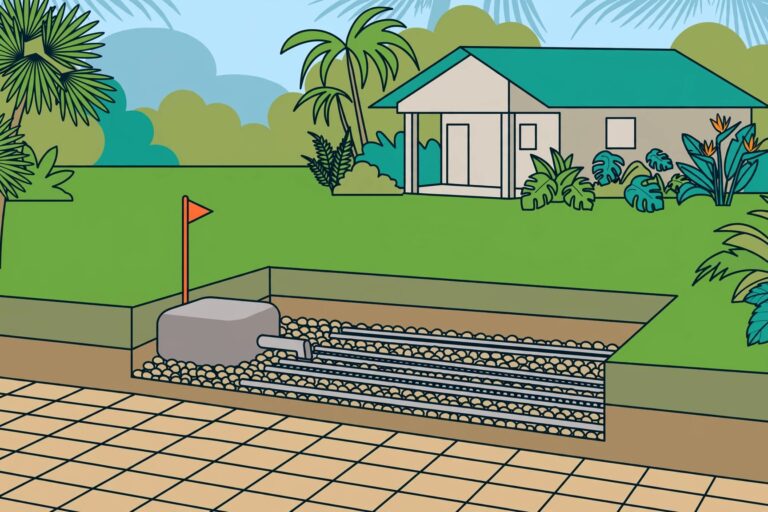
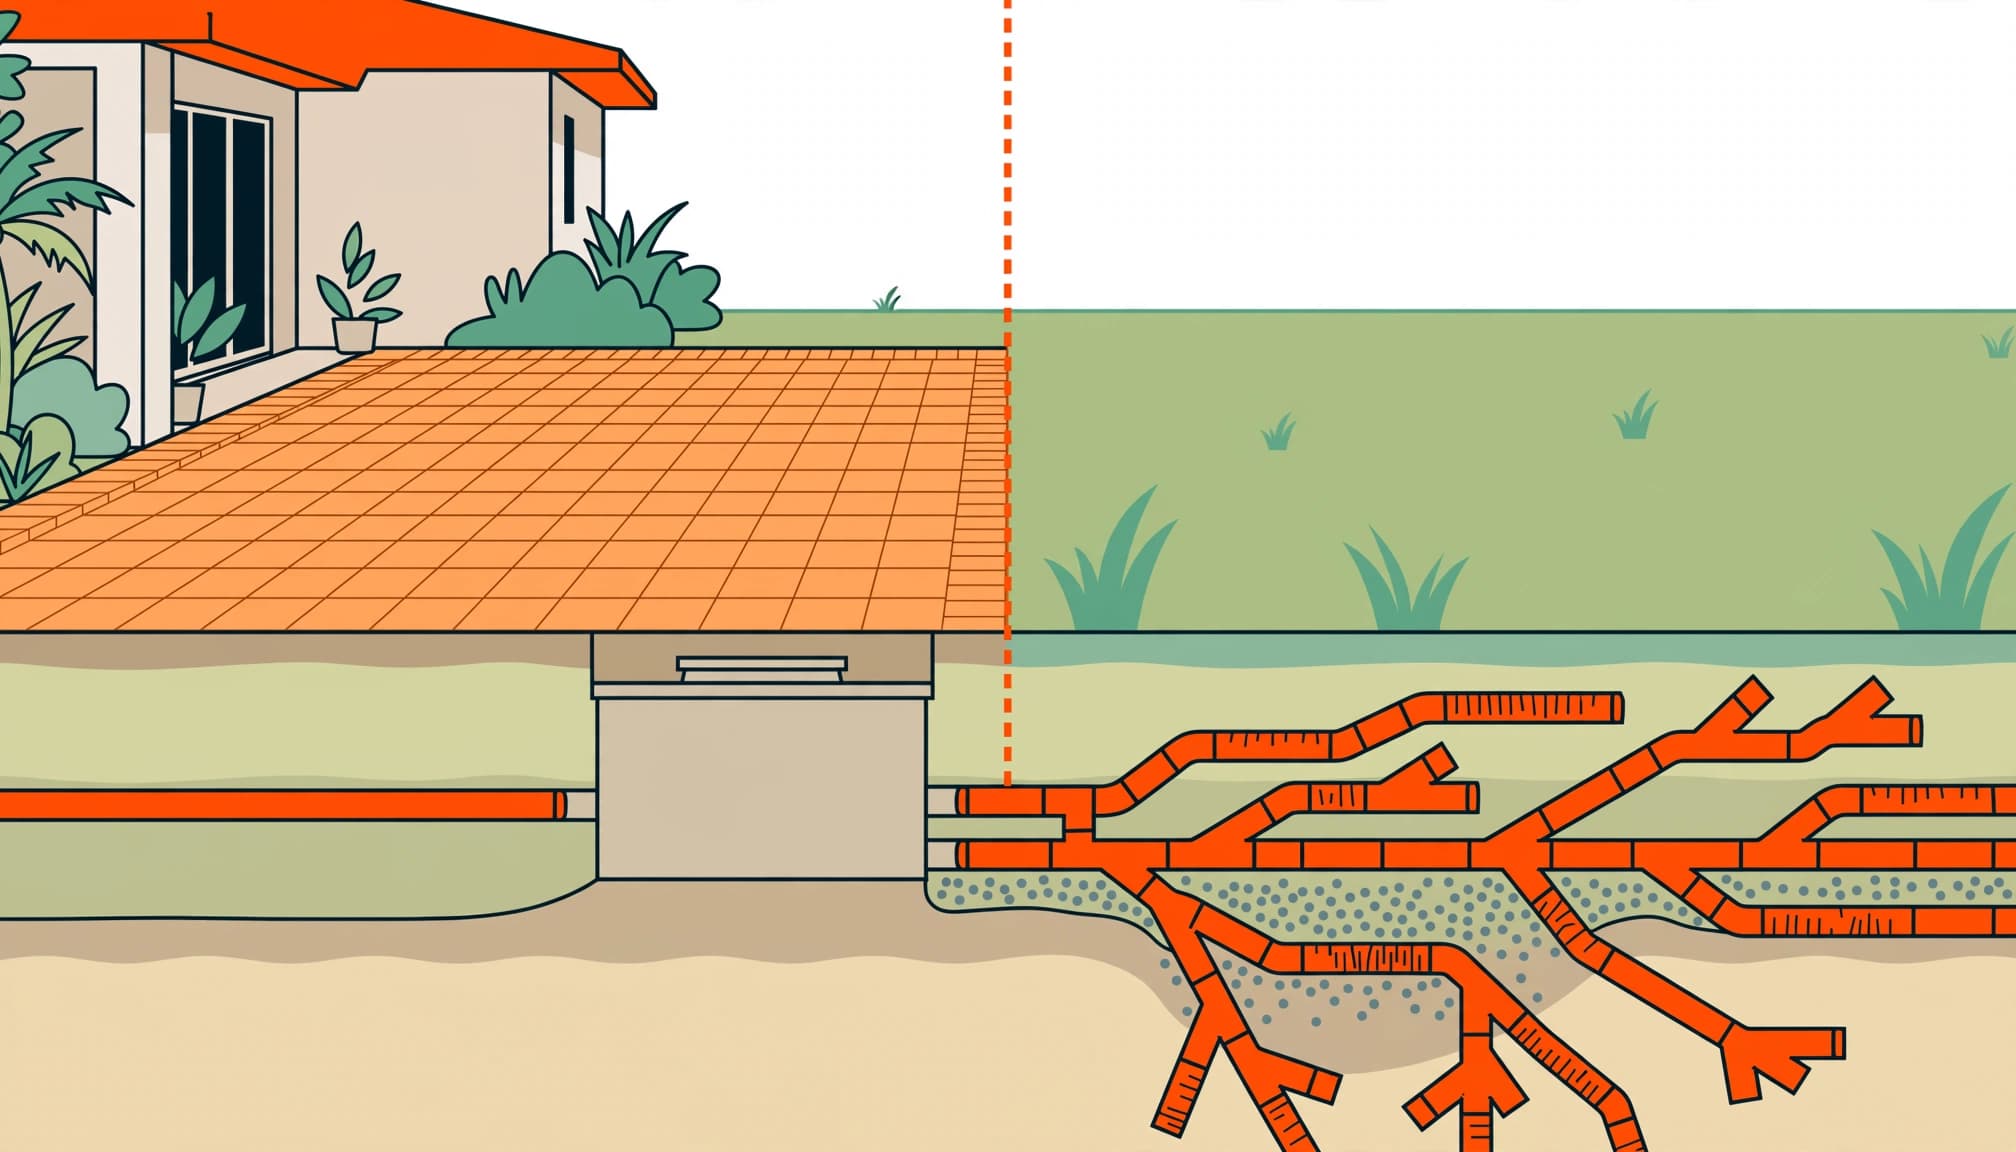
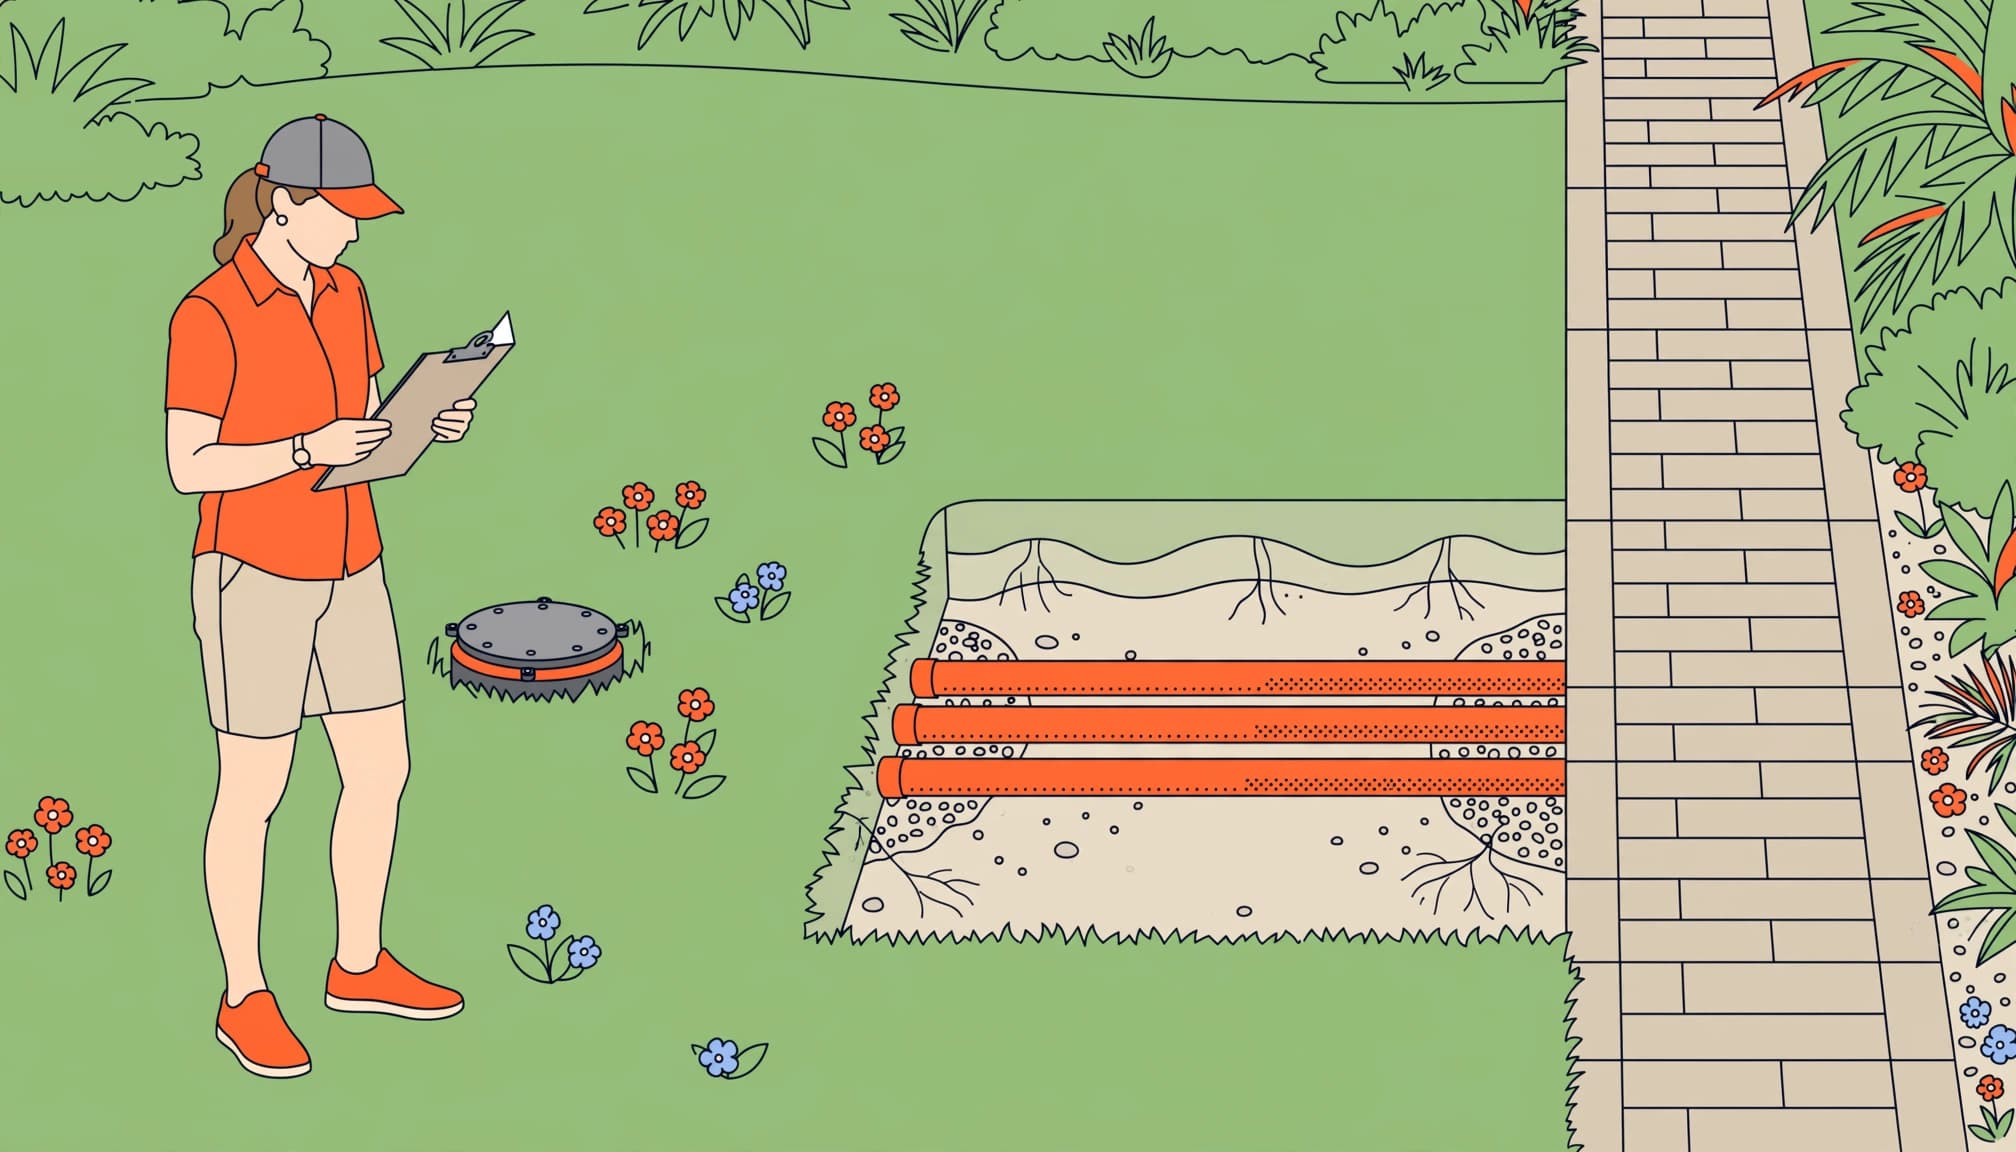
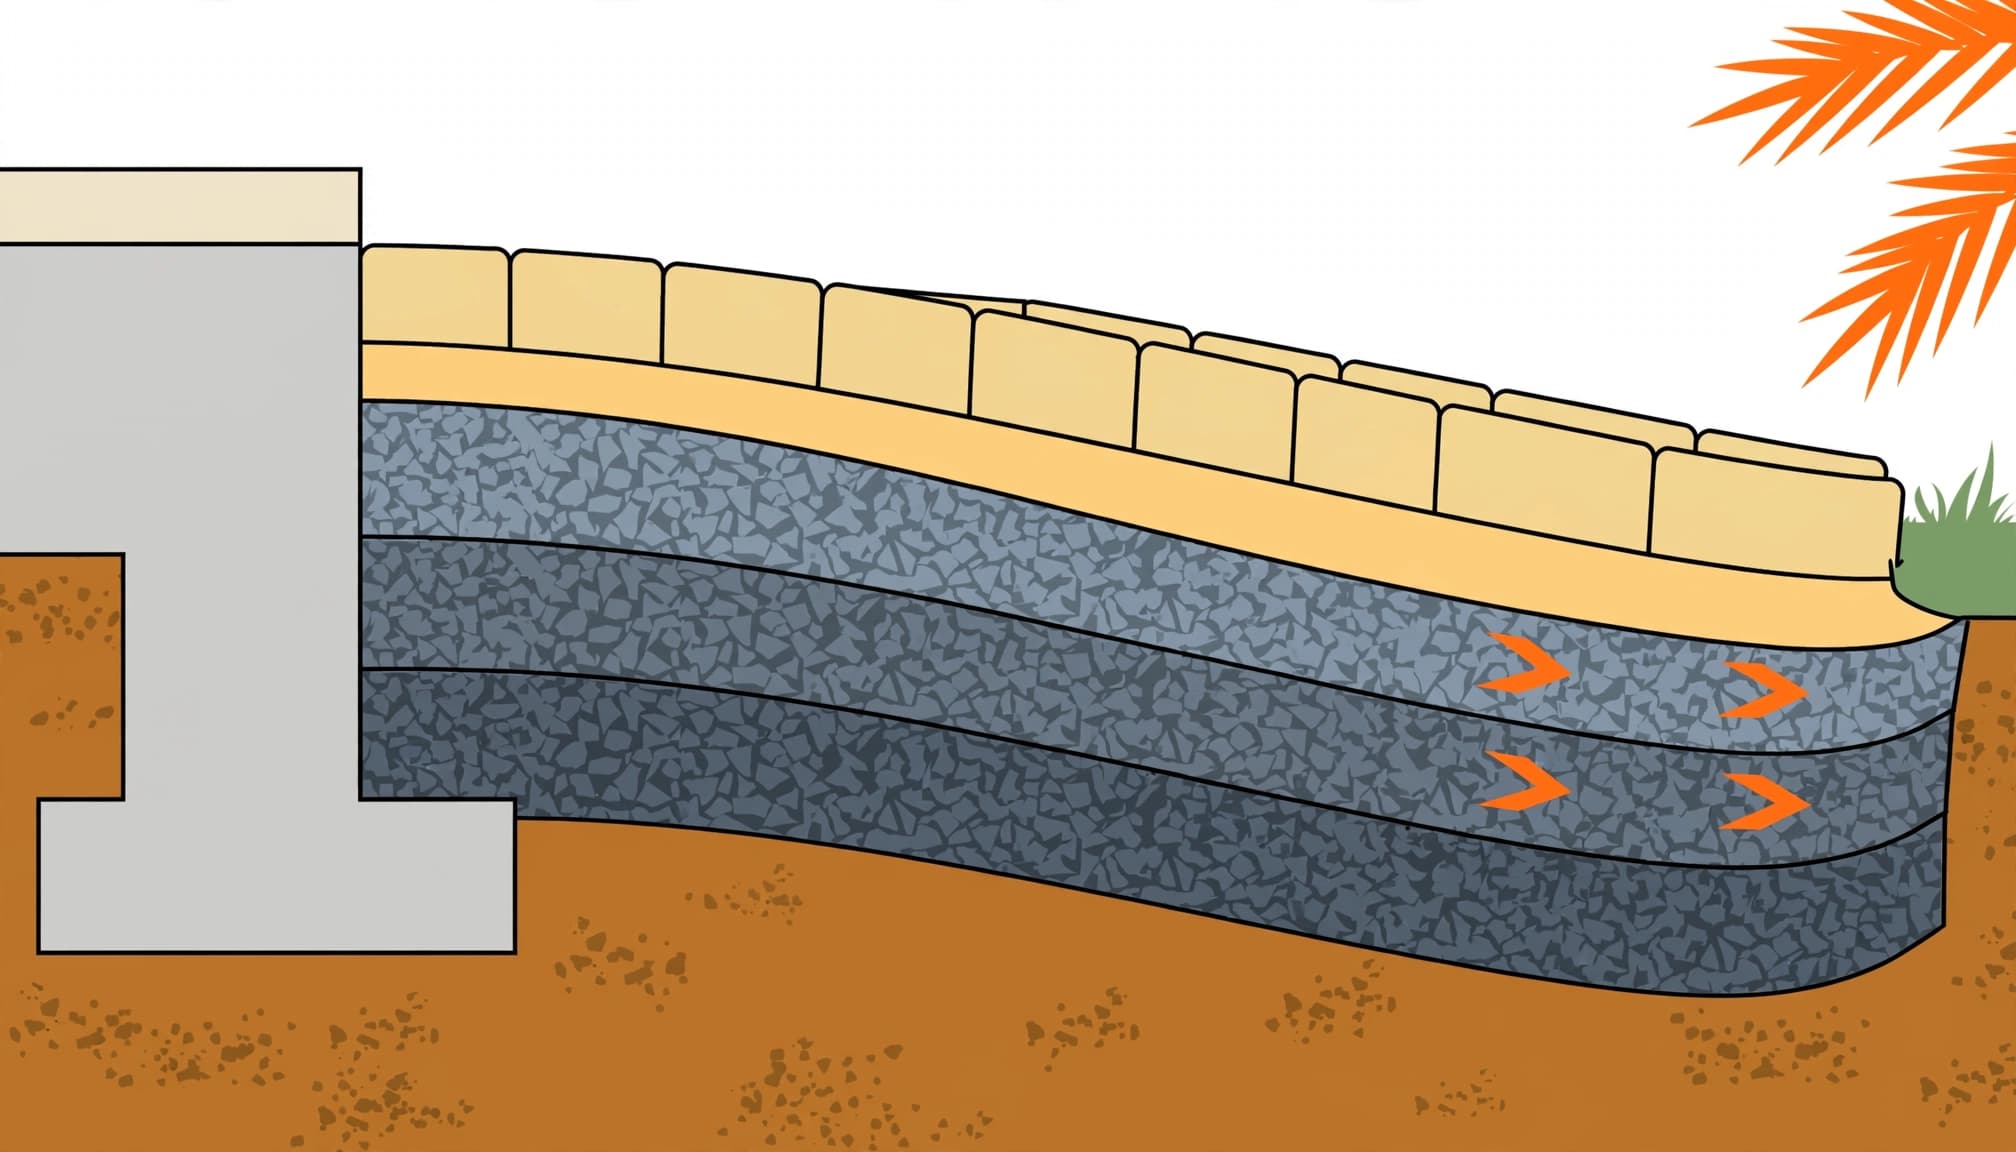
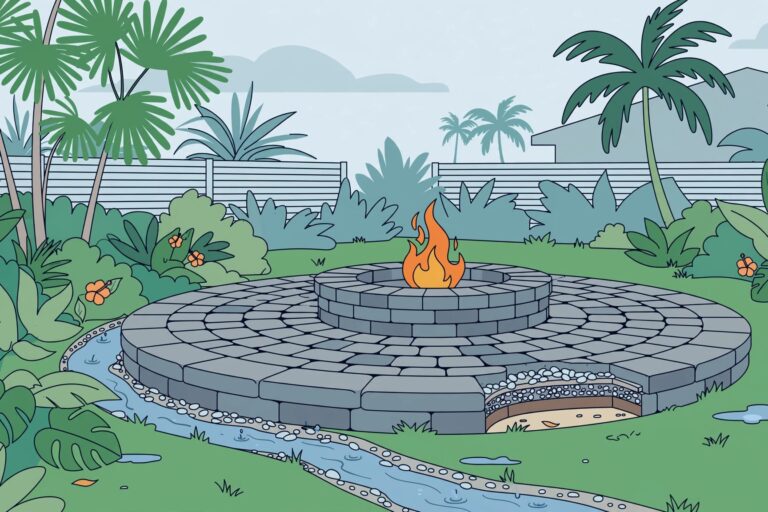
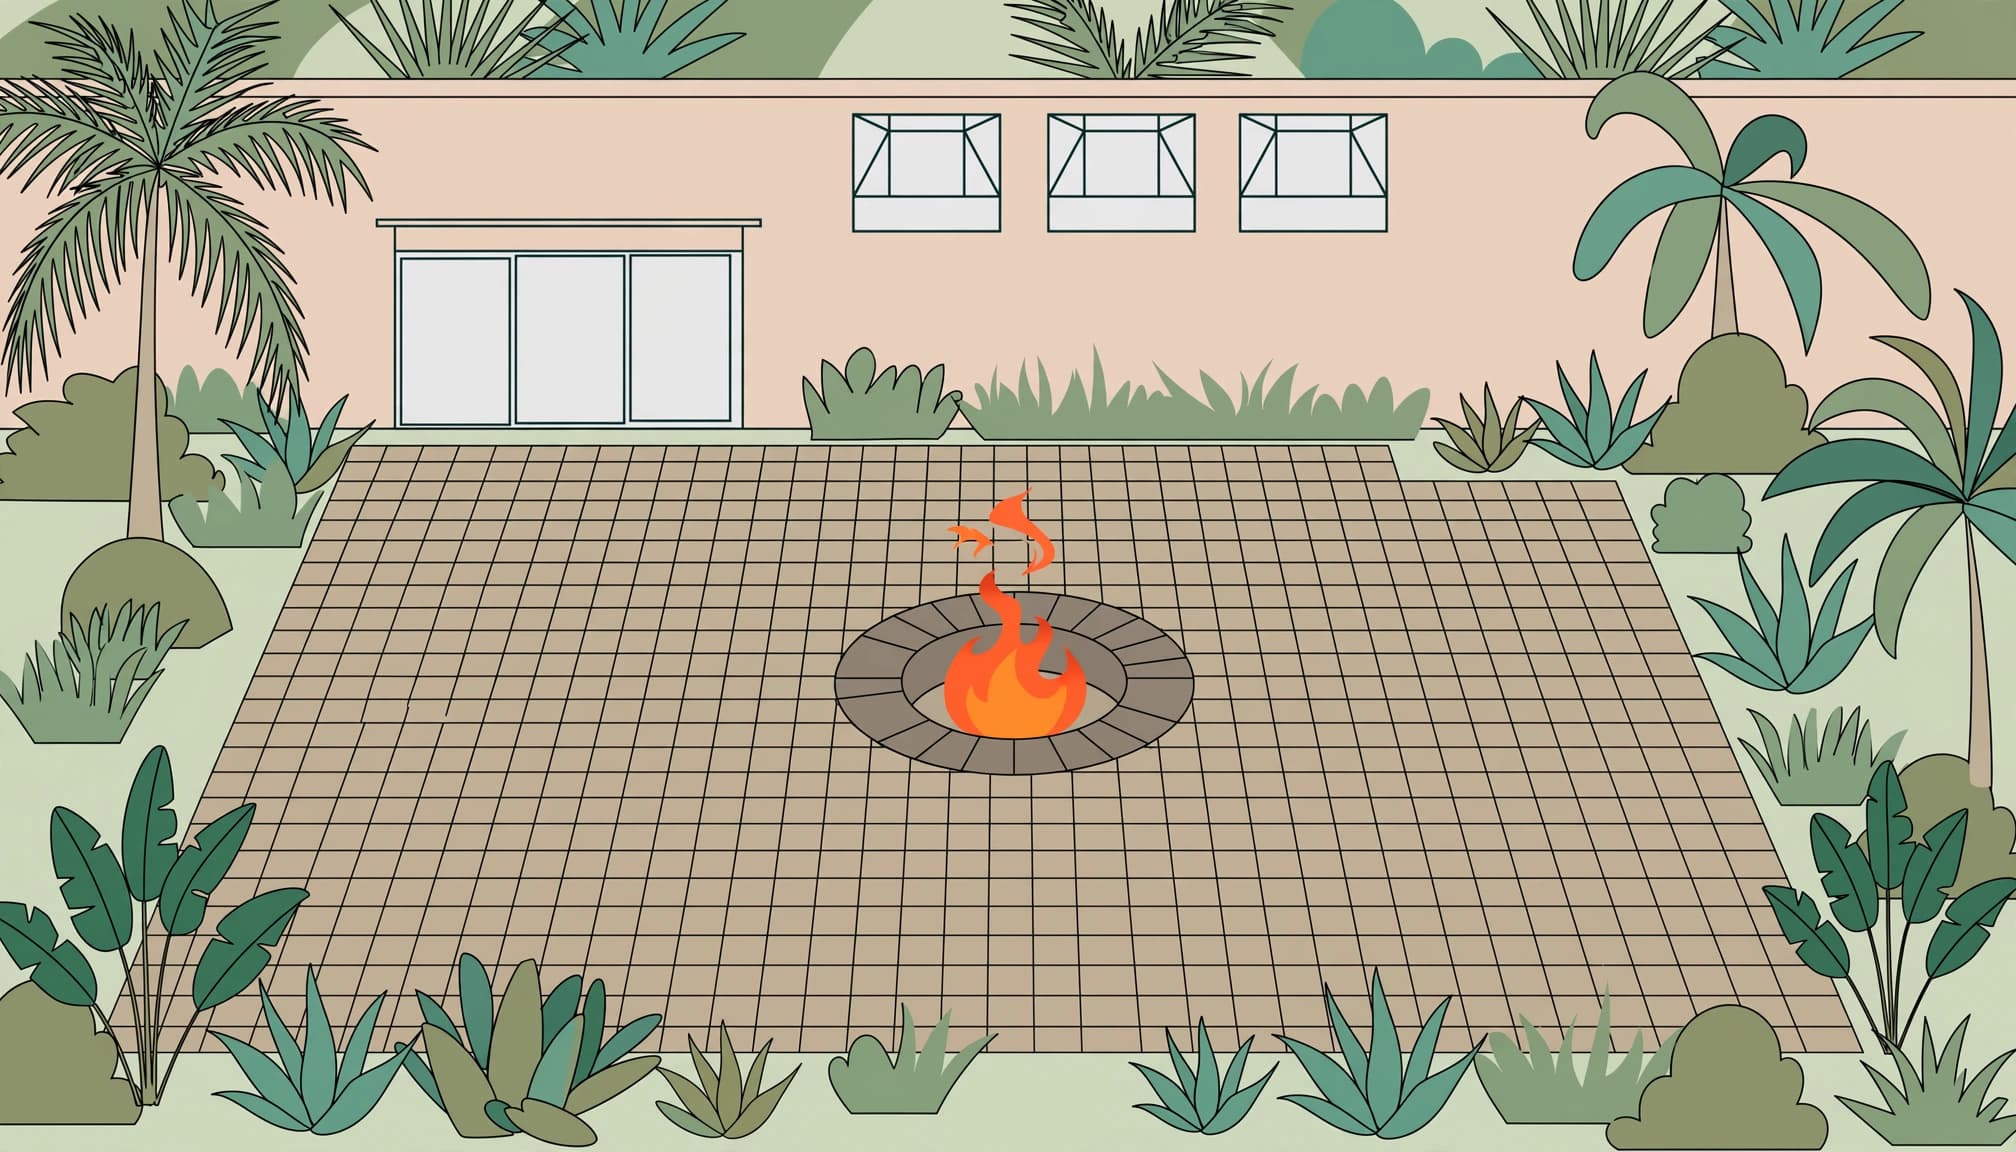
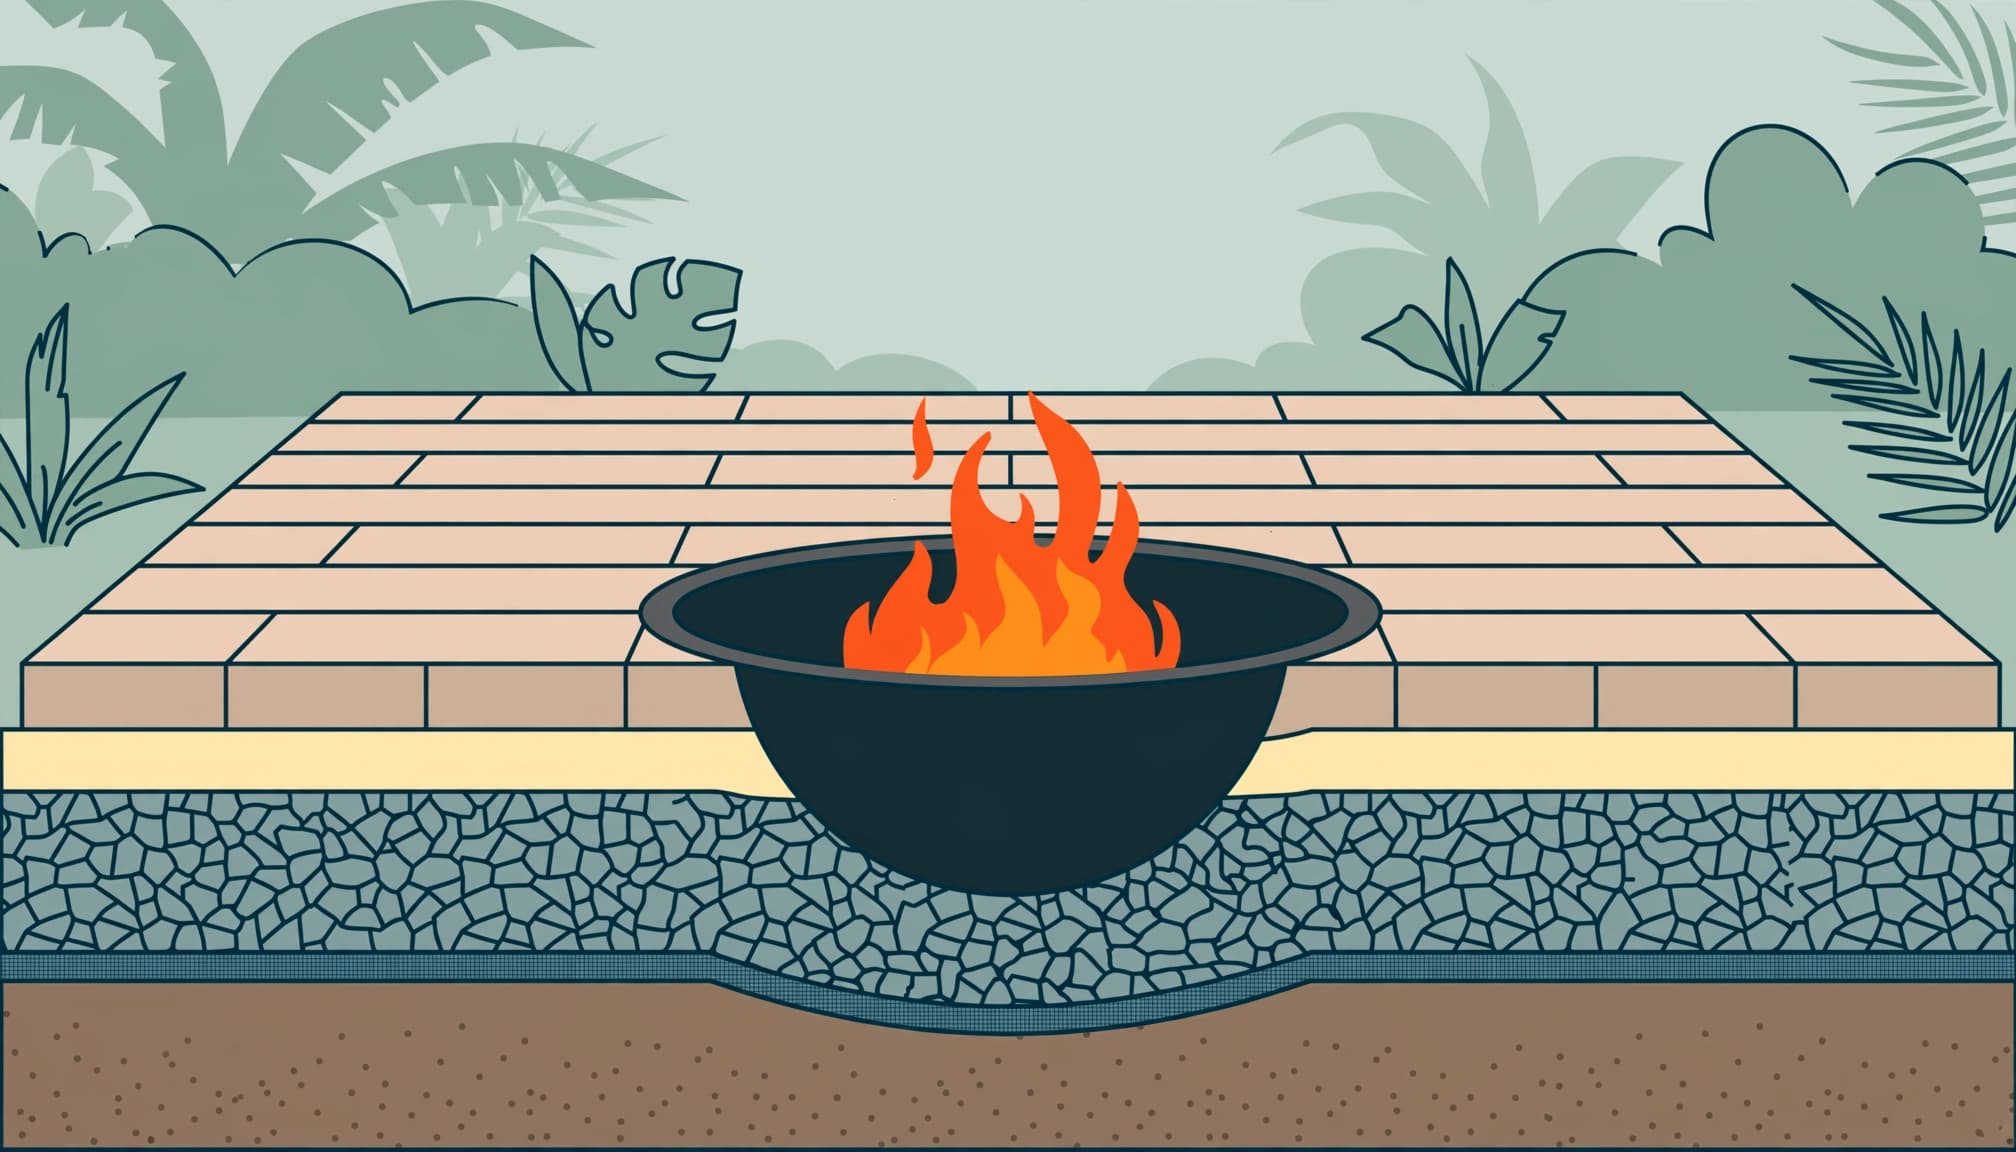
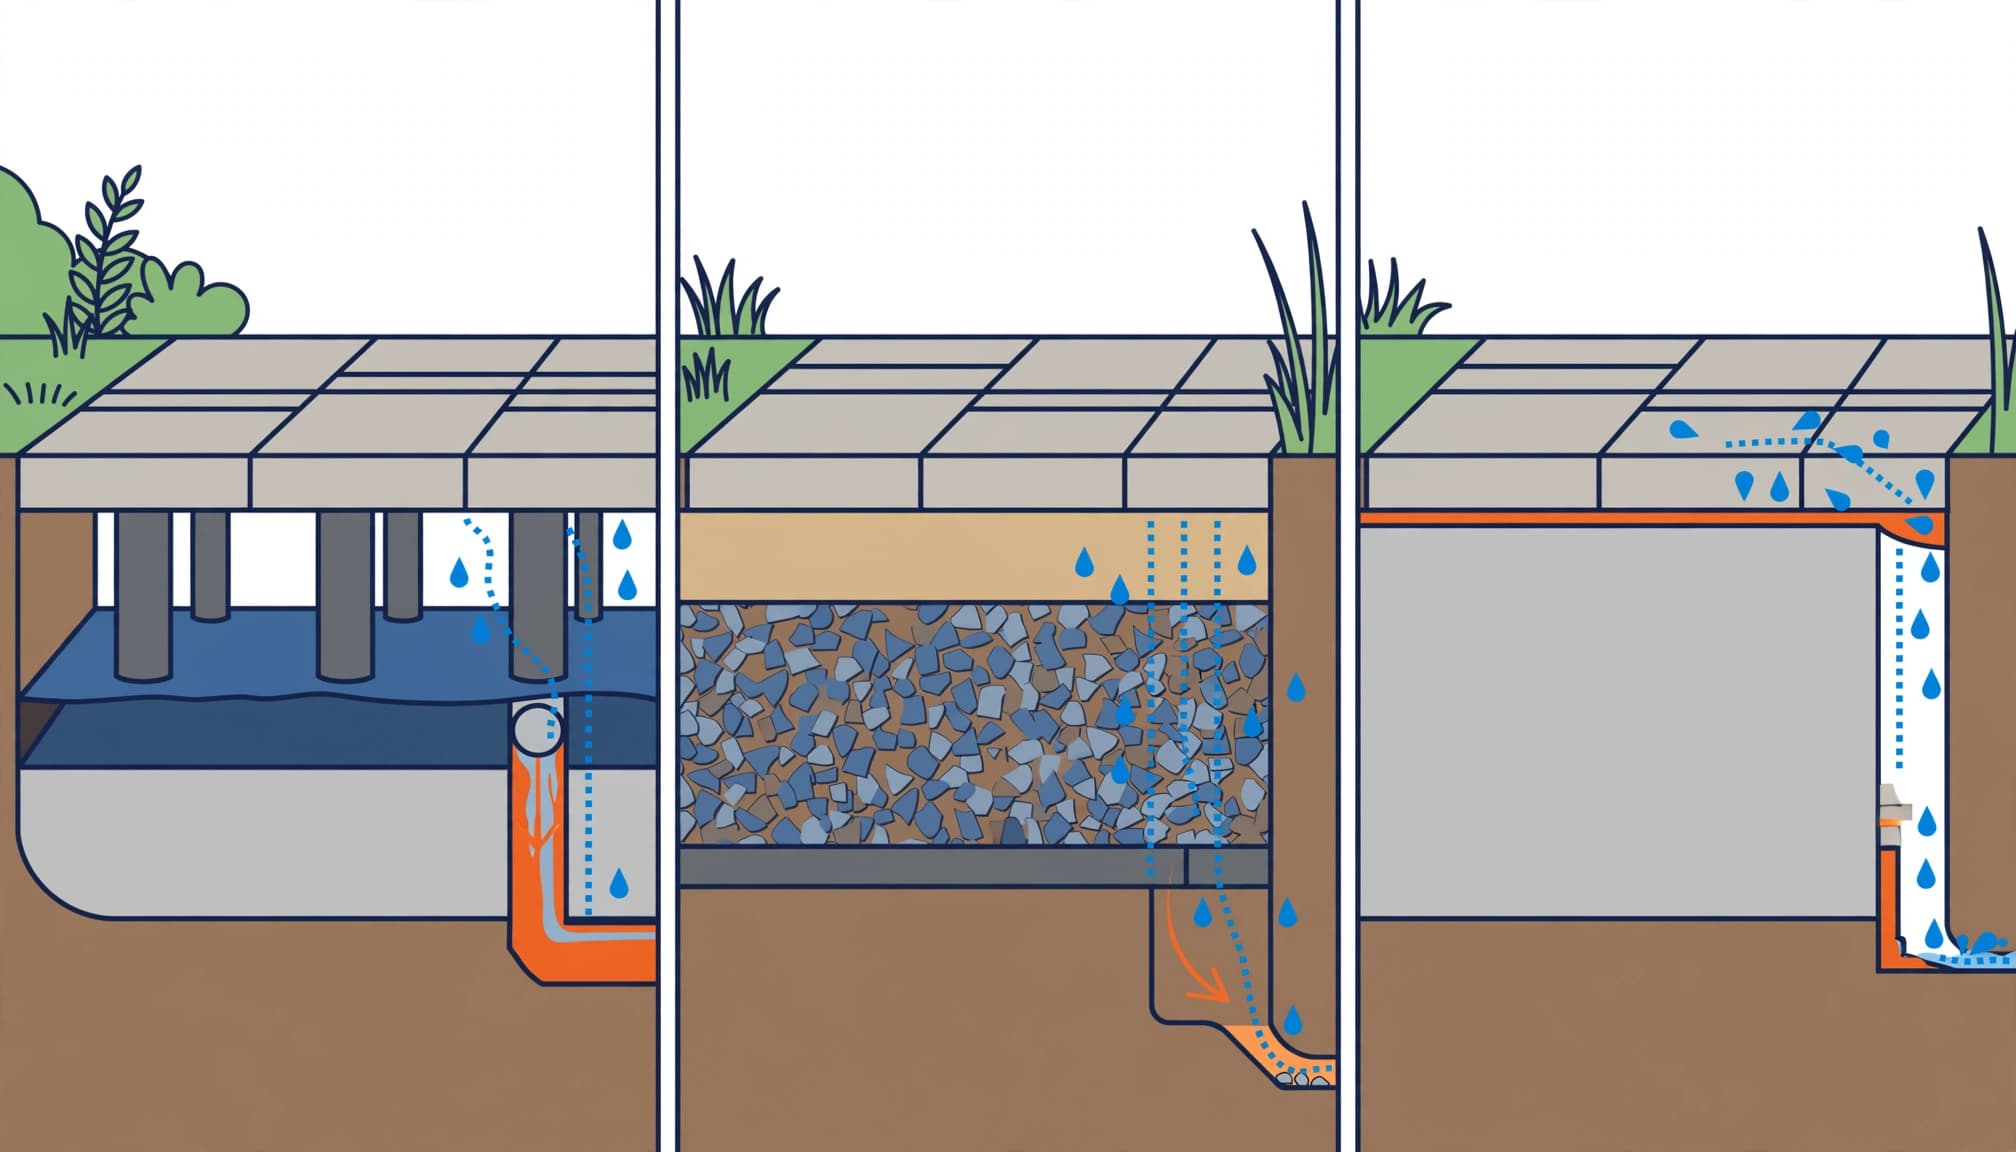
Stone pavers over a dry well can extend your patio or create a standalone shower foundation. Gravel beneath the surface provides temporary storage and lets water infiltrate suitable soil. The supporting assembly must keep the pavers stable. The aggregate can trap sediment, but it doesn’t make soapy wastewater safe for discharge.
Cedar flooring over a shower pan provides a flat standing surface with gaps for water to pass through. A metal, plastic, or rubber pan collects water underneath. An attached tube carries it to an approved system for that discharge or a garden-bed reuse arrangement where permitted. The removable wood floor also provides access for cleaning.
A French drain uses an aggregate-filled trench and concealed perforated pipe to collect and move water. Soil or landscaping can conceal the trench, depending on its design. It needs an approved destination away from the home. I wouldn’t connect an open French drain directly to a sanitary sewer.
A small infiltration pit is sometimes proposed for occasional rinsing. One DIY suggestion uses a two-foot hole lined with landscape fabric, filled with pea gravel, and topped with slatted wood. That depth isn’t a sizing standard, and this arrangement doesn’t establish that the soil or discharge route is suitable.
Will Your Soil and Local Rules Allow It?
Dry wells need soil that absorbs water
A dry well won’t work where the ground stays saturated. Clay, compacted soil, and high groundwater can limit infiltration, while sandy ground may absorb water more readily.
The New Jersey dry-well guidance explains that dry wells discharge through infiltration into the subsoil. Gravel stores water temporarily, but the surrounding ground still has to accept it.
An infiltration assessment of the yard soil, along with the shower’s flow rate and expected duration, guides sizing.
Shower wastewater and rainwater need separate planning
Local codes govern dry-well placement and construction. Plumbing and discharge rules cover shower water, connections to a sanitary sewer line, and permitted reuse.
Rainwater normally stays out of sanitary sewers. A rain-exposed French drain that carries run off water can introduce stormwater and increase backup risk.
The EPA’s drainage-well guidance addresses groundwater protection and regulatory requirements. A stormwater infiltration design doesn’t automatically authorize shower wastewater disposal. I recommend a qualified plumber for the plumbing connection, particularly where soap use is planned.
How to Install Pavers Around the Drain
Establish the grade and supporting base
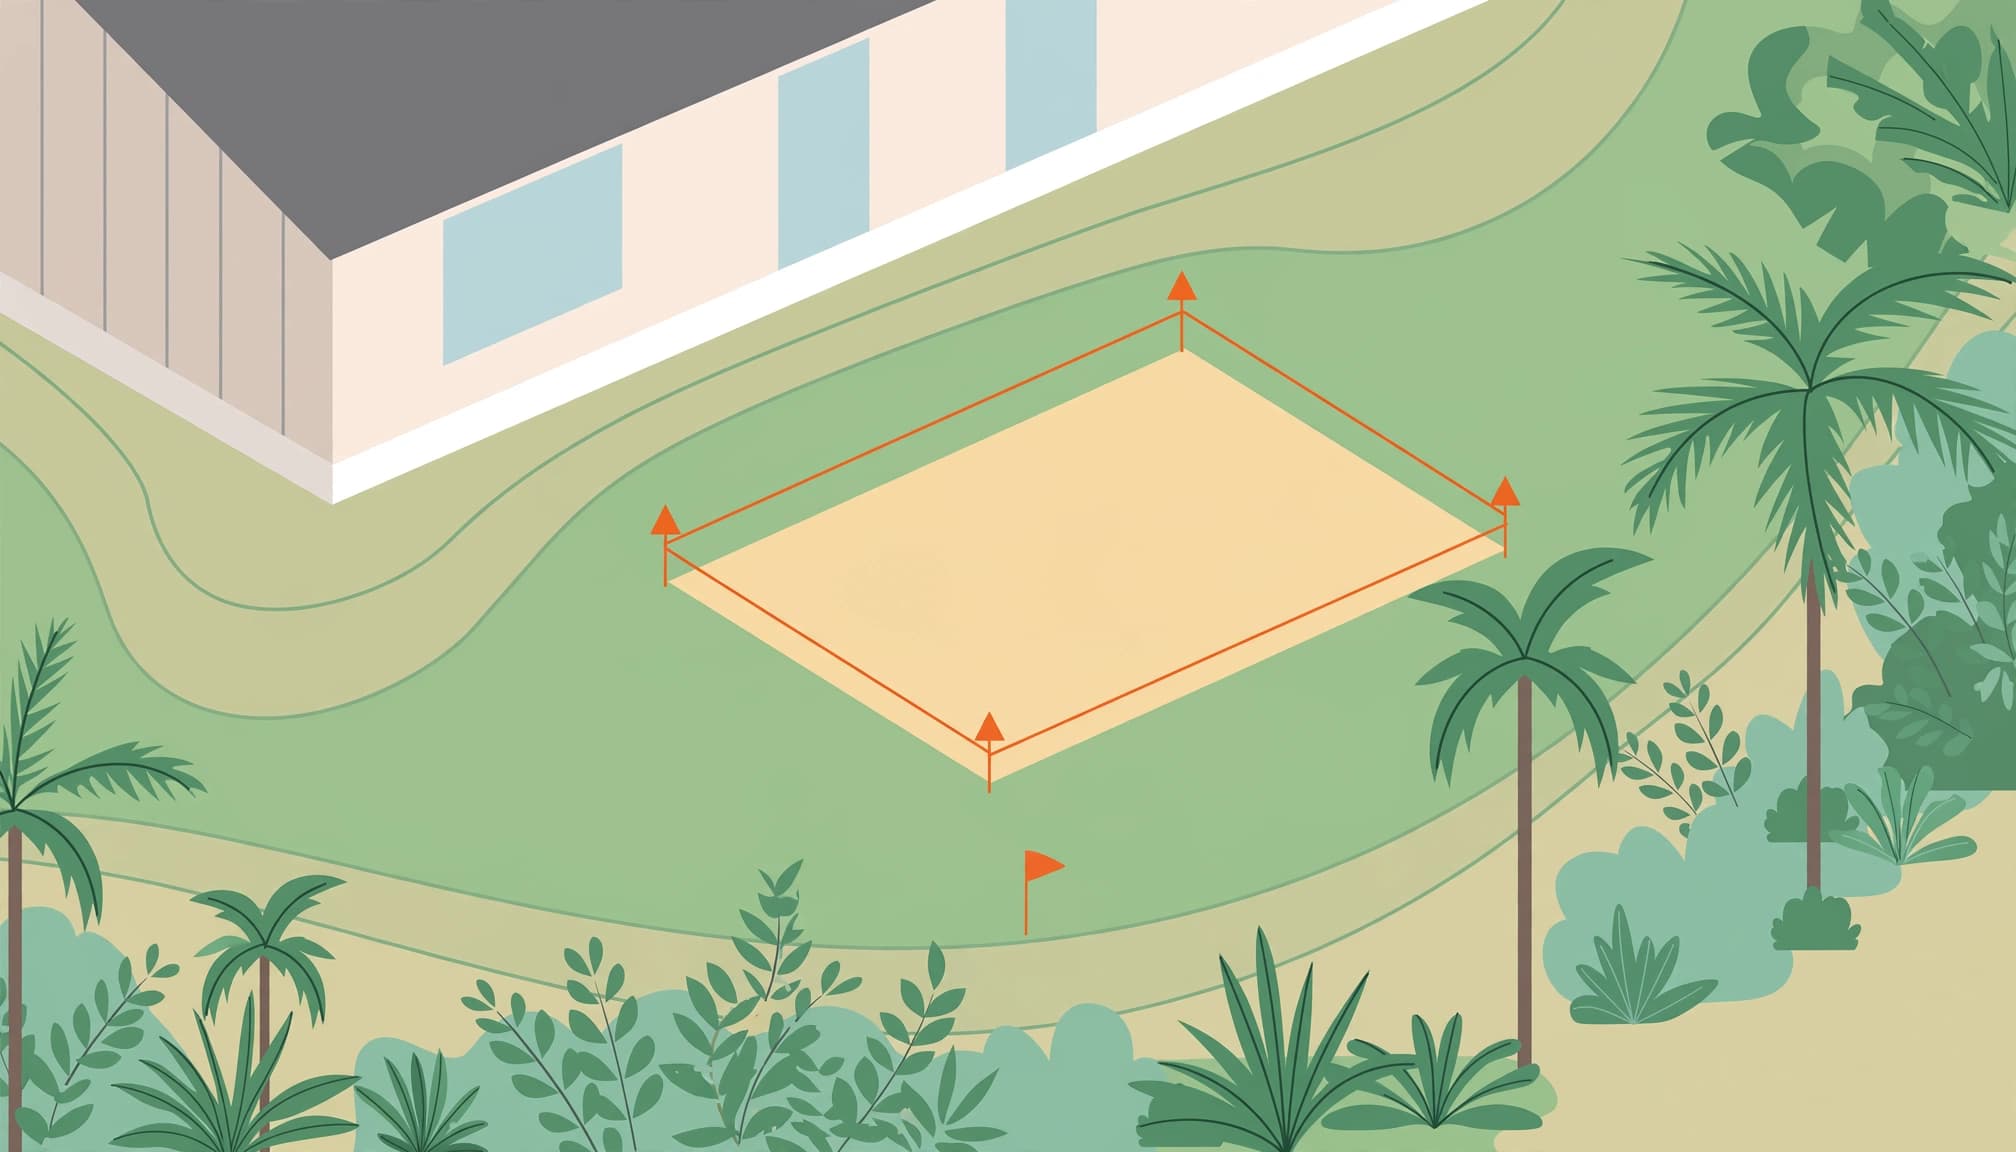
I start with the finished surface height and follow the entire water route. Keep drainage away from foundations, screen-enclosure footers, pool structures, and neighboring properties.
Pitch the shower surface toward its collection point without creating uncomfortable footing. Include roof runoff, irrigation, and surrounding grades in the design.
Remove unstable material, build the specified aggregate base in controlled lifts, and provide firm edge restraint. Our paver installation preparation guide explains why elevations and water flow belong in the plan before paving begins.
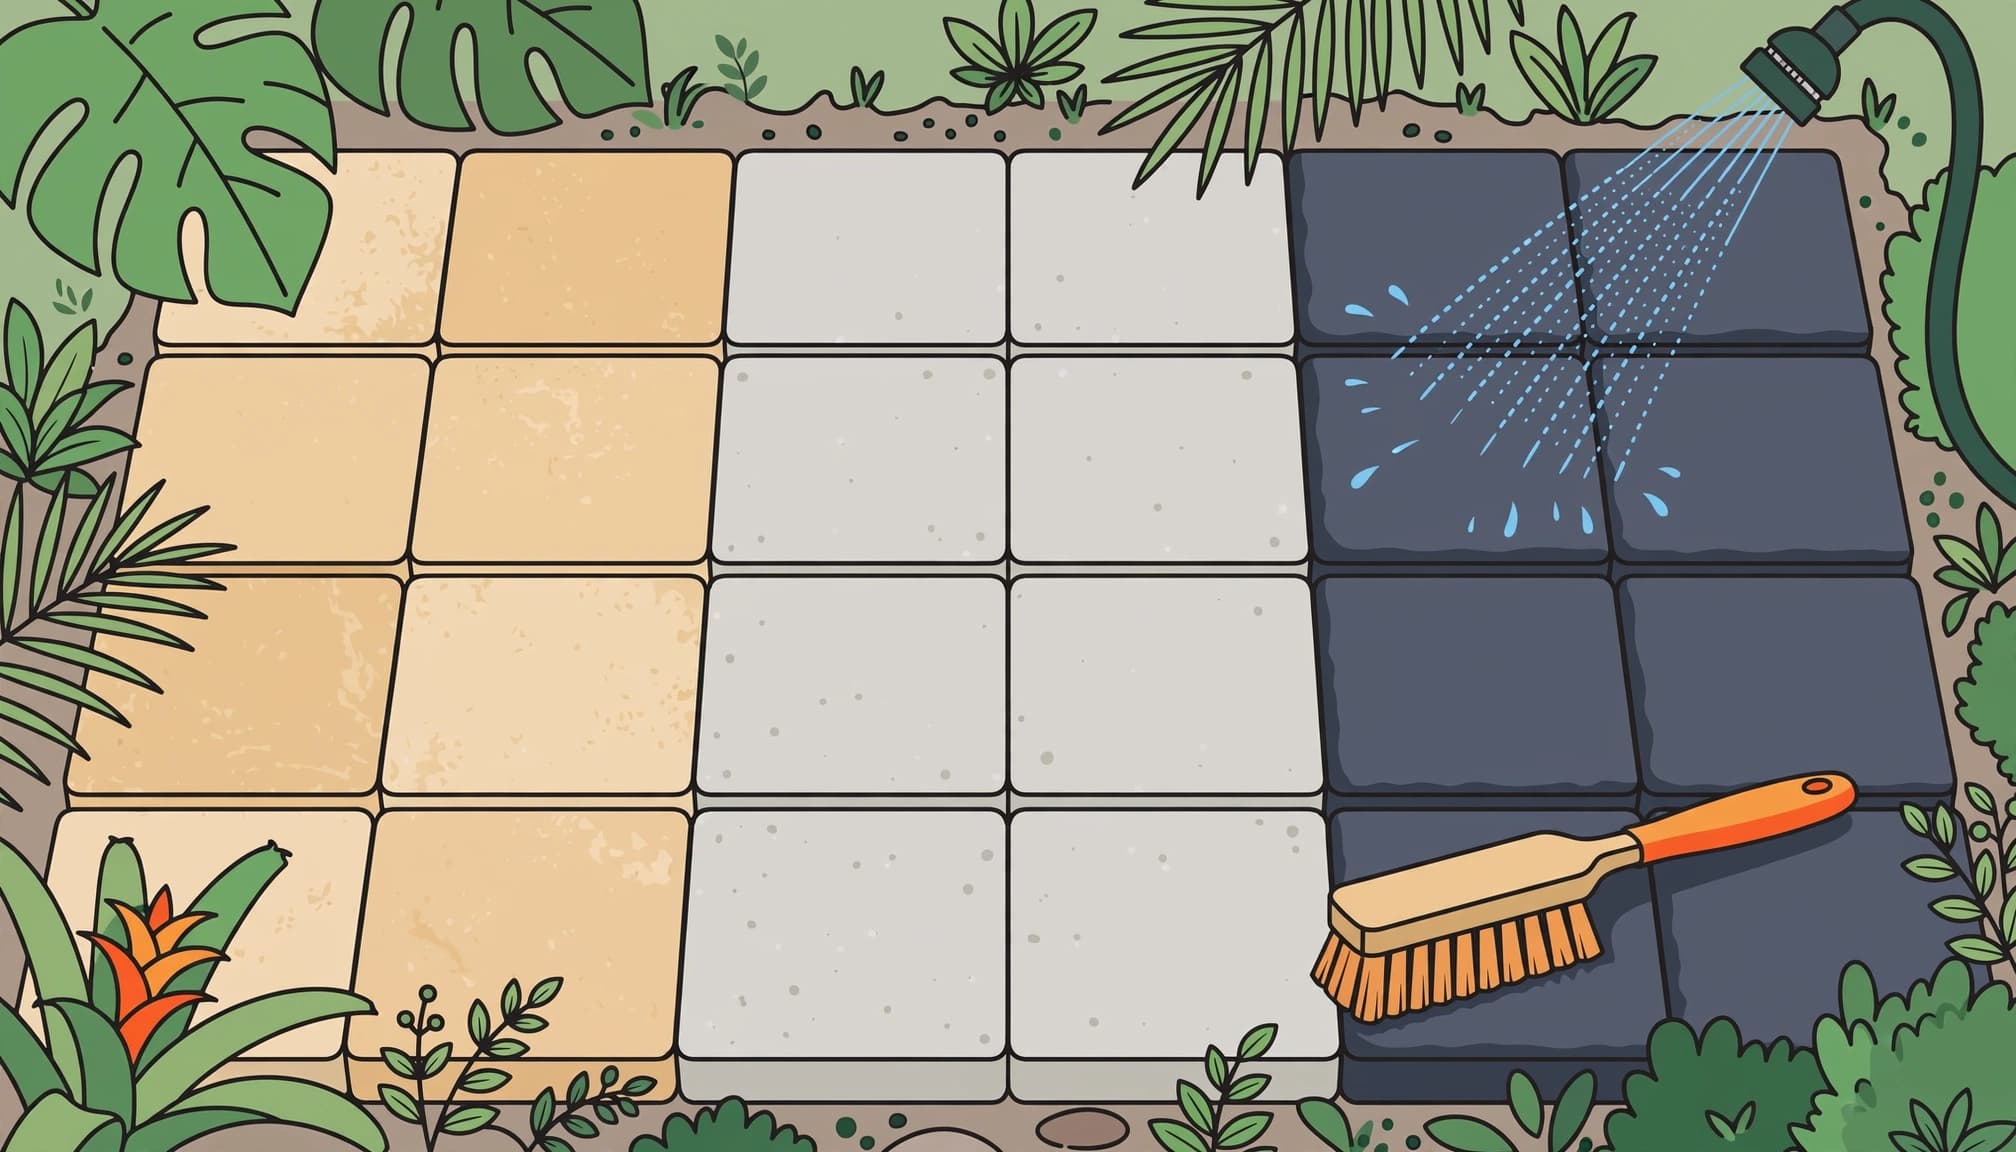
Use textured, barefoot-friendly pavers, and keep the removable grate accessible. Ordinary pavers need their specified bedding and joints; permeable systems need compatible open-graded aggregate instead.
Set the channel drain before finishing the pavers
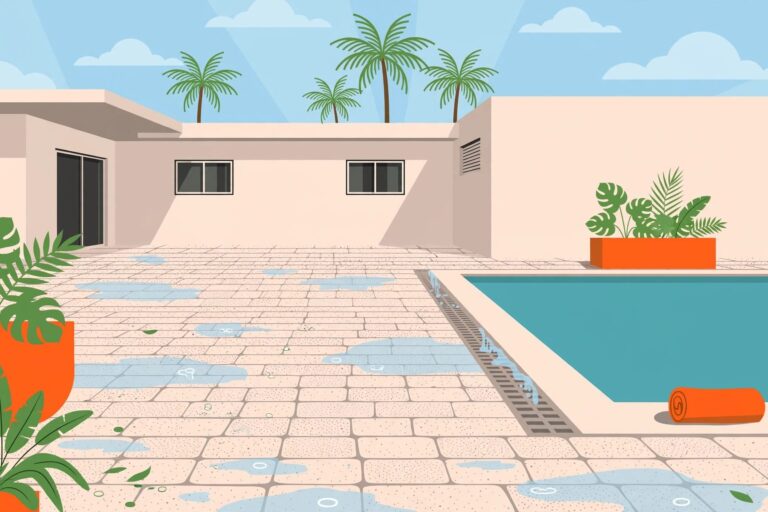
A linear channel can collect water along one edge. Some kits use 304 stainless steel in one-metre sections, with snap-out grates and narrow slots that reduce leaf and small-object entry.
For a concrete-supported channel drain kit, the installation sequence is:
Excavate the trench with room for its support.
Place the specified cement-based concrete bedding.
Set the U-channel to its required elevation and outlet fall.
Level and firmly seat the assembly without distorting it.
Fit the cover plate and concrete support along both sides.
Finish the adjoining pavers without blocking grate removal.
Some kits have cuttable pipe lengths and specialty sealing tape. Watertight joints depend on the specified connection method; tape isn’t a substitute for proper fittings.
After curing, run water through the assembly. Look for ponding, leaking connections, rocking pavers, or water escaping into the bedding.
Outdoor Shower Drain FAQ
Is a shower pan necessary?
Not every approved outdoor rinse arrangement needs a pan. Some homeowners consider one excessive for occasional rinsing, but a pan provides controlled collection. I favor that control when wastewater must enter plumbing rather than soak into the ground.
Can a stainless-steel trench drain support cars?
Only when the complete drain assembly is rated and installed for vehicle loads. Some kits advertise thickened grates strong enough for cars, but stainless steel alone doesn’t establish load capacity. A shower-area drain doesn’t need driveway loading unless vehicles actually cross it.
Start With Dependable Drainage
Pavers can make an outdoor shower comfortable, attractive, and easy to connect with your patio. The lasting result depends on stable support and controlled water flow, including what happens below the surface.
I recommend settling the water route before selecting the finish. Contact us to Get a Free Quote for your paver project and a free consultation.
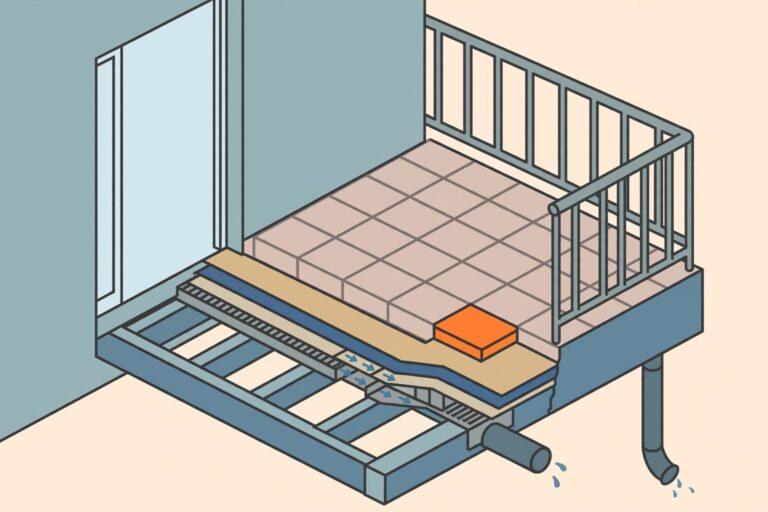
Yes, pavers can be installed on a balcony when the structure can carry the complete assembly and the installation protects drainage, waterproofing, and safe clearances. I recommend making structural approval the first step, before choosing colors or ordering balcony pavers.
A beautiful surface should give you a comfortable outdoor space without creating leaks, loose edges, or excess weight. An elevated balcony needs a different approach than a patio built on the ground.
Start with what supports the surface, then plan everything above it.
Key Takeaways
A structural engineer should evaluate the existing balcony and the proposed paving assembly before installation.
Pavers, supports, protection layers, and other fixed materials all contribute to the added load.
Drainage, waterproofing, railing height, door clearance, and wind resistance need coordinated details.
I wouldn’t treat a balcony renovation as a simple surface replacement. Quality workmanship starts with a design that suits the structure.
CAN THE BALCONY SUPPORT PAVERS?
A balcony may have a concrete slab, wood framing, steel supports, or a combination of materials. That construction affects which paving systems are suitable.
Start with the structure and its condition
A licensed structural engineer needs to evaluate the original design, existing condition, supports, and connections. Previous renovations and existing finishes also belong in that review.
Cracked concrete, exposed reinforcing steel, rust staining, soft wood, or visible sagging deserve attention before any materials arrive. A clean-looking surface doesn’t establish that the structure underneath is sound.
If the balcony shows significant deterioration or movement, keep people and stored materials off it until a qualified professional evaluates the condition.
Separate an elevated slab from a ground-level patio
A ground-supported patio transfers weight into the soil. A balcony transfers weight through its structural supports and connections, so the installation methods aren’t interchangeable.
Our guidance on installing pavers over concrete explains why the existing surface matters. An elevated slab adds another requirement: its load capacity must support the proposed renovation.
I wouldn’t copy a driveway or patio specification onto a balcony. Several inches of aggregate and bedding material can add substantial permanent weight.
ACCOUNT FOR THE COMPLETE INSTALLED WEIGHT
The paver itself is only part of the calculation. Every layer needs to be included before the assembly is approved.
Include every permanent component
The proposed dead load includes pavers, pedestals, pads, protection layers, drainage products, mortar where specified, and other fixed materials.
Removing an existing finish may reduce the net increase, but that requires an accurate accounting of what comes out and what goes back. Furniture, occupants, and movable planters also affect how the balcony is used and loaded.
I recommend resolving the full assembly before ordering materials. Changing paver thickness or adding a leveling layer later can change the structural calculation.
Consider concentrated support loads
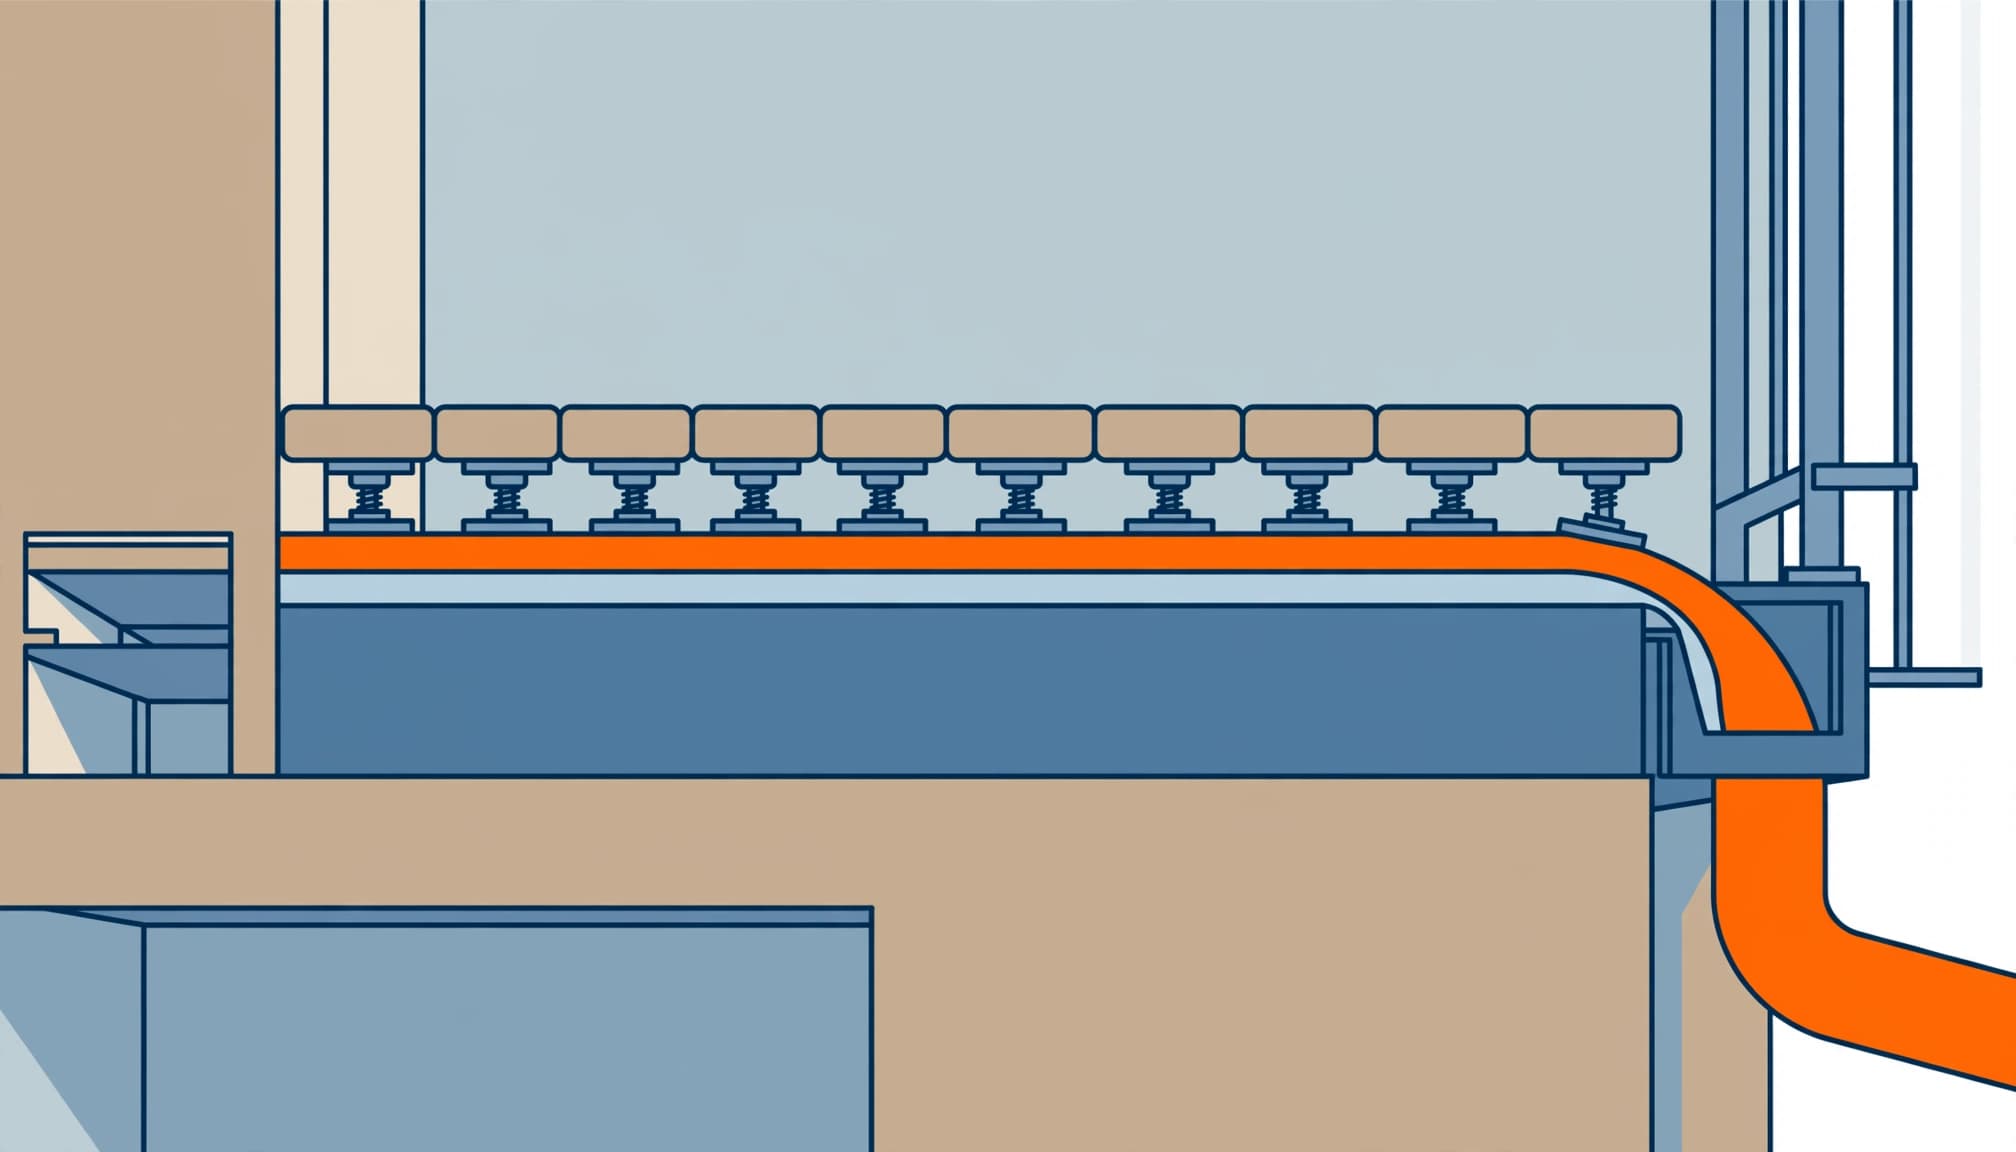
Pedestals carry weight at individual contact points. Their reactions must suit the supporting deck, insulation if present, and protective layers beneath them.
A support system can spread the walking surface across the balcony while still applying concentrated pressure below.
A balcony’s design live load isn’t an allowance for adding the same amount of permanent paving weight.
There is no universal safe added paver load for every existing balcony. The approved capacity comes from the actual structure and proposed assembly.
WHICH PAVER MATERIAL MAKES SENSE?
I recommend selecting the material after the structural limits and installation method are established. Color and pattern still matter, but the product must suit the support system.
Here are the main considerations for common materials.
Material
What matters on a balcony
Concrete pavers
Unit thickness, actual weight, edge support, and compatibility with the specified assembly.
Porcelain pavers
Approval for the intended elevated installation, support layout, wet traction, and any required breakage protection.
Natural stone
Actual thickness and weight, stone strength, support requirements, and appropriate cleaning products.
The right choice is a coordinated assembly, rather than a material name alone.
Porcelain intended for outdoor pedestal use is different from ordinary thin floor tile. Concrete and natural stone also need support details that match the actual units.
Choose a finish suitable for wet outdoor use. Rain, algae, sunscreen, and dirt can affect traction, so a smooth showroom sample doesn’t tell the whole story.
I also recommend keeping replacement units available. Individual pavers may be removable, but matching a discontinued size or finish later can be difficult. That small planning step can make future maintenance easier.
KEEP WATERPROOFING AND DRAINAGE WORKING
Water will pass through many paver joints. On a balcony, that water needs a protected route across the underlying drainage surface and into the intended outlet.
Protect the membrane below the surface
The pavers aren’t the waterproofing. The membrane, flashings, wall connections, door details, and penetrations work together to keep water out of the building.
Supports and protection layers must be compatible with that membrane. Sharp edges, unapproved adhesives, or poorly placed supports can damage it.
I recommend addressing existing leaks before covering the area. Staining below the balcony, damp interior finishes, or deteriorated edge details may require professional leak investigation and repairs.
Sealer on the pavers won’t repair a damaged membrane underneath.
Preserve a clear drainage route
A raised paver surface can be level while the waterproofed deck below slopes toward its outlet. Those two surfaces have different jobs.
Keep drains, scuppers, and overflow paths accessible. Debris trapped beneath the surface can obstruct water even when the visible pavers look clean.
Standard pavers don’t automatically create a permeable pavement system. Likewise, water disappearing between balcony pavers doesn’t prove that drainage is working.
Use the joint arrangement specified for the assembly. Don’t sweep polymeric sand into a pedestal system designed to drain through open joints.
CHECK DOORS, RAILINGS, AND FINISHED HEIGHT
Adding pavers raises the walking surface. That change affects more than the step through your sliding door.
The effective guard height is measured above the finished walking surface. Raising the floor reduces that height unless the guard arrangement is addressed in the design.
Door thresholds, sill drainage openings, flashing, and landing space also need protection. Pavers shouldn’t bury drainage openings or create a surface that directs water against the door.
I wouldn’t solve a low threshold by simply building the paving higher. A dependable entrance needs coordinated elevations, waterproofing, drainage, and safe footing.
Measure the complete assembly, including supports and protection layers. Leave the designed clearance around wall terminations and other vulnerable details.
The finished balcony should let you open the door comfortably and step onto a stable surface. Furniture and planters shouldn’t crowd that landing or interfere with the railing.
PLAN FOR WIND AND PROJECT APPROVALS
Southwest Florida balconies face heavy rain and strong winds. The surface and its exposed edges need details suited to those conditions.
Wind resistance includes perimeter details
Loose-laid pavers and raised assemblies need a wind-resistance design appropriate to the building’s height, exposure, and location.
Coastal wind forces and connection design are addressed in FEMA’s Coastal Construction Manual. For a balcony renovation, that means wind belongs in the engineering discussion along with gravity loads.
Edge restraints, corners, cut pieces, and attachment methods need planned details. Don’t drill through waterproofing or attach restraints to a railing without an approved design.
Put responsibilities in writing
Florida Statutes Section 553.79 generally requires permits for construction, alteration, modification, and repair, subject to exceptions. That doesn’t make every balcony overlay the same permit case.
The project scope should establish required permits and any condominium or association approvals before installation begins.
Access, protection, cleanup, and responsibilities belong in pre-installation planning for paver work. A balcony scope must also identify structural repairs, waterproofing work, drainage details, and who is responsible for each part.
INSTALLATION AND MAINTENANCE NEED THE SAME CARE
Installation staging needs a load plan too. Pallets, stacked pavers, equipment, and demolition debris can concentrate weight before the finished assembly is in place.
I recommend including delivery quantities, storage locations, and material movement in the installation plan. The balcony shouldn’t become a temporary storage platform without structural approval.
After installation, remove leaves and debris, keep drainage access clear, and watch for rocking units or moving edges. A neat border can still hide missing support.
If a paver moves, inspect its support rather than forcing it down or adding filler. Use cleaning methods compatible with the paver and waterproofing system.
Sealing may protect certain finishes, but it won’t correct loose supports, drainage problems, or leaks. A thick glossy coating can also reduce wet traction.
FREQUENTLY ASKED QUESTIONS
Can pavers go directly over an existing balcony finish?
Only when the existing layers and proposed assembly are suitable for that approach. Loose finishes, trapped moisture, damaged waterproofing, or uncertain support need attention first. I wouldn’t cover those problems and expect the new surface to correct them.
Are pedestal pavers always the best option?
No single system suits every balcony. Pedestals can provide drainage space and access below the pavers, but they also create concentrated support loads and need perimeter and wind details. Available height and membrane compatibility affect whether they are appropriate.
Does sealing make balcony pavers waterproof?
No. Sealing may help protect an appropriate paving material, but it doesn’t turn the finished surface into the building’s waterproofing system. Water management still depends on the membrane, flashings, drainage surface, and outlets underneath.
BUILD A BEAUTIFUL SURFACE ON AN APPROVED PLAN
Balcony pavers can give you a durable, attractive outdoor space when the structure and installation details support the project. I recommend settling load capacity and water management before selecting the final finish.
For help planning the paver portion of your project, Get a Free Quote. Structural engineering and waterproofing requirements should lead the installation plan, so the finished balcony looks good and performs as intended.
The threshold’s crossing height is separate from the patio’s slope and drainage route, but all three must work together. The right height gives you a safe place to step and keeps the door’s drainage openings clear.
I recommend setting the finished elevations first, before choosing pavers or ordering replacement door parts. Start at the doorway, then plan how the patio will carry water away from your home.
Key Takeaways
Keep pavers clear of the door’s drainage openings, sill flashing, and operating parts.
Match the replacement part by door brand, profile, width, and length, not appearance alone.
Repair a weak base or poor drainage before resetting pavers, because extra sand and surface sealer won’t correct missing support.
A quality transition needs both a dependable door assembly and a properly supported patio. Replacing one worn part won’t solve a grading problem outside.
Plan the Paver Patio Door Threshold Height First
Separate Threshold Height From Landing Height
The threshold’s raised profile and the difference between the sill and patio are separate measurements. Both affect how comfortable and safe the doorway feels.
The finished pavers must leave the door’s weep openings exposed and preserve the clearances built into the assembly. Raising the patio until it looks flush can bury those openings and bring stormwater closer to the interior.
I recommend including paver thickness, bedding material, and any existing slab when calculating the finished elevation. An overlay adds height, even when the selected pavers look thin.
If that added height blocks drainage or creates an awkward lip, removing the existing surface and rebuilding the base is the better approach.
Plan Accessible Entry as a Complete System
The 2010 ADA Standards for Accessible Design generally limit the height of the raised crossing at covered accessible doorways to 1/2 inch, subject to listed exceptions. This standard isn’t a universal private-home clearance, and local code requirements vary by location and door type.
A low-threshold entrance needs coordinated door selection, landing elevations, drainage, and waterproofing. Simply raising the pavers against an existing sliding door doesn’t create a dependable accessible entrance.
Keep enough clear landing space for someone to open the door and step comfortably. Avoid an abrupt or unstable lip, and move furniture and planters away from the place where your foot needs to land.
Give Rainwater a Clear Route Away
For patio planning, about 2 percent slope, roughly 1/4 inch per foot, is a useful starting target where the site allows it. Across 12 feet, that produces about 3 inches of fall.
That figure isn’t a universal requirement. The finished grade also has to suit the landing, surrounding property, and available drainage outlet.
Build the fall into the prepared ground and compacted base, then carry it through the finished pavers. Changing only the bedding thickness leaves uneven support underneath.
Our guide to paver layout around a foundation explains why doorways, wall details, and drainage routes belong in the plan before the paving pattern.
Roof runoff matters too. A downspout discharging beside the threshold can overwhelm a small landing or wash material out beneath its edge. Irrigation should also stay off the door and nearby joints.
Where the yard doesn’t provide enough fall, a properly designed channel drain may be part of the solution. It needs a functioning outlet and maintenance access, not just a grate beside the door.
Water disappearing between ordinary pavers doesn’t prove the patio drains properly. It may be carrying bedding material out of the base.
Know Which Patio Door Part You Need
Door Sill and Threshold
On a sliding patio door, the sill is the bottom frame assembly. The threshold is the raised crossing portion, although manufacturers and suppliers sometimes use these terms differently.
The sill may contain tracks, drainage channels, and weep openings. Those features explain why a replacement needs to match more than the visible width.
I recommend identifying whether the trouble is a damaged crossing surface, worn roller track, failed seal, or movement beneath the entire frame. Each calls for a different repair.
Sill Covers, Track Covers, and Rails
A patio door sill cover is a separate piece fitted over a compatible sill surface. It doesn’t replace the complete bottom frame or repair concealed water damage.
A sliding glass door replacement rail repairs the running surface used by the door rollers. A sliding screen door rail supports the screen and is a separate product.
Track covers are profile-dependent, so check the fit and operating clearance before installation. A cover that sits too high can interfere with operation or create another raised edge underfoot.
A PVC barrier strip is another accessory. It isn’t a substitute for a supported threshold or working drainage system.
Measure Before Ordering a Replacement Threshold
A replacement threshold needs the correct cross-section as well as the correct length. I recommend recording the following measurements together, rather than shopping by doorway width alone.
Record the door manufacturer, model information, and identifying marks on the frame or existing part.
Measure the actual component length between its end conditions, rather than relying on the door’s advertised opening size.
Measure the full front-to-back width and note the positions of channels, screw holes, and raised sections.
Record the profile height, roller clearance, and drainage openings that the replacement must preserve.
Photograph the complete sill and an exposed end profile so the shape is clear.
If the roller path is the problem, measure the sliding glass door replacement rail. Check its actual length, profile, and end conditions.
Catalog lengths often describe stock material. Cutting a long part shorter doesn’t make the wrong profile fit.
The final length must also accommodate the door’s end details and installation arrangement. Avoid forcing a replacement between jambs or fastening through an existing drainage channel.
Measure the paver-to-threshold transition at both ends and across the walking area. A patio can look even while one corner has settled enough to collect water.
Match CRL Parts to the Door
Aluminum and Bronze OEM Thresholds
CRL’s patio door threshold catalog lists aluminum and bronze OEM replacement models approximately 4-1/2 to 5 inches wide, with 6- and 8-foot lengths.
Compatibility is tied to particular door systems. Bronze OEM models are listed for Arcadia doors and for Century and Elco doors. Aluminum OEM thresholds are listed for Daryl Doors.
For example, TH802A identifies an aluminum Daryl Doors threshold measuring 5 inches wide by 8 feet long.
I recommend choosing by the original profile and door compatibility first. A similar finish and matching overall width aren’t enough to establish fit. A retail listing’s “best seller” badge, if present, doesn’t establish compatibility.
Stainless Steel Covers and Replacement Rails
CRL’s small stainless steel sill covers are listed in 6-, 8-, and 10-foot lengths. The large covers identified in the catalog are 8 and 10 feet long.
These covers and aluminum OEM thresholds perform different jobs. Comparing them as interchangeable upgrades overlooks how each attaches and what it repairs.
CRL lists aluminum replacement rails, including a sliding glass door replacement rail in 72-, 96-, and 120-inch lengths, plus a separate sliding screen door rail. Its PVC Barrier Strip for Patio Door Thresholds is item THBS8.
Those names help narrow the purchase. A worn running rail calls for a rail repair, while a damaged complete threshold requires a different part and installation approach.
Repair Support Problems Before Sealing
A Gap Under the Threshold Needs the Right Diagnosis
A visible opening at the outside face isn’t the same problem as missing support beneath the door frame. Caulk at the surface won’t rebuild a damaged supporting area.
Rot, frame movement, and water beneath the sill require attention to the door assembly and its waterproofing. A qualified door installer is appropriate when the frame moves or concealed damage is present.
Support methods are manufacturer-specific. For example, Viwinco’s patio door instructions prohibit shimming beneath the threshold or bottom track for that system.
I wouldn’t apply one door’s support detail to every sliding door. The repair needs to preserve the designed support, sill-pan arrangement, and drainage paths.
Settled Pavers Need Base Repair
If the threshold is stable but the pavers rock or dip, the repair belongs below the paving surface.
Lift the affected section, remove failed material, correct the drainage problem, and rebuild the compacted support before resetting the pavers. Adding loose sand beneath one stone can leave the surrounding failure untouched.
Our guide to paver patio joints and borders covers how washed-out support and drainage problems can resemble a simple joint issue.
Joint sand helps stabilize the finished paving system. Sealer protects the surface. Neither restores missing base material, so quality workmanship starts underneath.
Frequently Asked Questions
Can a Sill Cover Go Over the Existing Sill?
Yes, when the cover is designed for that sill profile and the existing assembly remains sound. The cover must leave drainage openings and operating clearances working.
It won’t correct a moving frame, concealed decay, or water entering beneath the sill. Covering those problems only makes them harder to see.
Which Rail Fits a 96-Inch Door Opening?
CRL lists the 96-inch aluminum replacement rail as PLD1659, but a nominal 96-inch opening doesn’t automatically require that finished rail length.
The existing track’s actual length, profile, and end conditions determine fit. The replacement also needs the correct relationship to the door rollers.
Is Stainless Steel Always Better in Wet Conditions?
Material alone doesn’t determine durability. Stainless steel sill covers and aluminum thresholds are different components, and their performance depends on fit, drainage, exposure, and installation.
I recommend repairing the failed component with a compatible part instead of choosing by material name alone.
Build a Safer Doorway Transition
A dependable patio entrance starts with finished height, firm support, and a clear drainage route. The door parts and paver surface need to work together without blocking drainage or creating an uncomfortable step.
I recommend correcting the cause before covering a damaged sill or resetting a low paver. That gives your repair a solid foundation.
For paver installation or repair in Southwest Florida, Get a Free Quote for a free consultation and estimate for your project.
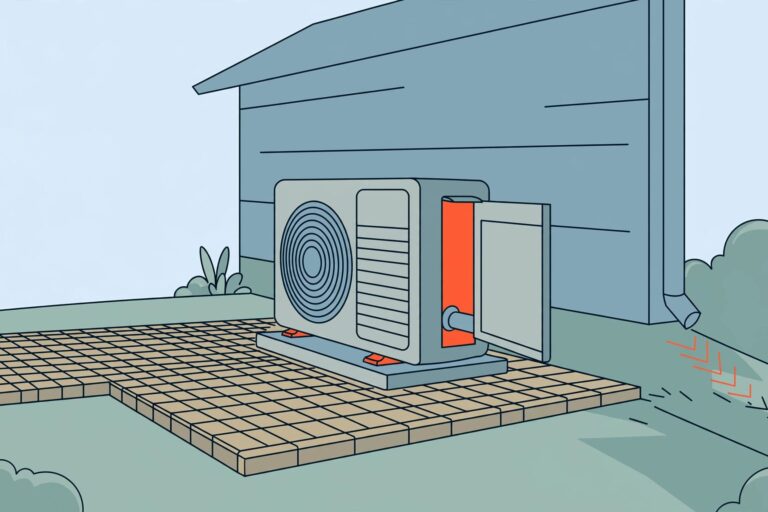
A clean, durable service area depends on a stable base, proper runoff, and level equipment. Keep a sound condenser pad in place whenever possible, and plan the surrounding surface for access and runoff control.
A finished border shouldn’t make your air conditioner harder to service or send rainwater toward your home. Start with the space your equipment needs, then choose the base and finished surface.
Key Takeaways
Follow the AC manufacturer’s clearance requirements and local code, and keep service panels, the electrical disconnect, and a clear route for technicians accessible.
Keep the condenser on a stable, level support that carries every bearing point. Pavers can support equipment only when the full assembly has a suitable base, joints, edge restraint, and anchoring.
Grade the surrounding hardscape to move runoff away from the home, while keeping the condenser’s bearing surface level within its installation requirements.
Choose a firm service area for reliable footing and contain decorative stone around the existing support. Compare the full project cost, including base work, drainage, tools, and any equipment relocation.
Start With Airflow and Service Access
How much clearance does an air conditioner need?
Follow the manufacturer’s installation requirements and applicable local code when setting the open space around an outdoor AC unit. Required clearance depends on its airflow and discharge design, so a 2 to 3 foot zone is only a planning allowance.
The cabinet, often called an AC condenser, may have service panels, a coil arrangement, and a discharge direction that affect the required space. Daikin’s condenser installation guidance illustrates why equipment-specific requirements matter.
Keep the electrical disconnect accessible and leave room to remove service panels. A technician needs a firm standing area and a clear route for tools or replacement equipment.
Can a trellis provide shade?
Position it only where it meets the manufacturer’s requirements, and keep the unit’s discharge path open. Avoid solid roofs or dense enclosures that trap hot exhaust air.
The Department of Energy’s HVAC guide discusses efficiency losses of up to 10% from direct sunlight, including guidance for window units. That doesn’t establish a guaranteed efficiency gain from shading a central condenser.
I put open space first. Broad landscaping shade can help, but a close-fitting screen can create a bigger problem than direct sunlight.
Choose the Equipment Support Before the Surrounding Surface
How thick should a condenser pad be?
Ready-made condenser pads commonly come in 3-inch thicknesses. Typical sizes include 24 by 24, 36 by 36, and 40 by 40 inches.
For a small poured residential concrete pad, 4 inches is a common starting thickness. Equipment weight, soil conditions, reinforcement, and anchoring can call for a different design. Thickness alone doesn’t establish load capacity.
The support must carry every bearing point of the AC condenser without overhang. Leave room for mounting hardware, and keep the finished height above surrounding soil and runoff. In Southwest Florida, wind anchoring also belongs in the equipment installation plan.
Can paving units or gravel replace a poured support?
Paving units can support equipment when the complete assembly suits the load and anchoring arrangement. Separate blocks on loose dirt aren’t a dependable foundation.
The assembly needs a compact subgrade, aggregate, consistent bedding, filled joints, and firm edge restraint. Our guidance on paver base depth in Florida explains how those layers affect excavation.
Loose decorative gravel is better used around a structural support than directly beneath equipment feet. A rated manufactured pad over a properly prepared base is often a simpler choice. I’d keep a stable existing support rather than replace it just to match the surrounding surface.
Give Rainwater a Route Away From the House
Keep drainage slope separate from equipment level
Where hardscape meets the house foundation, grade the surrounding area so runoff moves away from the home and unit. The needed slope and outlet depend on site conditions and applicable requirements.
Keep the condenser’s bearing surface level within its installation requirements, and leave the required airflow around the unit.
A level condenser base and a draining paver surface have different jobs. Set elevations so neither compromises the other.
Our guide to paver layout around foundations covers finished heights and drainage routes. Water needs a suitable destination, such as a swale or outlet.
Stop concentrated water before it washes out the base
A gravel border won’t correct a downspout emptying beside the pad. Address irrigation overspray and runoff from neighboring grades before installation.
Conventional paver joints admit some water, but standard pavers don’t automatically form a permeable pavement system. Water passing through joints can still carry supporting material away.
I recommend correcting the water source before resetting sinking pavers. Adding sand or sealer won’t replace missing aggregate. In a narrow side yard, a drainage channel or grading adjustment may protect both the equipment and foundation.
Compare Rocks, Gravel, and Pavers Around the Unit
Each material has a useful role, but appearance and structural support are separate decisions.
Material
Main advantage
Main drawback
River rock
Attractive, durable border
Rounded stones shift underfoot and collect leaves
Decorative aggregate
Easy to spread around an existing base
Can migrate and needs containment
Block units
Firm footing and a coordinated finish
Need a proper base, joints, and restraints
Crushed stone
Angular particles compact into a stable base
Exposed material can scatter and looks utilitarian
I prefer a firm surface where technicians need reliable footing, with contained decorative stone in adjacent landscaping beds.
Use suitable water-permeable landscape or separation fabric beneath the gravel where soil migration is a concern. Plastic edging can contain it, but it doesn’t automatically qualify as structural restraint.
Keep loose stone below the cabinet and out of the coils. Don’t pile it against electrical connections, refrigerant piping, or the condenser pad. Leave the border easy to clean so leaves don’t build up around the unit.
Build a Stable Concrete Pad in the Right Order
Prepare the ground and allow room for the form
For a form made from standard 2×4 lumber, allow about 3 extra inches across the outside width. Each opposing board is approximately 1 1/2 inches thick. This allowance accommodates the form, not extra equipment support.
Remove roughly 4 to 6 inches of topsoil where needed to reach firm subgrade, then compact it. Plan the excavation to fit the base and slab at the finished height of the condenser pad. Don’t excavate beneath the house footing.
Place about 4 to 6 inches of suitable crushed stone. Compact it in manageable lifts rather than dumping everything in at once. Soft ground that ruts or pumps water needs correction before concrete placement.
Mix and finish without weakening the concrete
Mix bagged concrete in a wheelbarrow using the specified water quantity. A “thick soup” description is sometimes used for workability, but the mix shouldn’t become watery or separate. Extra water can reduce strength.
Set the form, then check it before placing the concrete. Consolidate the mix around the edges and screed the surface. Light floating settles coarse aggregate and brings fine paste, often called the cream, toward the surface.
A bull float can flatten larger areas, while a magnesium float is practical on a small pad. Use an edging or corner trowel for clean edges. Avoid excessive finishing or adding water to the surface.
A broom finish is optional for traction. Protect and cure the concrete before loading it with equipment, then remove the form.
Compare Ready-Made Pad Prices With the Whole DIY Cost
Walmart listings show ready-made pads priced at roughly $69 to $123, depending on size and construction. These are product prices, not installed project costs.
Listed pad
Listed dimensions
Example price
Lightweight equipment pad
24 by 24 by 3 inches
$84.95
Black condenser pad
36 by 36 by 3 inches
$75.45
DiversiTech pad
40 by 40 by 3 inches
$76.48
Mini-split pad
38 by 18 by 3 inches
$69.00
Heavy-duty pad
24 by 48 inches
$123.10
A larger pad isn’t automatically more expensive, and price alone doesn’t determine whether it suits your equipment.
For a fair DIY comparison, include aggregate, concrete, form lumber, screws, delivery, compactor rental, finishing tools, and waste disposal. Equipment disconnection, lifting, reconnection, and anchoring are separate costs.
A manufactured pad suits many straightforward replacements. A poured concrete pad offers custom dimensions but needs forming and curing. Pavers work well when you also want a finished walkway or service area, especially around an existing sound pad.
Compare the full project scope, not just the price of concrete bags. Drainage corrections and difficult access can cost more than the visible pad.
Protect Existing Equipment During Paver Work
Don’t lift, drag, or pry an operating AC unit to slide it aside. Even a short move can damage refrigerant lines or electrical connections, so a qualified HVAC professional should handle relocation.
Keep excavation and compaction away from exposed lines and unsupported edges around the condenser pad. Locate buried utilities before digging, and don’t compact soil near the foundation.
Get HOA approval for landscaping and screening before ordering materials. Trellises, visible hardscape, and landscaping changes may fall under community rules.
A written project scope should identify base preparation around the equipment support, drainage corrections, edge support, finished elevations, and who handles the unit. For low spots near the foundation, our guide to sandy-soil base repairs explains why rebuilding support is more dependable than adding loose sand.
Frequently Asked Questions
How much clearance does an AC unit need?
Follow the manufacturer’s installation requirements and applicable local code. A 2 to 3 foot zone is only a planning allowance because the required clearance depends on the unit’s airflow and discharge design.
Can pavers replace a poured condenser pad?
Paving units can support equipment when the complete assembly suits its load and anchoring arrangement. The base needs compacted subgrade, aggregate, consistent bedding, filled joints, and firm edge restraint.
Should the condenser pad and the surrounding pavers both be level?
Keep the condenser’s bearing surface level within its installation requirements. Grade the surrounding hardscape so runoff moves away from the home and unit, with a suitable destination such as a swale or outlet.
What should a DIY pad cost comparison include?
Include aggregate, concrete, form lumber, screws, delivery, compactor rental, finishing tools, and waste disposal. Equipment disconnection, lifting, reconnection, and anchoring are separate costs.
Quality Work Starts Below the Surface
A finished area around an air conditioner needs stable support, usable service access, and drainage that directs runoff away from the unit and home. Keep the concrete pad sound, and arrange pavers so the area stays maintainable without reducing equipment efficiency.
For a consultation and project estimate, Get a Free Quote from Platinum Pavers of SWFL. The team can plan a clean layout that’s practical to maintain.
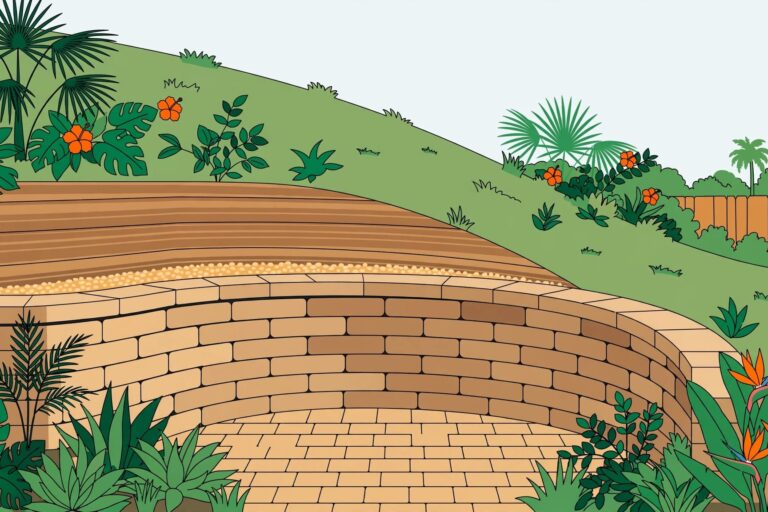
Properly built paver retaining walls hold back soil and create usable outdoor areas where your Florida yard changes elevation. I recommend retaining wall blocks designed for soil support, with a compacted foundation and planned drainage.
A wall can help create a beautiful patio or garden terrace, but Florida’s heavy rain and loose fill can affect its stability. The foundation deserves as much attention as the finished appearance.
Start with the right materials, then build each course carefully.
Key Takeaways
Use retaining wall blocks designed for soil support, with a compacted base and drainage materials suited to the wall design. Ordinary pavers aren’t interchangeable with structural wall blocks.
Check the grade, wall height, and loading before choosing a layout. The 2023 Florida Residential Code calls for accepted engineering practice when a wall retains more than 48 inches of unbalanced fill or is over 24 inches high and resists additional lateral loads.
Compact the foundation in layers and level the first course carefully. Follow the selected block system’s instructions for setbacks and connections.
Plan where water behind the wall and runoff across the yard will go. After heavy rain, check for leaning courses, separated joints, washed-out soil, or water collecting behind the wall.
Plan terraces, steps, paths, and planting areas around how you use the yard, and account for maintenance access and water flow.
Materials for paver retaining walls
Have the wall materials ready before excavation so the trench doesn’t sit open while you source more aggregate.
For a small segmental block wall, the main materials are:
Retaining wall blocks and compatible finishing caps, with extra units for cuts.
Compacted paver base aggregate, clean stone, and suitable geotextile fabric.
Perforated drain pipe and fittings where the design requires them, plus exterior landscape construction adhesive approved for the caps.
Belgard and Pavestone offer retaining wall systems, but ordinary pavers aren’t interchangeable with structural wall blocks. Choose the assembly for its intended height and loading conditions.
Basic equipment includes a shovel, hand tamper or plate compactor, tape measure, string line, torpedo level, and cutting tools. Cutting equipment needs appropriate dust control, eye protection, hearing protection, and sturdy footwear.
I keep base aggregate and clean stone separate. The base needs material that compacts firmly, while clean stone allows water to pass through for drainage. Decorative river rock can’t replace the specified compactable base aggregate.
Decide whether the grade needs a retaining wall
A moderate slope can sometimes support one continuous paved surface. A sharp drop usually needs a retaining wall, especially if you want comfortable seating or a connection between the patio and lawn.
Measure the total rise and horizontal distance before choosing a layout. Stakes, string, and a tape measure help establish elevations; a laser level makes longer runs easier.
Our guidance on pavers for sloped yards explains how the downhill edge, soil support, and runoff affect the installation.
I recommend terracing when the grade would leave an exposed edge or make the outdoor space difficult to use. Terraces and steps divide the elevation into smaller sections.
Pay attention to disturbed ground around pools, screen enclosures, utility trenches, and newer construction. Sandy soil can drain quickly, but loose fill can still settle or wash away.
Before digging, arrange utility locating and identify irrigation, buried lines, and septic components. Keep machinery and material storage away from protected areas. A small project can damage buried services if access isn’t planned.
Plan wall height, loading, and Florida drainage
When does a retaining wall need engineering?
Wall height alone doesn’t describe the job. A driveway, pool, steep slope, or heavy outdoor feature behind the wall adds loading.
The 2023 Florida Residential Code calls for accepted engineering practice when an unsupported wall retains more than 48 inches of unbalanced fill. It also applies to walls over 24 inches high that resist additional lateral loads.
That engineering trigger is separate from permitting. Permit-height measurements can start at the bottom of the footing, so exposed height doesn’t tell the whole story.
Local requirements also differ. Sumter County’s permitting guidance covers construction requirements and exemptions. It doesn’t give statewide permission to build without a permit.
I recommend professional design for walls supporting vehicles, structures, or significant elevation changes. Geogrid reinforcement needs a designed layout, not an improvised strip behind the blocks.
Does a 3-foot wall need drainage?
I plan for water movement behind a 3-foot wall rather than relying on gaps between blocks. The design depends on soil, groundwater, runoff, and the wall system.
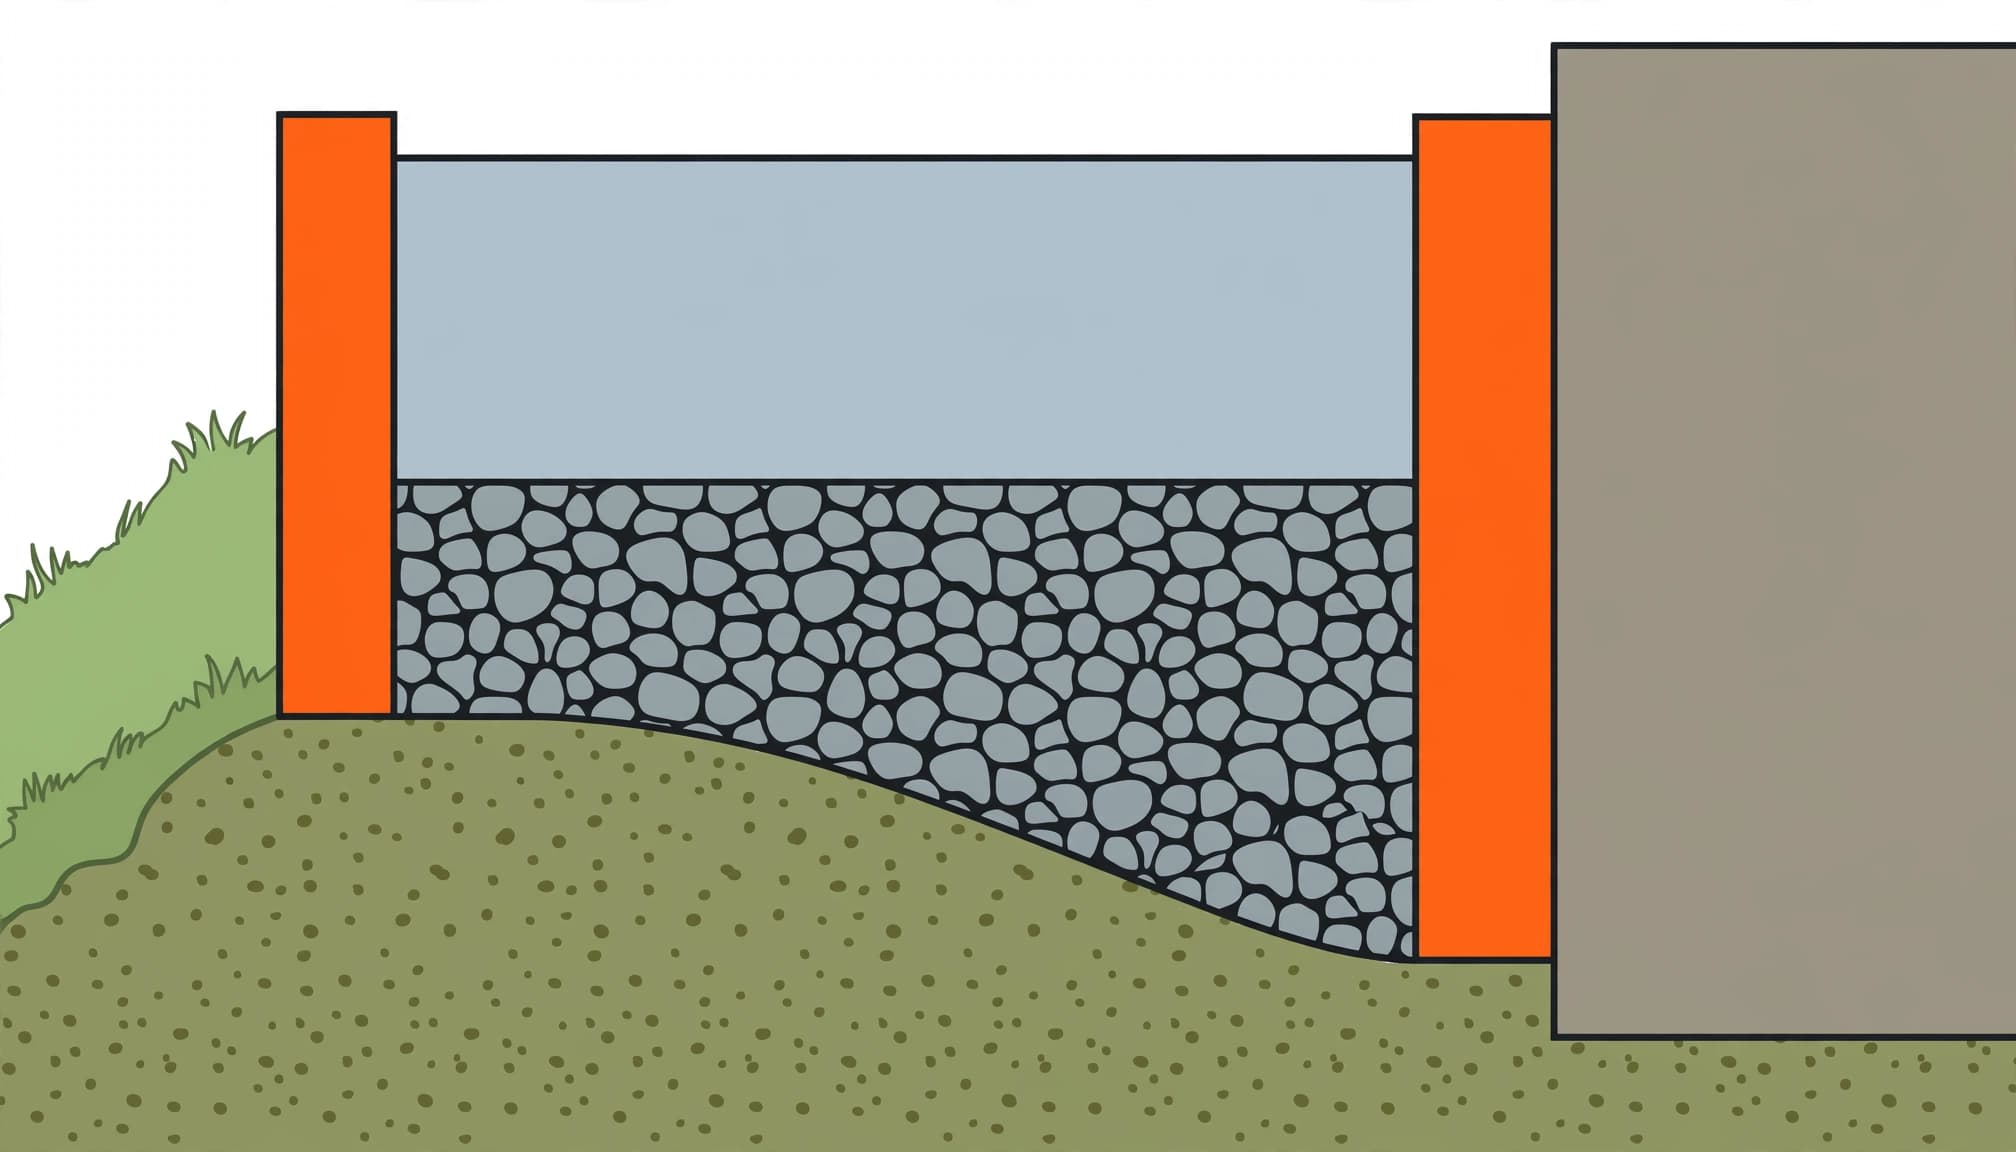
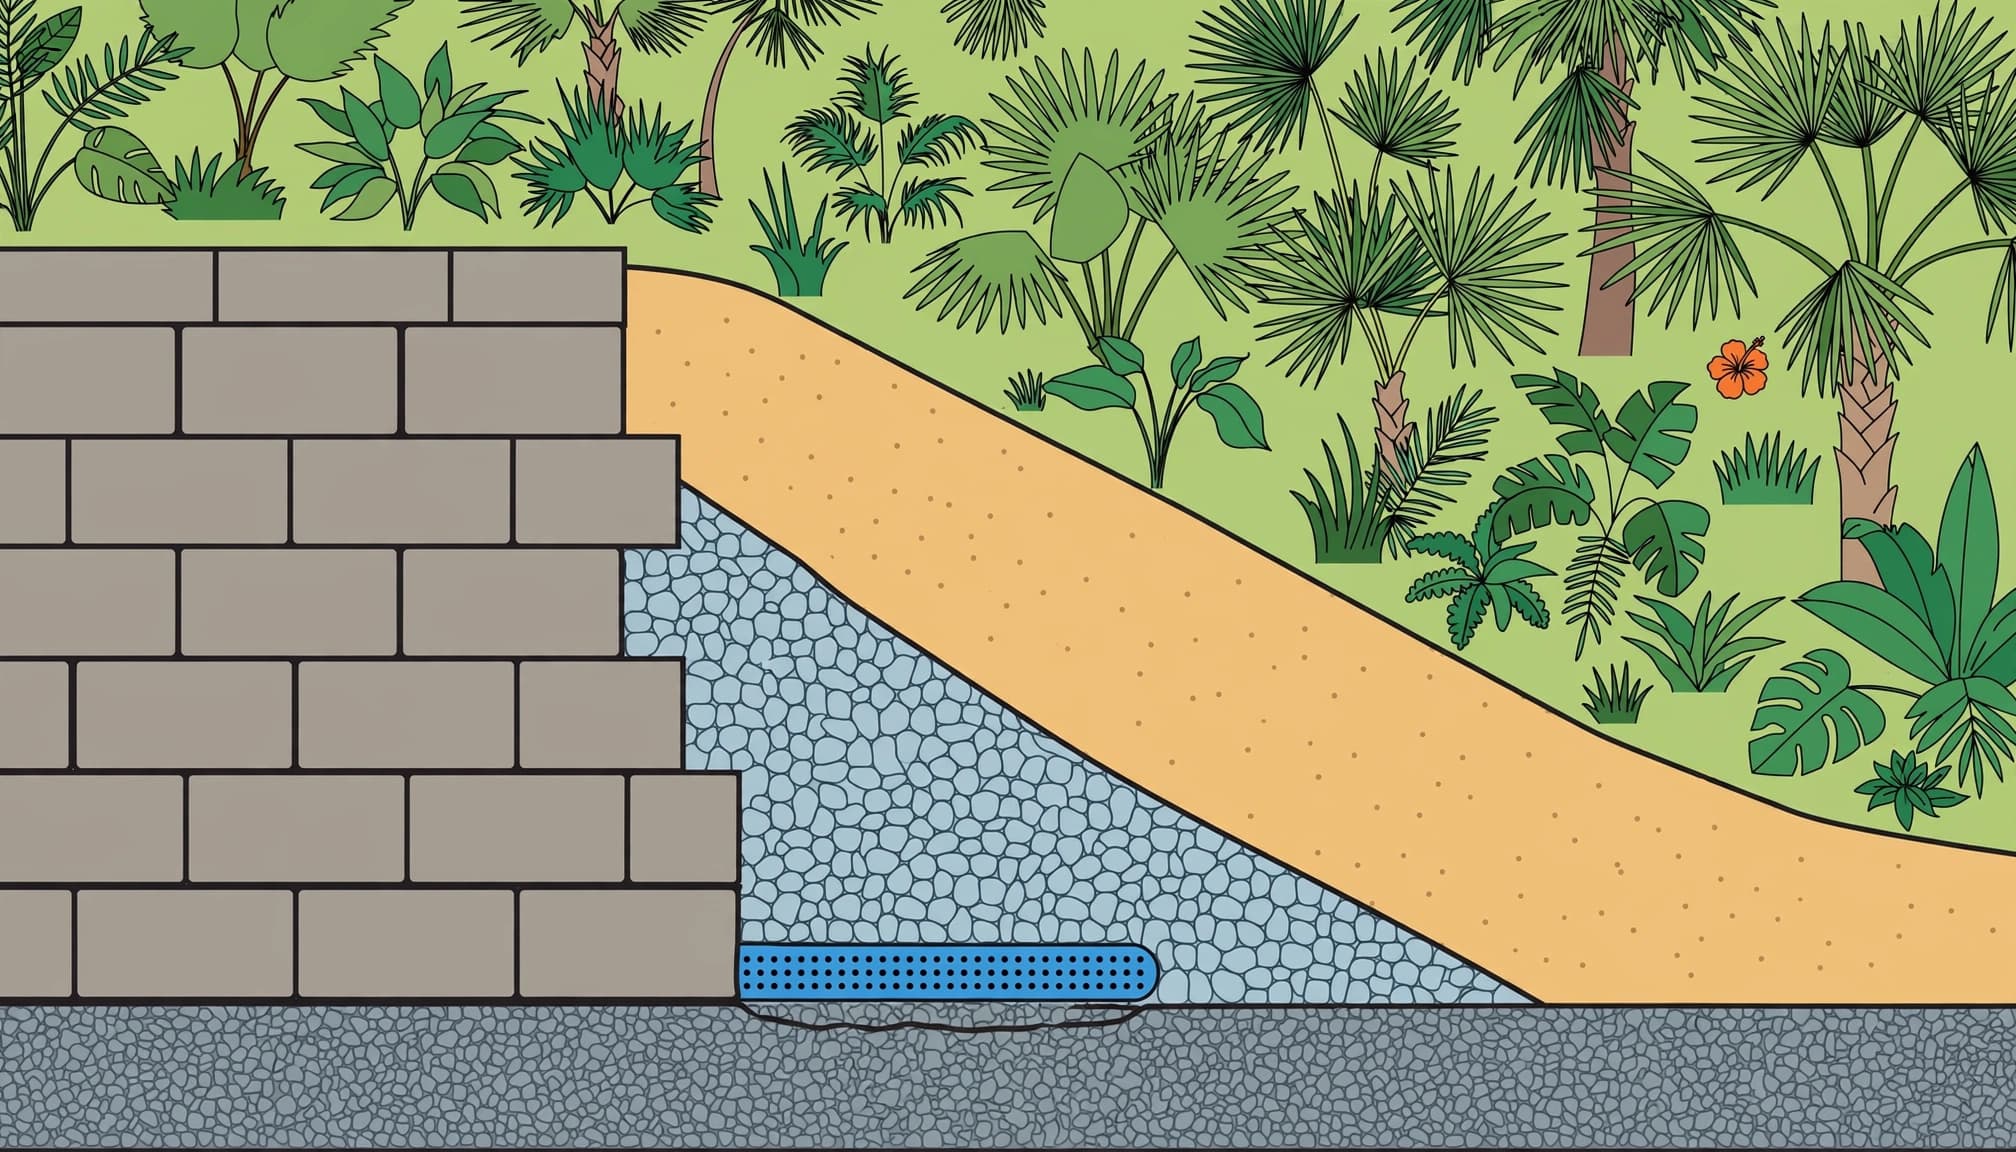
Taller walls commonly use 3/4-inch clean crushed gravel, perforated drain pipe, and suitable fabric to separate soil from the gravel. The pipe needs an outlet that releases water safely.
Roof runoff, irrigation, and pool overflow also matter. Keep those flows away from building foundations, enclosure footings, and unsupported outdoor surfaces.
Southwest Florida’s main concerns are heavy rain, wet fill, and washout. A cold-climate frost-depth detail doesn’t automatically suit the yard.
Dig the trench and compact the foundation
1. Establish elevations and trench depth
Set the finished wall height against the lower and upper yard grades. Mark the level, wall line, water-management area, and outlet before excavation.
For a section buried up to its cap elevation, use this trench-depth calculation:
(Block height x number of rows) + cap height + compacted base depth = trench depth.
That calculation includes the full buried assembly. For an exposed retaining wall, excavation below the lower grade accommodates only the buried block portion and compacted base.
This distinction matters. Excavating for the full aboveground wall height would make the excavation unnecessarily deep.
Include space behind the blocks for water movement and any designed reinforcement.
2. Excavate and compact in layers
A common small-wall guide calls for a trench about twice the block’s front-to-back width. Larger engineered assemblies need their designed excavation dimensions.
Remove grass, organic material, and soft pockets. Tamp the trench bottom solid before adding aggregate; compacting stone over unstable soil leaves the weakness underneath.
Small landscape walls commonly use 3 to 6 inches of compacted paver base. Wall height, soil, and the selected assembly determine the final depth.
Place aggregate in controlled lifts and compact each lift separately. Don’t dump the entire base depth into the prepared area and compact only the surface.
Our advice on paver installation preparation explains the same foundation principle: loose sand can’t repair weak support.
Level the first course and stack the blocks
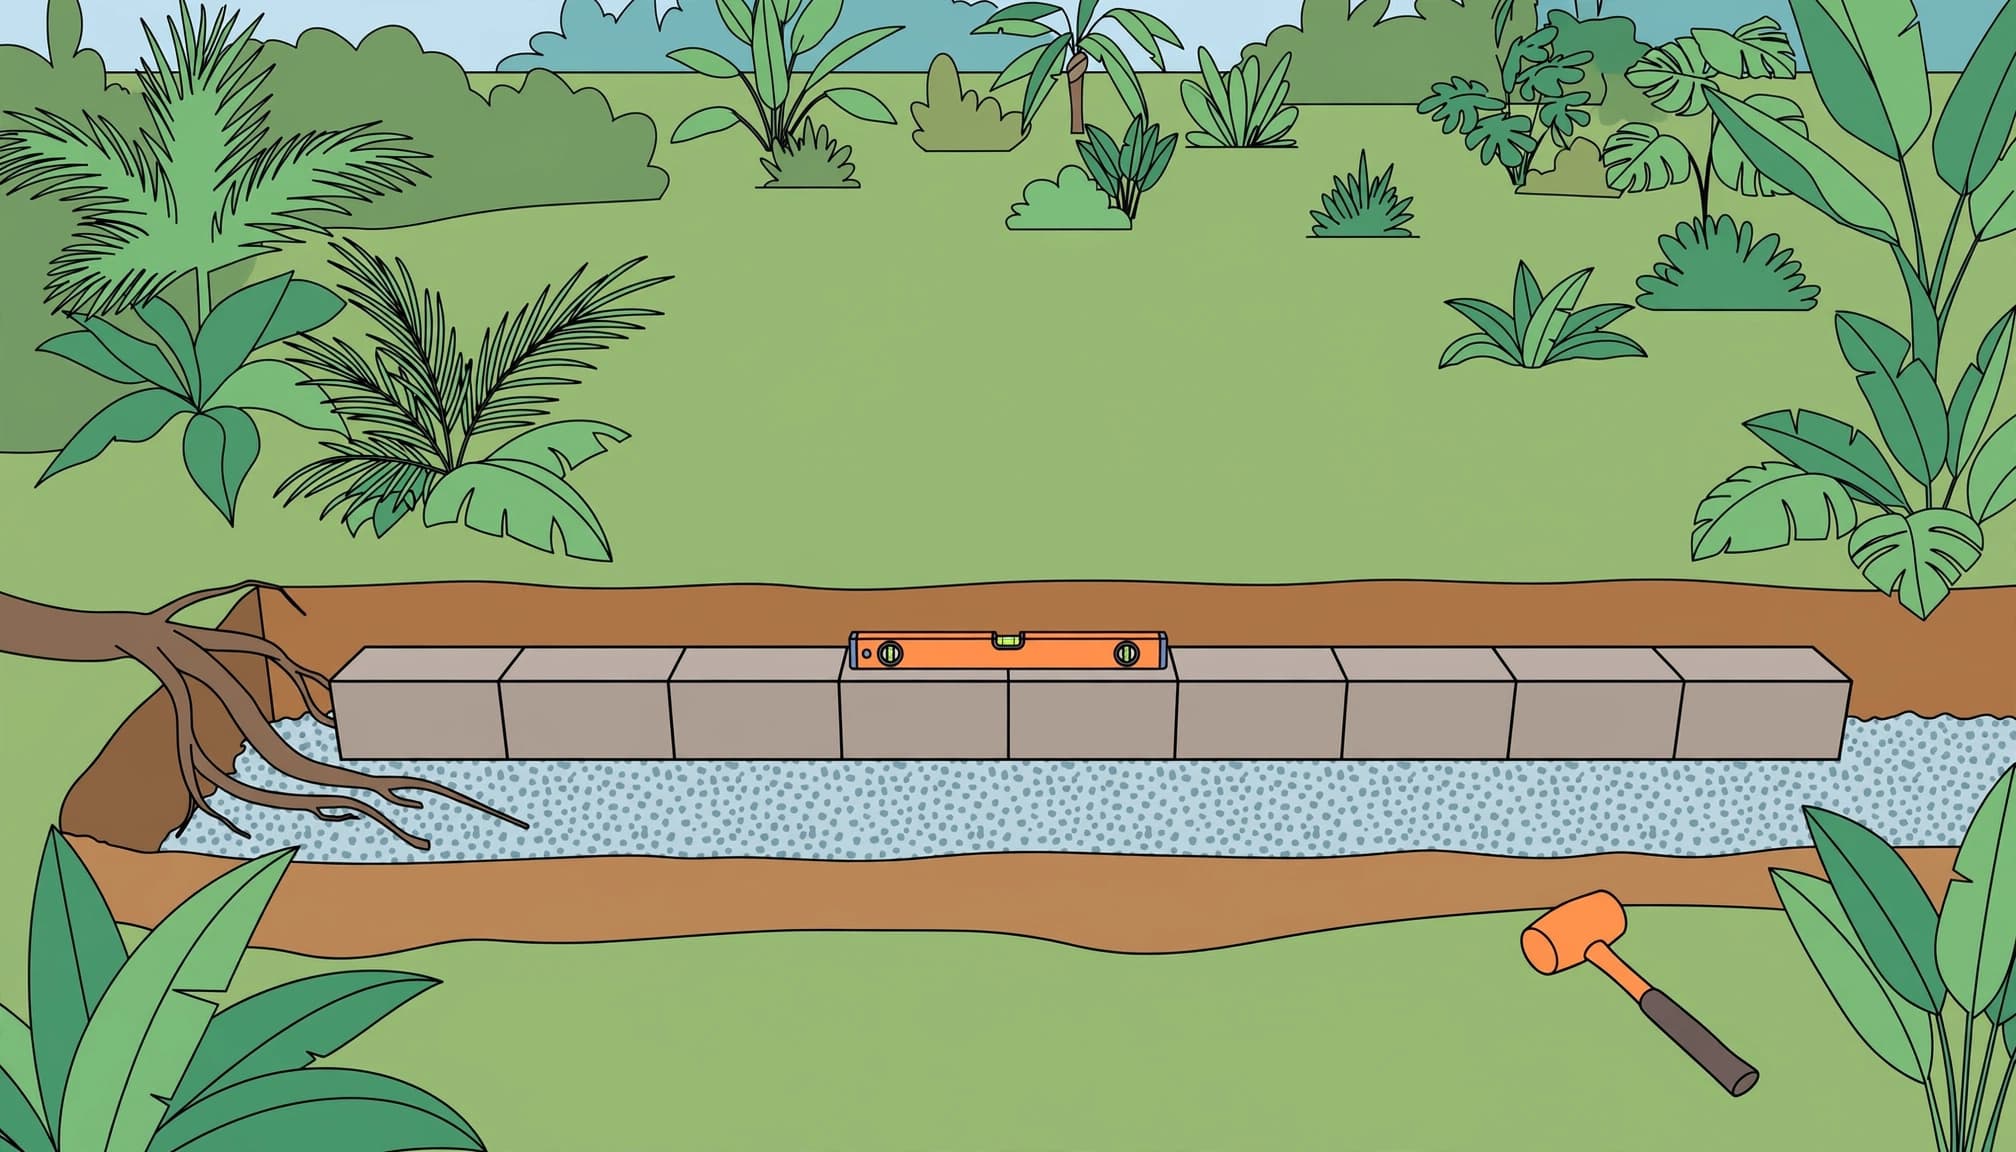
3. Set the first course carefully
Start at the lowest point and establish the first block’s elevation. Set neighboring blocks on the prepared base without disturbing it.
Check every block side to side and front to back with a torpedo level. Use a 2-foot or 4-foot level across several blocks to catch changes along the run.
Adjust with a rubber mallet, or lift the block and correct the base underneath. Don’t use loose soil to fill a low spot.
I recommend taking extra time here. An uneven first course carries its errors upward, and the finished retaining wall can look crooked even when individual blocks seem properly placed.
4. Stagger joints and engage the block connections
Clean the top of each course before stacking. Small stones beneath the next block can make it rock.
Stagger vertical joints and maintain the setback built into the wall system. With rear-lip blocks, seat the locating ridge against the course below. Other systems use pins or different connections.
Retaining wall blocks don’t all share one connection method. Follow the assembly instructions for the selected product instead of mixing details between systems.
As the courses rise, place drainage stone behind the blocks and compact suitable backfill. Use equipment and clearances suited to the wall so compaction doesn’t push the face outward.
Finish drainage, caps, and grade transitions
5. Backfill without trapping water
Separate clean stone from soil with suitable geotextile fabric. Fill hollow block cores with the rock specified for that assembly.
Keep the stone zone open so water can move through it. Soil mixed into the stone can clog the spaces and restrict flow.
Route perforated pipe toward its planned outlet. Don’t discharge onto neighboring property, near a vulnerable foundation, or where water already collects.
Shape the surrounding grades so runoff doesn’t collect directly behind the wall. Cover the exposed foundation as the wall design requires, without blocking the outlet.
I recommend considering both water paths: water behind the wall and runoff across the finished yard.
6. Secure caps and handle elevation changes
Dry-fit finishing caps before bonding them. Keep overhangs consistent and bearing surfaces clean.
Use compatible exterior landscape construction adhesive if the cap system requires it. The adhesive helps hold caps in place, but it doesn’t make the wall an approved walking surface.
On rising ground, build the foundation in full course-height increments. Each section needs firm, compacted support and properly connected courses.
If tree roots interfere with excavation, don’t cut major roots or bridge them with loose stone. An arborist and qualified installer can recommend a safer route or a different wall layout.
Keep soil away from the trunk and root flare to protect tree roots. Leaving the trunk untouched isn’t enough.
Design terraces around the outdoor space
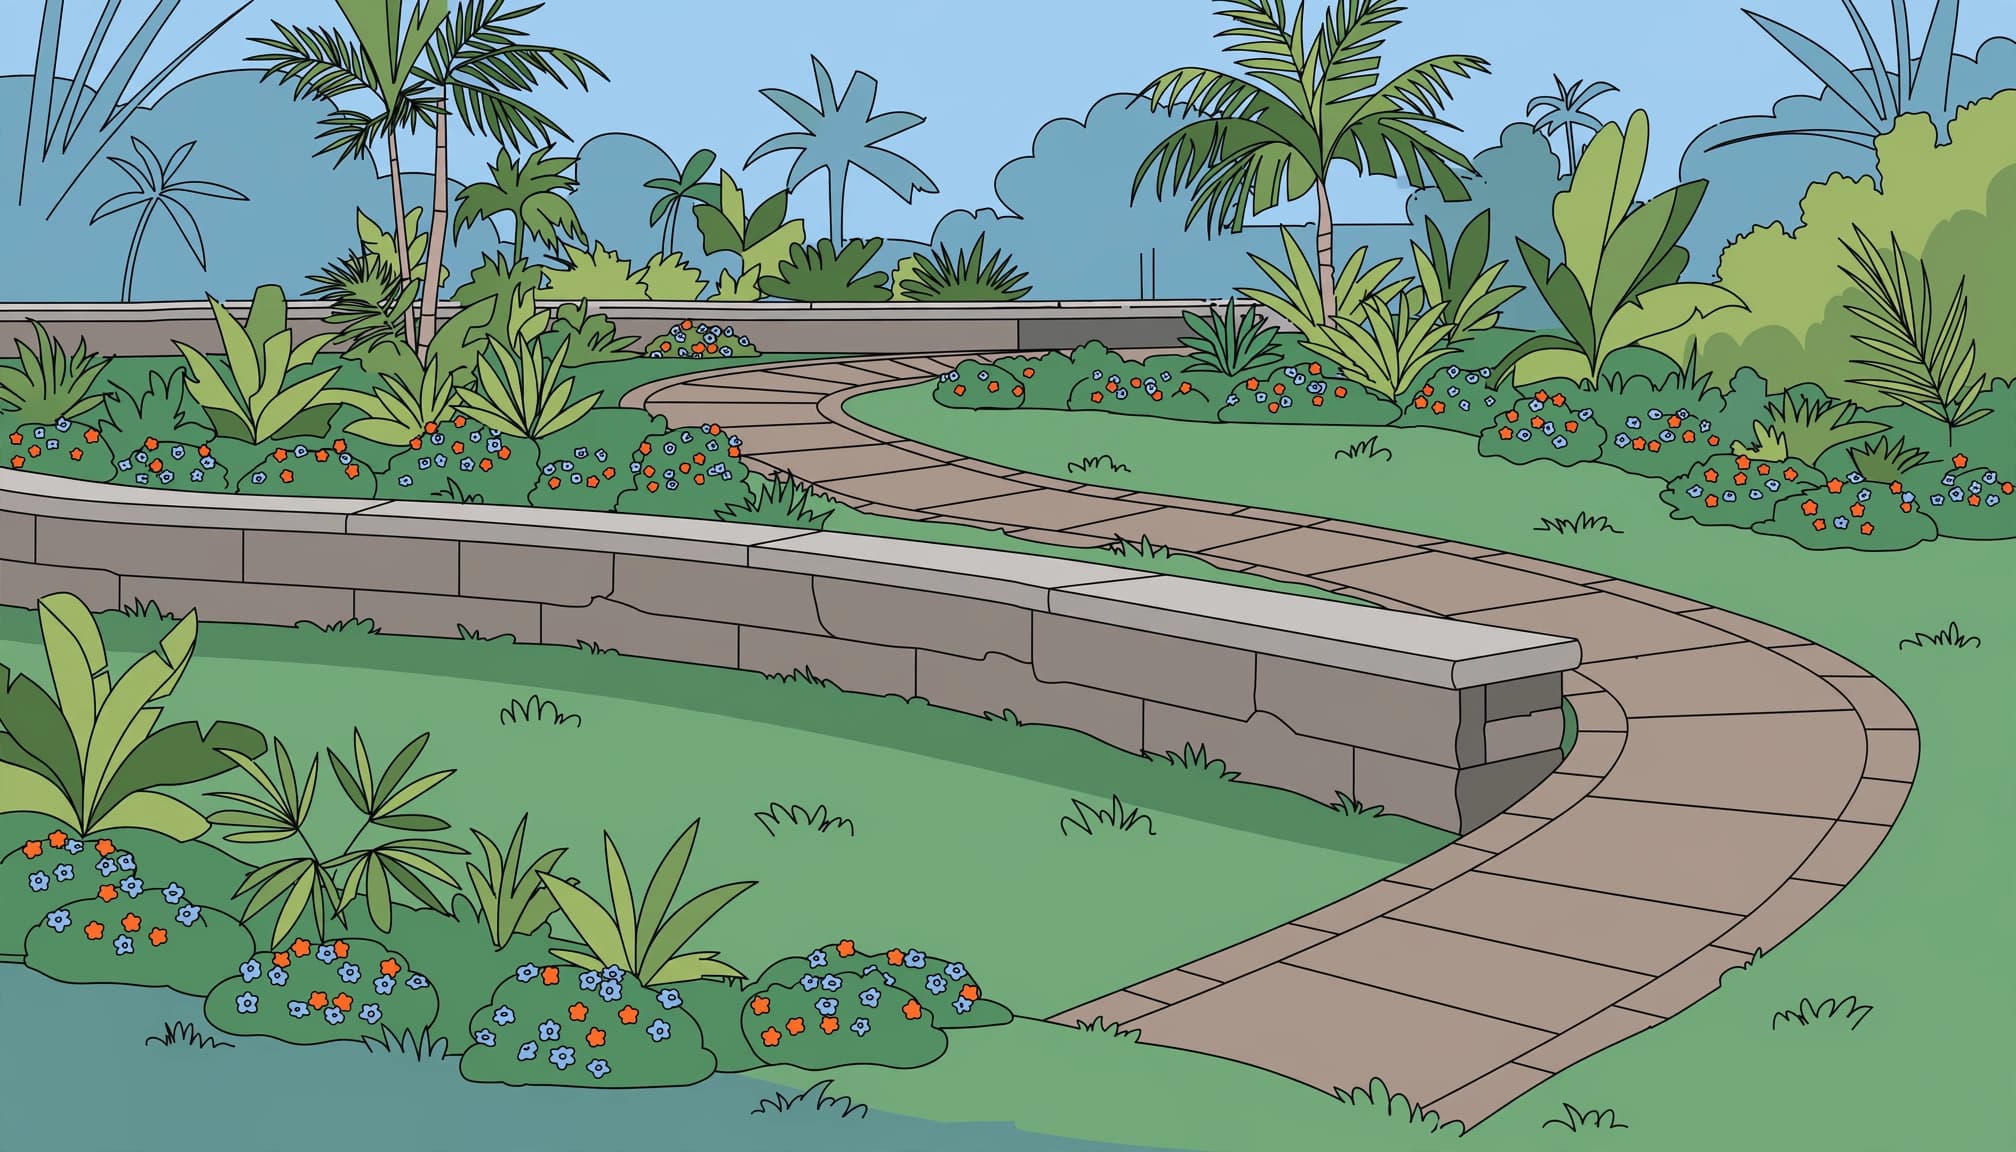
A retaining wall should make your yard easier to enjoy. I recommend planning furniture, walking paths, planting areas, and patio use before deciding where it belongs.
A terrace can create a comfortable seating area while a lower zone connects to the lawn. Steps provide the transition, but their foundations and consistent riser heights need separate planning.
Coordinate wall blocks and caps with the patio, and choose pavers that complement the finished surfaces without requiring every area to match. Contrasting colors can help define edges and elevation changes.
Allow room for planting, maintenance access, and water flow. Two nearby walls can affect each other’s loading, so a tiered arrangement still needs proper design.
Plan the work and watch for movement
Welcome to the Woods reports about six hours of work for one small retaining wall. That’s one project’s installation time, not a schedule for a Florida terrace supporting a patio.
Excavation, hauling, water outlets, difficult access, reinforcement, and cutting all affect the workload. I recommend budgeting for the complete assembly rather than counting blocks alone.
After heavy rain, look for leaning courses, separated joints, washed-out soil, or water collecting behind the wall. Address these conditions before more soil support is lost.
Loose caps need repair too, but bonding them again won’t correct movement below.
Frequently Asked Questions
What materials do paver retaining walls need?
Use retaining wall blocks designed for soil support, compatible caps, and compacted paver base aggregate. The design may also call for clean stone, geotextile fabric, perforated drain pipe, fittings, and compatible exterior adhesive for the caps.
How deep should I excavate for a retaining wall?
For a section buried up to its cap elevation, calculate trench depth as block height times the number of rows, plus cap height and compacted base depth. For an exposed retaining wall, excavate below the lower grade for the buried block portion and compacted base, not the full aboveground wall height.
When does a retaining wall need engineering in Florida?
The 2023 Florida Residential Code calls for accepted engineering practice when an unsupported wall retains more than 48 inches of unbalanced fill, or when a wall over 24 inches high resists additional lateral loads. Engineering requirements are separate from permitting, and local requirements differ.
Does a 3-foot retaining wall need drainage?
Plan for water movement behind a 3-foot wall, based on soil, groundwater, runoff, and the wall system. The design may include clean crushed gravel, perforated drain pipe, and suitable fabric, with the pipe routed to a safe outlet.
What should I check after heavy rain?
Look for leaning courses, separated joints, washed-out soil, or water collecting behind the wall. Address these conditions before the wall loses more soil support.
Build the support before the finished surface
Quality paver retaining walls begin with stable support and controlled water management. Even courses and attractive caps depend on the work underneath them.
I recommend resolving the grade change with a retaining wall before installing the surrounding patio or walkway pavers. Contact us to Get a Free Quote for your paver project and a layout suited to your Southwest Florida yard.
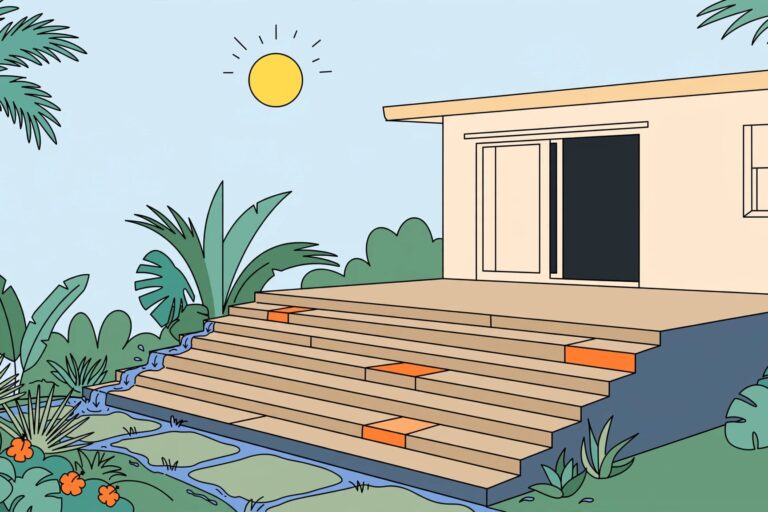
For paver steps on a Florida patio, set finished elevations before choosing pavers or patterns. Keep each riser consistent, allow enough tread space, build a stable base, and plan for water to drain away in wet weather.
The upper platform needs room to open a door, carry something outside, and move without stepping straight onto a stair. Set finished elevations first, then plan the landing, foundation, and drainage around the steps.
KEY TAKEAWAYS FOR A QUALITY INSTALLATION
Aim for a comfortable riser height of 6 to 7 inches and a tread depth that suits the stair; check local code for required dimensions.
Calculate each riser from the finished patio and landing heights, including paver thickness, then verify the finished tread.
Build drainage into the base with proper compaction and a slight forward pitch, and provide firm support beneath blocks, treads, and outside edges.
I recommend treating the stair as one complete installation. Quality materials can’t make up for loose soil, uneven support, or water washing material away.
What Rise and Run Should Paver Steps Have?
Keep riser heights consistent
The riser is the vertical distance between finished walking surfaces. A finished height of 6 to 7 inches is a useful general comfort target for outdoor steps.
Florida’s 2023 Residential Code, 8th Edition, allows a maximum 7¾-inch riser under its stair provisions. That maximum applies only when those provisions govern, so check the applicable code and local interpretation.
The 2022 California Residential Code sets the same maximum, but California rules aren’t Florida requirements.
Handyman Startup recommends a 6- to 7.75-inch riser when using retaining-wall blocks. I’d choose the finished riser height first, then select compatible retaining blocks and pavers.
Give your feet enough tread space
The tread is the horizontal walking surface. Measure tread depth between consecutive leading edges, not by the full stone size when there’s an overhang.
Fine Homebuilding’s comfort guideline puts riser height plus tread depth near 18 inches. A 6-inch rise with a 12-inch tread is one example.
The residential-code baseline is 10 inches, though nosing requirements affect the assembly. The IRC stair dimension guide distinguishes a 10-inch tread with nosing from an 11-inch one without it. I prefer planning comfortable proportions rather than designing everything at the smallest allowance.
Calculate the Step Count Before Buying Blocks
Measure the full vertical rise between the lower finished patio and upper finished surface before calculating the step count. Don’t measure bare soil and add pavers afterward.
For the step count, use 7 inches as a starting point to choose a whole number of risers. Divide the total rise by that number to find the actual riser height. Check each riser against the finished height.
Here is the arithmetic for a 21-inch finished rise.
Measurement
Calculation
Result
Number of risers
21 ÷ 7
3
Finished height per riser
21 ÷ 3
7 inches
Tread depth using the comfort guideline
18 − 7
11 inches
Separate treads below the upper platform
3 − 1
2
Run, excluding platforms
2 × 11
22 inches
The upper walking surface functions as the final tread, so three risers don’t automatically mean three separate treads. A stair sizing calculator can help organize that distinction.
For a conventional step bed with 6 to 8 inches of compacted aggregate, 1 inch of bedding sand, and 2-inch pavers, excavation totals about 9 to 11 inches. Paver thickness affects excavation and finished dimensions, and block foundations may need a different base depth.
Include the bottom transition and upper platform when calculating risers. Leaving either out can produce one taller riser even when the others match.
How Wide Should Steps and Upper Platforms Be?
Plan width around daily use
The IRC and California residential stair provisions use a 36-inch width baseline. Florida also specifies 36 inches in the applicable clear-width measurement area.
For comfortable two-way use, 48 to 60 inches is a practical planning range. That extra room helps when you carry groceries or someone passes beside you.
I recommend coordinating the pavers with the connecting path. Our guide to paver walkway widths helps keep those transitions comfortable instead of creating a narrow section beside a wider patio.
Leave usable space on the landing
Make the landing at least as wide as the steps. Its depth needs to accommodate the door swing and standing space.
For early design, I recommend considering a 48-by-48-inch landing with 48-inch steps, or a 60-by-48-inch landing with 60-inch steps. These are comfort targets, not stated code minimums.
Keep furniture, planters, and grill equipment outside the walking area. A generous platform loses its value when a chair occupies the space where your foot needs to go.
Build the Base Before Setting the Steps
Prepare stable soil and compacted gravel base
Remove roots, organic soil, loose fill, and unstable material. Shape and compact the subgrade before adding stone. If it ruts or pumps water under equipment, correct that condition first.
For conventional hillside steps, plan around 6 to 8 inches of well-graded, ¾-inch angular crushed aggregate for compacted bases. Rounded pea gravel doesn’t interlock like angular stone.
Place aggregate in 2- to 3-inch loose lifts, then compact each lift before adding another. Measure the finished depth after compaction, not from loose stone before compaction.
Use geotextile over the prepared soil where separation is needed. Our Florida base depth guide explains why soil conditions and drainage affect the foundation.
Keep gravel and panel systems separate
Handyman Startup describes both a packed gravel base and paver-base panels, including a panel assembly with a half-inch sand layer. These are alternative systems, not layers to combine.
A patio panel assembly doesn’t automatically provide suitable support for stacked concrete blocks. I recommend compacted aggregate as the starting approach on a slope, with hillside support requirements based on the soil and chosen block assembly.
For conventional sand-set pavers, screed about 1 inch of coarse bedding sand over the firm base. Keep it consistent, and don’t use extra sand to cover a deep dip or alter the riser height. Each riser should follow the block assembly’s requirements.
Install Blocks, Treads, and Edges in Order
Have concrete blocks, compatible pavers or caps, aggregate, bedding sand, jointing material, and perimeter restraints ready. Basic equipment includes a level or laser, plate compactor, excavation tools, and suitable cutting equipment for proper compaction.
Set the lowest riser on firm support. Establish its finished elevation before continuing upward. Don’t stack loose units as a substitute for a supported assembly.
Build support behind each course. Place and compact the fill as the stair develops. Use concrete adhesive only when the compatible block-and-cap system specifies it for bonding joints.
Set the tread to the planned dimensions. Include paver thickness when measuring riser height. Maintain consistent joints and full support beneath the walking surface.
Restrain the outside edges and finish the joints. Anchor compatible restraints into the compacted base, not loose bedding material. Use the jointing material specified for the paver system.
Polymeric sand can help stabilize joints, but it can’t correct a moving block or failed base. Lift a rocking tread and fix its support instead of forcing it down. Concrete adhesive can bond specified joints, but it can’t replace firm foundation support.
For freestanding steps, support the sides and back as well. Exposed aggregate beside an elevated landing can shift if left unsupported.
Drain Water Away Without Creating a New Problem
Build the drainage grade into the subgrade and aggregate, then carry it through the finished surface. A forward pitch of about ⅛ inch per foot helps shed water away from the riser.
Handyman Startup recommends a 1 to 2 percent slope away from the house, roughly ⅛ to ¼ inch per foot. Treat that range as guidance, not a universal code requirement. The forward pitch also needs a suitable discharge point, subject to site conditions and local permitting rules.
Plan drainage so runoff moves away from the house, but confirm where it can discharge under local rules. I recommend keeping water away from the house, outdoor kitchen cabinets, screen enclosure footings, and corners that already stay wet. Check the surrounding slope so water doesn’t collect around the steps. Southwest Florida’s sandy soil can drain quickly, but drainage concentrated at one point can carry fine material away and weaken support, especially on a hillside.
Choose textured outdoor finishes. Polished stone can become slippery when wet, and a honed finish shouldn’t automatically be treated as slip-resistant. Our shellstone and travertine comparison explains how surface finish affects material selection.
What Do Paver Steps Cost and How Long Do They Take?
Use documented costs as a reference
Handyman Startup reported about $1,600 for its 2023 DIY project, compared with contractor estimates around $5,500. These dated figures describe that project, not current Southwest Florida prices.
Concrete blocks cost $1,268.10, while pavers cost $134.49. That difference shows why pricing only the visible tread material misses much of the expense.
Delivery, excavation, disposal, equipment rental, drainage, and side support also affect the budget. Our paver patio cost factors cover those supporting expenses.
Allow time for preparation and handling
The same tutorial estimates about 20 hours for an efficient project, including roughly 5 hours for planning and shopping and 15 hours of work. It advises allowing about 30 hours or longer.
Even a short stair requires excavation, compaction, measuring, and cutting. More steps, deeper foundations, difficult access, and drainage work increase the workload.
Keep the schedule flexible enough to correct soft ground rather than rushing to cover it.
When Is Professional Installation the Better Choice?
I recommend professional help when steps support a raised landing, retain substantial fill, meet an exterior door, or cross unstable ground. Steep grades and repeated settlement call for a structural plan that addresses drainage.
Florida’s residential stair provisions exclude some steps that don’t serve a building, porch, or deck. That distinction doesn’t guarantee a permit exemption for landscape steps.
Permit, handrail, guard, and door-adjacent platform requirements depend on the project and local rules, so verify them with your building department. At Platinum Pavers of SWFL, our installation and repair services can address the patio transition as part of the complete paved area.
Frequently Asked Questions
How many paver steps do I need?
Measure the finished rise between the lower patio and upper surface, then divide it by a whole number of risers to find the finished height of each one. The upper platform is the final walking surface, so the number of separate treads is usually one fewer than the number of risers.
What base do paver steps need?
For conventional hillside steps, use a prepared, compacted subgrade and about 6 to 8 inches of well-graded, angular crushed aggregate. Place the stone in 2- to 3-inch loose lifts and compact each lift; block assemblies may require a different foundation depth.
How should paver steps drain?
Build the drainage grade into the subgrade and aggregate, then carry it through the finished surface. A forward pitch of about ⅛ inch per foot helps move water away from the riser, but the water also needs a suitable discharge point.
Do paver steps need a permit or handrail in Florida?
Permit, handrail, guard, and door-adjacent platform requirements depend on the project and local rules. Check with your building department, since the rules can differ for steps that don’t serve a building, porch, or deck.
Build Comfortable Steps on Reliable Support
Consistent risers, comfortable treads, and a clear landing help paver steps connect your patio to the yard safely. Reliable support, safe transitions, and effective foundation and drainage work together to keep the steps stable.
For help planning your Southwest Florida project, Get a Free Quote for a free consultation and estimate. Quality steps begin with correct measurements and a firm base beneath your feet.
My advice on a septic drain field is straightforward: keep new paving outside the drain field and its required protected area. A patio can become a permanent structure, and poor placement can lead to costly septic repairs.
You can still create an attractive outdoor space, but the layout comes first, and the septic system needs room to work. Before choosing colors or ordering materials, check exactly what is underground and where construction can take place safely.
Key Takeaways
Keep pavers, concrete, vehicles, and construction equipment off the drain field.
Permeable joints don’t make a paver installation safe or approved over septic components.
Locate the tank, system, and required unobstructed area around the drain field before designing your patio.
Keep service access open and confirm the proposed layout with the septic permitting authority.
Can Paving Affect a Septic Treatment Area?
I don’t recommend installing a conventional paver patio over a septic drain field. The work below the pavers creates concerns that changing the surface material won’t solve.
The treatment area needs functioning soil
The septic tank separates solids, while wastewater, called effluent, moves through perforated pipes in the drain field for further treatment. Soil conditions matter because the system depends on wastewater moving through suitable soil with adequate soil permeability.
Covering that area with paving changes the surface and adds construction loads. Excavation, base preparation, compaction, and covering the soil can interfere with wastewater treatment and soil function.
EPA guidance cautions homeowners against driving or parking over a drain field and advises checking with the designer or permitting authority before building there. I take that warning seriously for both pavers and concrete patios.
The tank needs a different review
The septic tank and treatment area aren’t interchangeable. A tank is a buried structure with access openings; the drain field is a soil-treatment area.
Don’t assume the tank can support a patio because its lid feels solid. Its construction, condition, cover, and load capacity need qualified review.
I also want pumping and inspection access kept available, including access needed to inspect effluent flow. Removable pavers still create extra work if the lids are buried beneath bedding material and aggregate.
Why Paver Installation Can Damage a Drain Field
The finished patio is only part of the load. Equipment, stored materials, excavation, and repeated traffic can cause damage before the first paver goes down.
Compaction conflicts with system protection
For an ordinary patio, I need a stable base, suitable aggregate, and controlled compaction. Those details help prevent rocking pavers and settlement.
In the protected area, that same work can cause soil compaction, disturb shallow roots, and damage shallow drain field pipes, including perforated pipes. A plate compactor, skid steer, or loaded material pallet doesn’t belong there simply because the finished patio is pedestrian-only. Heavy landscaping adds weight, while woody roots can also damage system components. Damage could lead to system failure, but that outcome isn’t guaranteed.
A patio outside the drain field can still cause damage if the crew uses the protected area for equipment access or material storage.
Construction access needs to be part of the plan, not a decision made when the delivery truck arrives.
Florida rain adds another concern
Southwest Florida properties can face intense rain, saturated soil, and seasonally high groundwater. A patio that sends runoff toward the system adds water where it already has wastewater to manage.
I check downspouts, irrigation, finished elevations, and neighboring runoff before recommending a layout.
Depth isn’t reliable protection, either. UF/IFAS warns that system components can be only a few inches below grade. Don’t assume your pipes are three feet deep; confirm the actual installation before digging.
What Florida Requirements Mean for Your Patio
A paver design needs more than a clear spot between the house and fence. Florida septic requirements include suitable land around the system, and that protected area may extend beyond the visible septic leach field footprint.
Locate the entire protected area
Request the septic permit, installation drawing, and available inspection records. Have a qualified septic professional confirm component locations, including drain field pipes and perforated pipes, if records are incomplete or the yard has changed.
Florida’s site-planning standards call for suitable unobstructed land totaling at least 1.5 times the required drain field absorption area, including the treatment area itself. A required 200-square-foot leaching field therefore calls for at least 300 square feet of suitable unobstructed area.
Florida standards restrict asphalt, concrete patios, traffic, and activities that adversely affect the required site’s soil or system operation. That doesn’t give every paver proposal automatic approval or create a universal prohibition.
Submit the actual layout to the county health department or the permitting office identified by Florida’s onsite sewage program. Ask about the paving boundary, protected land, access, drainage, soil function, and applicable local requirements.
I wouldn’t use a neighbor’s patio as proof that yours is acceptable. Different systems and property conditions can require different decisions.
Do Permeable Pavers Solve the Problem?
Permeable pavers can help manage stormwater on a suitable site. Wider joints let rainwater enter clean stone layers beneath the surface instead of running across a continuous slab. Soil permeability also affects how water moves through the site.
That can work well for the right driveway or patio. It doesn’t establish that the system belongs over a septic leach field.
Installation still requires excavation, a supporting base, edge restraints, and appropriate compaction. Some permeable systems also include a stone reservoir or underdrain. Those features, the proposed base, and buried components such as drain field pipes and perforated pipes need a separate review.
My permeable paver driveway guide explains how the surface and underlying layers work together. Septic compatibility requires a separate evaluation.
There isn’t one safe paver weight, joint width, or base thickness for every septic drain field. A manufacturer’s pavement load rating also doesn’t prove buried septic components can carry that load. Switching to flagstone pavers doesn’t remove these risks.
I recommend using permeable paving where the site supports it, outside the protected septic area, with water routing reviewed before installation.
Plan a Patio Beside the Septic System
You don’t have to give up on a quality patio because your yard has a septic system. Often, changing the shape or location is the more practical choice.
I recommend handling the planning in this order:
Obtain the septic records and schedule a septic inspection to locate the tank, drain field, and required unobstructed area.
Draw the patio, walkway, borders, and proposed drainage on the same plan.
Confirm septic requirements and local building or zoning approvals with the appropriate county health department or a qualified septic professional before ordering materials.
Establish an equipment route and material storage area outside the protected zone, while keeping service access clear.
Once the boundaries are confirmed, the patio can be designed for seating, circulation, and a comfortable connection to the house. A curved walkway or smaller patio may fit better than a large rectangular surface.
Keep construction and heavy landscaping away from the drain field. Choose plants with shallow roots, and keep woody roots clear of septic components.
Ask for an itemized estimate. Locating, difficult access, drainage corrections, demolition, excavation, and installation can affect the price. Any septic design changes or repairs should be handled by properly credentialed septic professionals.
Keep photographs and approved drawings with your property records. They help future contractors avoid disturbing the system when repairing pavers, irrigation, or other yard features.
What Landscaping Can Go Over a Treatment Area?
Low-impact landscaping is the better choice over the treatment area. Keep it simple, maintainable, and compatible with the system’s existing grade.
Grass and shallow-rooted plants
UF/IFAS identifies St. Augustinegrass, bahiagrass, zoysiagrass, and bermudagrass as suitable options. Choose plants with shallow roots that suit your site’s sunlight, moisture, and maintenance needs.
Ornamental plants with shallow roots may also work if planting and maintenance avoid buried drain field pipes. Avoid deep digging, major grade changes, and added soil without qualified guidance.
I prefer an open lawn here because it keeps the area visible and leaves access available. Routine care and drain field protection practices help you notice changes early.
Keep food gardens and woody roots away
UF/IFAS advises against edible crops on or near the tank and treatment area because of contamination concerns. Keep vegetable gardens elsewhere.
Tree roots and other woody roots can interfere with system components. Raised beds, heavy containers, and other heavy landscaping can add loads or require digging, so don’t treat them as harmless substitutes for paving.
What If Pavers Are Already Installed?
Don’t start pulling pavers or digging into the base before locating the septic components. Careless removal can create another problem.
Have a qualified septic professional assess the system, including the drain field, and identify what may need to be removed or corrected. Ask about the removal method, equipment access, and restoring the proper grade.
Sewage odors, unusually wet ground, wastewater pooling, or slow drains and backups warrant prompt septic evaluation. These signs can indicate a problem, but they don’t confirm system failure.
Keep people and pets away from suspected sewage or effluent, and limit unnecessary water use while arranging service.
Once septic repairs and any needed corrections are complete, plan paver work around the updated layout. Adding sand, recompacting the base, or installing an underdrain without septic review isn’t an appropriate first repair.
Frequently Asked Questions
Is there a standard safe distance for pavers?
I don’t use one distance for every property. The boundary depends on the approved system, required unobstructed land, drainage, and access. Have the permitting authority or qualified designer confirm the proposed paving limits. Measuring outward from the tank lid alone won’t identify the drain field boundary.
Can a gravel path or firepit go over the field?
Don’t assume either is acceptable. Gravel paths can involve compaction, added material, and repeated traffic. Firepits can require excavation, masonry, and gathering areas. I recommend locating these features outside the protected area and having any proposal near septic components reviewed before work starts.
Will insurance cover damage caused by paving?
Coverage depends on your policy and the circumstances. I can’t promise payment for damage, removal, or septic repairs. Ask your insurer about proposed work and contractor-caused damage before construction. Keep written approvals, the contract, and insurance information, and don’t assume a paver permit also approves changes affecting the septic system.
A Quality Patio Starts With a Safe Layout
I want your patio to look good and remain dependable without interfering with the system underneath your yard. Protecting the treatment area starts with confirmed boundaries, open access, and controlled construction.
At Platinum Pavers of SWFL, I can help review your paving layout and drainage while septic questions are handled by the appropriate professional. Get a Free Quote for a free consultation and project estimate in Southwest Florida before excavation begins.
A beautiful paver driveway can start sinking after heavy rain if the ground underneath wasn’t prepared correctly. I put quality preparation first, because your paver patio, walkway, or pool deck needs dependable support before the first paver goes down.
Good paver installation preparation starts with your property, its drainage, and how you plan to use the finished surface. Before choosing colors and patterns, take a look at the work that protects your investment.
Key Takeaways
Plan the layout, finished elevations, permits, HOA approvals, and utility locations before excavation begins.
Decide where rainwater will go and confirm the drainage plan won’t send water toward your home, a neighbor, or another wet area.
Match excavation and compacted aggregate depth to the surface’s intended use and actual site conditions; remove unstable soil and compact the subgrade properly.
Build the base in compacted layers, then use a consistent bedding layer, secure edge restraints, and compatible joint material.
Review the prepared area, elevations, drainage, and agreed materials with your installer before the work is covered by pavers.
Start With the Layout, Approvals, and Utilities
Mark the finished area before making decisions
I start by checking the proposed footprint and finished height. A paver driveway should tie neatly into the garage and sidewalk, while patios need to meet doors and pool coping without awkward steps or blocked drainage.
Mark the perimeter with stakes and string, then walk the area. Make sure the planned square footage leaves room for furniture, gates, lawn equipment, and comfortable movement around your pool. A patio that looks large on paper can feel tight once everything is in place.
Check local permit requirements and HOA approval before work begins. Driveway changes, drainage work, and projects near property boundaries may need additional review.
Locate underground lines before digging
Contact Sunshine 811 before excavation so member utility companies can mark their underground lines. Allow time for the process and keep the markings visible throughout the job.
Also identify irrigation pipes, landscape lighting, pool plumbing, and other privately owned lines. Don’t assume every buried line will be covered by a utility locate.
I recommend showing the installer any available property plans. If you know where a sprinkler line or electrical connection runs, share that information before equipment arrives. Digging first and sorting out utilities afterward can cause damage and delay your project.
WHERE WILL THE RAINWATER GO?
In Southwest Florida, drainage deserves attention before installation. Heavy rain can expose weak areas quickly, especially beside a house, screen enclosure, or pool.
I check existing low spots, downspouts, swales, and places where runoff crosses a proposed paver driveway. Look at your yard after rain when possible. Standing water tells you something useful.
The finished surface and supporting layers need a planned grade for proper drainage to an appropriate outlet. The right slope depends on the property and drainage design, so check where the water will end up.
Pool decks need particular care around coping, enclosure footings, and equipment. Our information on pool deck drainage channels covers issues worth discussing before changing the surface height.
Ask the installer to explain the drainage path for your paver driveway. Water shouldn’t be redirected toward your home, a neighboring property, or another area that already stays wet.
Clear the Property and Plan Crew Access
Move belongings and protect nearby features
Before the crew arrives, remove patio furniture, planters, decorations, and anything else within the work area. Arrange another parking location if your paver driveway will be unavailable.
Point out plants you want protected, along with pool equipment, outdoor outlets, irrigation controls, and delicate screen panels. I prefer having these conversations before demolition starts, while everyone can see what needs attention.
Keep children and pets away from the work zone. Excavation, cutting equipment, loose materials, and open trenches need a clear boundary throughout the installation.
Agree on deliveries, equipment, and cleanup
Your contractor needs a practical route for equipment and material deliveries. Check gate widths and decide where pallets, aggregate, and removed materials will go.
Discuss whether equipment will cross your lawn or an existing paved surface. Include protection and restoration in the professional installation plan.
Our Florida paver installation timeline outlines the broader sequence. I also recommend confirming working hours, debris removal, and weather-related scheduling before the job begins. Clear arrangements make the project easier on your household.
How Deep Should Excavation Be?
Start with the intended use
A walkway carries different loads than a paver driveway. Cars also apply turning and braking forces, so the system’s load-bearing capacity must match its intended use.
These are starting ranges for discussing compacted aggregate depth.
Project
Common planning range
Pedestrian patio or walkway
About 4 to 6 inches
Residential driveway
Often about 6 to 8 inches, with deeper sections possible
These figures describe compacted base material only. They aren’t excavation instructions for every property. Weak soil, disturbed fill, and drainage conditions can change the design. Heavier vehicles can also affect a paver driveway, so subgrade preparation matters.
I recommend reviewing driveway paver thickness requirements alongside base depth. Concrete pavers and the supporting structure need to work together.
Calculate down from the finished elevation
Excavation must allow for the compacted base, specified bedding layer, and actual paver thickness. Set the finished height first, then calculate excavation depth.
Don’t measure only from the existing lawn. Sod, old concrete, and previous landscaping can hide elevation differences.
Remove unsuitable material until the project has dependable support. If unexpected soft soil appears, stop and reassess. A fixed depth in an estimate shouldn’t become an excuse to leave unstable ground beneath your new pavers.
Prepare the Subgrade Before Adding Stone
Check sandy soil, clay soils, and old fill
Subgrade preparation means getting the soil beneath concrete pavers firm, correctly shaped, and free of organic material before aggregate is placed.
Remove sod, roots, buried debris, and unsuitable fill. Tree roots near the project deserve review before cutting, particularly around established trees.
Sandy soil can drain quickly but still shift or mix with the base. Clay soils and imported fill can behave differently within the same yard. That variation can affect the load-bearing capacity of a paver driveway, so don’t assume the whole property has identical support.
If the ground ruts, feels spongy, or pumps water under equipment, address the condition before covering it.
Require proper soil compaction
Proper soil compaction reduces movement that can lead to settlement. It needs suitable equipment, moisture conditions, and a clear project specification. This is especially important for a paver driveway that will carry vehicle loads.
The CMHA guide specification recommends at least 98% standard Proctor density under ASTM D 698 for soil subgrade beneath pedestrian areas and residential driveways. That is a specification recommendation, not a universal local code requirement.
A surface that looks firm doesn’t prove it meets a density target. Ask whether testing is appropriate for your project.
Geotextile fabric may help separate soil and aggregate where conditions call for it. It isn’t required everywhere, and it can’t repair poor drainage or replace stable ground. I want the reason for using it explained clearly.
Build a Stable Base in Compact Layers
The aggregate base does the heavy work. For a paver driveway, it supports the bedding layer and distributes vehicle loads across the prepared ground, providing load-bearing capacity.
Use the specified base material, such as compactable crushed stone approved for the installation. Rounded pea gravel doesn’t lock together the same way as material intended for a compacted paving base. Material names vary, so ask for the specified product rather than ordering whatever a supplier calls gravel.
I want the base placed in controlled lifts, compacting each lift with a plate compactor before adding the next. The equipment and material determine the workable lift thickness. Dumping the entire depth at once can leave loose material underneath a firm-looking surface.
The CMHA construction guidelines are a useful technical reference for conventional interlocking concrete pavement work.
Check elevations during surface leveling as the base develops. The drainage grade needs to be built into the support layers before bedding material goes down.
Extra bedding sand over a low base can hide the problem temporarily. Correct the aggregate grade before covering it.
If aggregate shoves, ripples, or develops deep ruts under equipment, stop and inspect the condition. More material on top won’t explain or correct what’s happening below.
Bedding, Edges, and Joints Need Their Own Plan
Keep the bedding layer thin and consistent
Bedding material positions the individual pavers above the structural base. For a conventional sand-set system, use the specified bedding sand and screed it to the required, uniform depth.
I don’t use extra sand to fill deep depressions or replace missing aggregate. Leave the prepared bed undisturbed and follow the paving system’s installation instructions.
Natural stone and other paving products may require different support methods. Permeable pavers also use a different assembly. The CMHA permeable pavement construction bulletin covers these systems, where ordinary fine sand can interfere with drainage. In climates with freeze-thaw cycles, follow the system’s material guidance.
Secure the perimeter and choose compatible joint material
Edge restraints keep the outside pavers from spreading. Plan their location and anchoring before ordering materials, including curves, transitions, and driveway edges exposed to turning tires. On a paver driveway, turning tires make dependable perimeter support especially important.
A decorative border still needs dependable support. Install edge restraints on the supporting base as required by their manufacturer.
I often recommend polymeric sand when it suits a sound, conventional paver installation. Its water-activated additives help resist joint washout and limit weed growth. Regular joint sand doesn’t contain those binders and may need more frequent replenishment. When comparing joint sand products, confirm they’re compatible with your pavers and installation system.
For joint sand, follow product directions for joint dimensions, surface cleaning, water activation, and curing. Polymeric sand needs suitable dry conditions before application, and it can’t hold up a failed base.
Check the Preparation Before Installation Continues
You don’t need to supervise every pass of the plate compactor. You should understand the paver installation process and have the important details in writing.
Before approving the next stage, make these checks:
Confirm the finished elevations, drainage outlet, and connections to existing surfaces with the installer.
Ask for the agreed base material, compacted depth, and method for handling unsuitable soil.
Verify that utilities, edge restraints, cleanup, and any additional work for your paver driveway are covered in the project scope.
I recommend using our questions to ask a paver contractor when comparing estimates. Licensing, insurance, supervision, and written workmanship terms matter along with the price.
Ask to see the prepared area before it’s covered. If something needs correction, this is the right time to catch installation mistakes and discuss it. Once the pavers are installed, reaching the same problem requires removing finished work.
Frequently Asked Questions
How deep should the base be for pavers?
Common planning ranges for compacted aggregate are about 4 to 6 inches for pedestrian patios or walkways and often 6 to 8 inches for residential driveways. Soil conditions, drainage, and vehicle loads can change the design, so confirm the depth with your installer.
Why is drainage important before paver installation?
Poor drainage can cause standing water and contribute to movement beneath the pavers, especially after heavy rain. Plan the finished grade and where runoff will go before installation begins.
Should the soil be compacted before adding the aggregate base?
Yes, the subgrade should be firm, properly shaped, and free of organic material before aggregate is placed. If the ground feels soft, ruts, or pumps water under equipment, address the condition before covering it.
Can bedding sand fix an uneven base?
No. Bedding material should be thin and consistent; it isn’t a substitute for correcting low spots in the aggregate base. Correct the base grade before the bedding layer is installed.
Get Your Property Ready for Quality Paver Work
Proper paver installation preparation gives surfaces like patios and a paver driveway the support they need. I prioritize drainage, stable soil, and careful compaction over rushing toward the finished appearance. Sound preparation supports long-term paver maintenance, though routine care is still needed.
Your property deserves quality workmanship underneath as well as beautiful pavers on top. Preparation is where that workmanship begins.
For your Southwest Florida project, Get a Free Quote and discuss the layout, site conditions, and professional installation plan before work starts.
A beautiful fire pit can make your backyard a comfortable outdoor living space, but Florida rain will quickly expose poor base work. When I plan this project, I start with drainage and solid support before choosing colors or patterns.
You also need safe clearances, suitable materials, and approval for any utility work. Here’s how I approach the project so your patio looks good and stays dependable.
Key Takeaways
Confirm local fire rules, permits, and manufacturer clearances before choosing the location.
Build on stable soil with crushed aggregate compacted in layers, consistent bedding sand, and firm edge restraints.
Keep direct fire heat away from ordinary patio pavers, and correct drainage problems before installing or repairing the surface.
Plan a Safe Paver Patio Fire Pit Layout
I recommend marking the entire patio and fire pit footprint before ordering materials. Plan the fire pit design and outdoor fire pit location around chairs, built-in seating, walking space, nearby doors, and the route for carrying firewood or reaching the gas shutoff. Consider how the layout supports your backyard design and outdoor entertaining.
CHECK LOCAL RULES BEFORE DIGGING
The Florida Fire Prevention Code is enforced by local fire officials. Ask the department serving your address how your proposed fire feature is classified and which safety regulations, local regulations, and clearances apply.
Don’t assume a setback quoted online applies to every wood-burning pit, portable appliance, or gas installation. Confirm clearances from structures and combustible materials, along with setback requirements from property lines. Check HOA restrictions and current burn bans.
Building approval may also depend on drainage changes, easements, and utility connections. Call 811 before excavation, and arrange separate locating for private irrigation, pool lines, or other utilities the public marking service doesn’t cover.
LEAVE ROOM FOR PEOPLE AND AIRFLOW
Keep the fire feature away from branches, fences, stored cushions, and other combustible items. I don’t place an open wood fire beneath a screen enclosure or covered lanai.
Use the appliance’s clearance instructions when arranging seating. Leave a clear walking route behind occupied chairs. Check prevailing breezes too, so smoke isn’t directed toward doors, windows, or your neighbor’s sitting area.
Choose the Fuel and Fire Pit Materials
Your fuel type affects the layout, maintenance, installation work, and everyday use. I settle this decision early because utility routes and foundation requirements can change the whole project.
WOOD-BURNING FIRE PITS
A wood burning fire pit gives you a traditional fire, but it also brings smoke, sparks, ash, and cleanup. Use a purpose-built assembly with the heat protection its manufacturer requires.
Standard concrete patio pavers and ordinary retaining wall blocks aren’t automatically suitable for direct flame exposure. Fire pit kits may include fire pit blocks, a steel insert, and caps, but check the component list. Fire bricks, drainage provisions, or a separate foundation may also be required. Use heat-resistant mortar or construction adhesive only when the manufacturer specifies it.
Burn clean, dry firewood. Keep trash, painted lumber, and treated wood out of the fire, consistent with Florida DEP’s open-burning restrictions.
NATURAL GAS AND PROPANE
A gas fire pit gives you controlled ignition without handling firewood. Natural gas needs an approved supply connection; a propane fire pit needs safe cylinder placement or an approved tank installation.
Use qualified professionals for fixed gas piping and required permits. Follow the appliance instructions for ventilation, burner media, access panels, clearances, and drainage. An enclosed gas fire pit needs more planning than stacking blocks around a burner.
Build a Base That Drains and Stays Level
After more than 20 years working with Florida pavers, I’ve seen attractive surfaces settle because the preparation was rushed. Sandy soil, disturbed fill, and heavy runoff all deserve attention before the stone goes down.
EXCAVATE TO STABLE GROUND
Remove sod, roots, organic material, and unstable fill. Establish finished elevations before excavation so the completed patio meets doors and adjoining surfaces without creating a trip hazard.
For many pedestrian patios, start with 4 to 6 inches of compacted, well-graded crushed aggregate. This gravel base is followed by roughly 1 inch of bedding sand and the paver thickness. Poor soil, heavier masonry features, or drainage problems can require a different design.
Shape and compact the subgrade. If it ruts, leaves deep footprints, or pumps water under pressure, stop and correct the condition. Use geotextile fabric where soil could migrate into the aggregate. Fabric doesn’t replace stable ground.
COMPACT THE AGGREGATE IN LAYERS
Use crushed aggregate intended for a compacted paving base. Rounded pea gravel doesn’t lock together as well.
Place manageable lifts, often about 2 to 3 inches with residential equipment, and compact each lift before adding another. Match lift thickness to the equipment and material specification.
Build drainage into the subgrade and aggregate. A common recommendation is a 2% slope away from the house, roughly 1/4 inch per foot, with the final grade matched to the property. Direct runoff toward a suitable drainage area, not enclosure footings or an already-wet corner.
Install Bedding Sand, Pavers, and Edge Restraints
Once the compacted base is firm and correctly graded, I check elevations again before laying patio pavers. A thin, specified layer of leveling sand belongs beneath them, but loose sand should never hide a deep dip or weak foundation.
Screed a consistent bedding layer using sand approved for the paver system, commonly concrete sand. Keep it thin and even.
Lay the pavers to your marked pattern while preserving the planned slope and consistent joints.
Make the perimeter and fire pit opening cuts, then install firm edge restraints along exposed boundaries.
Compact the surface with equipment and protective accessories suited to the pavers. Fill and consolidate the joints following the joint-material instructions.
Check door access, transitions, drains, and walking paths before considering the surface finished. Keep a small reserve of matching pavers for future repairs.
I also check the materials as a complete system. Fine bedding sand can migrate into large voids in unsuitable base stone. A conventional sand-set patio needs compatible base and bedding materials. Open-graded or permeable systems require their own specified bedding and joint aggregate.
For cutting, use appropriate dust control and protective equipment. Concrete dust shouldn’t be blowing across your backyard.
Protect the Patio From Direct Fire Heat
The fire feature needs a heat-safe assembly, even when the surrounding paving is noncombustible. An outdoor fire pit can expose nearby materials to direct heat, and appearance alone doesn’t establish suitability. Concrete, clay, and natural stone products vary. A concrete fire pit must use materials suited to its intended heat exposure, and ordinary patio pavers aren’t automatically fire-rated.
Follow the kit or appliance instructions for its foundation, liner, wall construction, and clearances. Some assemblies require refractory materials or an air gap. Others require a separate footing or support pad.
A steel liner around the fire’s sides doesn’t establish that the pavers beneath it are protected from heat.
I keep the fire feature’s support requirements separate from the patio’s drainage slope. A custom masonry pit may need its own foundation, while an appliance may need level support. The surrounding patio still needs to shed water.
Provide drainage only as allowed by the assembly design. Don’t drill random openings through a finished gas enclosure or change required ventilation.
During use, keep the fire attended and an appropriate extinguishing method nearby. Avoid operation during strong winds or when current restrictions prohibit it.
Fix Settlement and Washout Before Adding a Fire Pit
Before adding an outdoor fire pit, I inspect the existing patio for extra weight and heat. Look for rocking pavers, open joints, spreading borders, puddles, and low areas.
Sunken pavers usually call for lifting the affected area and checking the bedding, aggregate, and soil below. Pouring more sand beneath a loose paver won’t repair a failed base.
If joints repeatedly empty after rain, inspect roof runoff, downspouts, irrigation, slope, and edge support. Stop the water problem before replacing the missing material.
For an integrated masonry pit, removing pavers and building the specified support may be necessary. Don’t build directly over an unknown foundation because the surface looks level.
If pavers crack, discolor, or break down near the fire, stop using it until the heat exposure and assembly are reviewed. Replacing damaged pieces without correcting the cause can lead to another repair.
Budget for the Complete Installation
I want homeowners to compare the whole scope, not the paver price alone. Excavation, disposal, access, drainage, base preparation, cuts, fuel type, and utility work all affect the final quote.
For early planning, professional Southwest Florida patio installation commonly falls around $8 to $24 per square foot. A 400-square-foot patio would therefore be approximately $3,200 to $9,600, before unusual site work or premium features.
Treat that as a planning range, not a fire pit package price. The fire feature, gas connections, permits, and additional foundation work need separate consideration.
Ask for an itemized proposal and written warranty terms. These questions to ask a paver contractor help you check the scope before approving the work.
Frequently Asked Questions
CAN A LINED FIRE PIT SIT ON EXISTING PAVERS?
Only when the complete assembly is approved for that surface and the patio can support it. A liner alone doesn’t confirm safe bottom temperatures or adequate structural support. I check the manufacturer’s instructions and existing base before recommending placement. Portable appliances may have different requirements than built-in masonry pits.
DOES EVERY FLORIDA FIRE PIT NEED THE SAME SETBACK?
No. The applicable requirements depend on the fire classification, local enforcement, zoning, and appliance instructions. Ask your local fire official about your exact design before buying it. General safety advice online isn’t a substitute for the clearance required at your property, and HOA approval may be needed separately.
Build It Right Below the Surface
A dependable fire pit patio starts with proper preparation. I focus on stable support, controlled drainage, and a fire feature installed to its approved requirements.
My team serves Fort Myers, Cape Coral, Bonita Springs, Punta Gorda, Sarasota, and nearby communities. For help planning your layout and installation, Get a Free Quote for a consultation and project estimate.
A beautiful pool deck won’t stay beautiful if Florida rain washes out the support beneath it. When homeowners ask me about porcelain pavers in Florida, I start with the location, drainage, and surface traction, then look at color. Heat, humidity, heavy rain, and coastal salt exposure also matter when choosing a product and planning the site.
Porcelain can be a quality choice for patios, walkways, and carefully planned pool decks, but the product and installation system must suit the job and the outdoor space. Here’s where I’d consider it, what I’d check before ordering, and where professional workmanship makes the difference.
KEY TAKEAWAYS BEFORE YOU CHOOSE
I want you to understand the material before committing to a sample or a price.
Choose exterior-rated porcelain with published performance data for the intended use, especially around swimming pools.
Match the supporting system to the property, because porcelain won’t correct settlement or drainage problems.
Compare complete installation quotes, including preparation, cuts, drainage, joints, and replacement pieces.
The right selection can give you an attractive outdoor space with manageable upkeep. The foundation still deserves as much attention as the finish.
Where Porcelain Pavers Work Best in Florida
Pool decks need texture and wet-use approval
Around a swimming pool, I put traction ahead of appearance. Choose outdoor porcelain pavers labeled slip resistant, then confirm the particular product’s published wet-use data and suitability for the intended poolside application.
Finish labels such as matte, honed, textured, and polished describe appearance, not verified performance.
Textured porcelain pavers beside a Florida swimming pool.
I also check coping, drains, screen enclosure tracks, and door heights. These details affect the finished elevation and the amount of preparation needed.
If an existing brick-paver deck is sinking, assess and correct any unresolved base problem before replacing the surface. Covering it won’t give you a dependable result.
Patios and walkways offer more design flexibility
A covered lanai or outdoor dining area gives you more design flexibility with porcelain patio pavers than an exposed pool deck. Their stone-look, concrete-look, and wood-look designs can coordinate with your home’s hardscape design without changing the overall layout.
Still, covered doesn’t mean permanently dry. Wind-driven rain, irrigation, and wet feet all matter.
Cavastone’s indoor-outdoor flooring guidance discusses coordinated finishes. I like a coordinated appearance, but the exterior product needs its own suitability check.
On walkways, I look closely at steps, slopes, roots, and transitions. Large-format pieces need dependable support so corners don’t rock under foot traffic.
Florida Weather Makes Drainage and Color Important
Will porcelain stay comfortable in the sun?
Don’t choose a pool deck from an indoor sample board alone. I recommend viewing samples outside under similar sun and humidity conditions.
Lighter colors generally absorb less sunlight than darker colors, but shade, exposure, and the specific surface affect comfort. No material stays comfortable under every Florida condition.
Bright white can also create glare around a pool. Beige, soft gray, and light mixed tones may give you a calmer appearance while helping disguise everyday dirt. Some products are described as fade resistant, but verify that claim in the technical information.
I want the finish to look good beside your house and feel suitable for the way your family uses the space.
Heavy rain tests the whole installation
In Southwest Florida, saturated soil, runoff, and settlement deserve more attention than cold-climate frost claims. Heavy rain makes drainage planning essential, and water needs a route away from the house without creating trouble elsewhere.
Low water absorption doesn’t make a surface installation waterproof. Rain can reach joints, edges, and the supporting layers.
Open joints can let water pass through, but the base still needs a designed drainage path.
I check downspouts, irrigation, existing low spots, and the finished grade before choosing the installation method. The Florida paver installation process also puts access, elevations, and site preparation ahead of the decorative layout.
How Porcelain Compares With Concrete and Natural Stone
I don’t recommend one material for every property. Each option has strengths, and maintenance expectations should be part of the decision.
Here’s how I approach the comparison.
Material
Why homeowners consider it
What needs checking
Exterior porcelain
Consistent designs and potentially simpler surface care
Wet-use suitability, support, handling, and installation approval
Concrete brick pavers
Many patterns and practical replacement options
Base quality, joints, staining, and product-specific sealing
Travertine or shellstone
Natural variation and a coastal appearance
Finish, absorption, cleaning, and sealing requirements
Some porcelain products are described as stain resistant or fade resistant, but check the exact product’s published information. Claims of high durability should also be supported for the intended use.
If you prefer natural variation over a manufactured pattern, compare shellstone and travertine pool decks. I also recommend asking about replacement availability before buying any material. For example, check the published specifications for the specific Belgard collection you’re considering.
For driveways, driveway porcelain pavers need written manufacturer approval for both the product and installation system. A patio rating doesn’t establish suitability for vehicles, turning pressure, or concentrated loads.
Choose the Right Porcelain Installation Method
The installation method affects height, drainage, repairs, and cost, so porcelain pavers need a system suited to the selected product. I follow the manufacturer’s instructions rather than carrying over a concrete-paver assembly without checking compatibility.
Dry-laid over a prepared base
Dry-laid systems use an approved aggregate base and bedding assembly. Preparation includes excavation, drainage planning, compaction, accurate grading, and edge support.
The bedding material, joint treatment, and compaction procedure must suit porcelain. Don’t assume ordinary concrete-paver equipment or polymeric sand is suitable.
A flat supporting surface matters. Small irregularities beneath large units can leave edges unsupported.
Bonded over existing concrete
An overlay starts with checking the slab for movement, contamination, drainage, and structural condition. Existing cracks need evaluation before anything is bonded over them.
For the approved system, a notched trowel distributes mortar, while back-buttering helps achieve proper contact beneath the paver. Installers lift pieces during placement to inspect coverage.
Follow the selected system’s written requirements for exterior and wet-area installations.
Supported on adjustable pedestals
Pedestals can support porcelain above a slab while leaving drainage space below. They require attention to perimeter restraint, loading, waterproofing, and access.
Specceramics’ porcelain pedestal guidance identifies 2 cm, or 20 mm, products for these applications. Thickness alone isn’t approval for every elevated installation.
In coastal Florida, the design also needs to address applicable wind requirements. I wouldn’t treat an elevated terrace as an ordinary ground-level patio.
When Professional Evaluation Is Worthwhile
Quality porcelain work involves more than placing straight rows. I recommend professional evaluation when a project includes slab cracks, poor drainage, steps, pool coping, elevated surfaces, or vehicle traffic.
If you’re considering DIY dry-laying, compare the manufacturer’s complete instructions with your equipment and experience. Include preparation, cutting, lifting, edge restraint, and safe handling in that review.
Porcelain requires suitable cutting equipment. A wet saw or bridge saw may be appropriate, depending on the product and cut, but the blade and machine must meet the manufacturer’s requirements.
I want an installer who follows applicable paver-system requirements and the product instructions.
Ask about movement joints, coverage checks, and protection during construction. A professional should explain these details plainly, and the written scope should match the work you’re expecting.
Compare Complete Quotes and Check Local Supply
What should the price include?
A material-only square-foot price won’t tell you the finished project cost. Removal, access, base preparation, drainage corrections, cutting, and installation ease can all affect the total.
I recommend requesting an itemized quote that separates materials, preparation, installation, and any allowance for unexpected conditions. Ask whether delivery, disposal, coping work, joint materials, and cleanup are included.
Have porcelain patio pavers, concrete, and natural-stone alternatives priced against the same footprint and scope. Otherwise, the cheaper number may simply leave out necessary work.
Don’t count on maintenance savings to recover a higher purchase price without comparing the actual care instructions.
Where can you see products in Florida?
Ask local material suppliers about exterior porcelain lines, including brands such as Belgard, then confirm whether the specific collection is available and suitable for your project.
For homeowners in Cape Coral, Fort Myers, Bonita Springs, and nearby areas, I suggest calling before traveling to a showroom. Request full-size samples, technical sheets, stock information, and lead times. For any specific collection marketed as fade resistant, verify the claim in its technical data or warranty.
Also ask about matching coping and spare pieces. Ordering replacements later can become difficult if a collection changes.
Platinum Pavers of SWFL brings more than 20 years of experience to outdoor-surface projects. My advice is to review the property and complete installation scope before making the final material purchase.
Keep the Surface Clean Without Over-Treating It
Low maintenance still means routine cleaning and inspection. Follow the product’s cleaning and sealing instructions, including any requirements for joints or adjacent materials.
Remove leaves, rinse loose dirt, and clean spills promptly with a compatible cleaner. Around pools, pay attention to sunscreen residue and algae, which can affect traction.
Florida humidity and coastal salt exposure make regular checks worthwhile. After severe weather, inspect joints, edges, drains, loose pieces, and nearby metal components. Repair the cause of movement rather than repeatedly resetting the same corner.
I don’t automatically apply the sealing routine used for concrete brick pavers to porcelain. Some products have different treatment requirements, and an incompatible coating can change appearance or wet traction.
Pressure washing also requires care. Excessive pressure can damage edges or remove joint material.
If you’re comparing materials partly to reduce upkeep, ask for the care instructions before ordering. A finish that’s difficult to clean in your setting won’t be a satisfying choice.
Frequently Asked Questions
Are porcelain pavers suitable for Florida pool decks?
They can work well when the specific product is approved for the intended poolside use and has published wet-use performance data. I also check drainage, coping, and the supporting base before recommending them.
Do porcelain pavers get hot in direct sunlight?
They can become uncomfortable in strong sun, and the surface, color, shade, and exposure all affect how they feel. Compare samples outdoors in similar conditions rather than relying on an indoor display.
Do porcelain pavers need to be sealed?
Not necessarily; care and sealing requirements vary by product and installation system. Check the manufacturer’s instructions before applying a sealer, since an incompatible coating can affect appearance or traction.
Can porcelain pavers be installed over an existing concrete slab?
They may be bonded over concrete when the slab is suitable and the selected system is approved for the application. Have cracks, movement, drainage, and surface condition evaluated before installation.
Choose the Surface and Foundation Together
Porcelain pavers in Florida work best when the product, finish, support, and drainage plan suit the space. My strongest recommendation is to give the installation system the same attention as the appearance.
For your patio, walkway, or pool deck, Get a Free Quote, or call Platinum Pavers of SWFL at (239) 316-4630 for a consultation and estimate.
A quality outdoor surface starts with honest advice and careful preparation. That’s the workmanship your property deserves.