

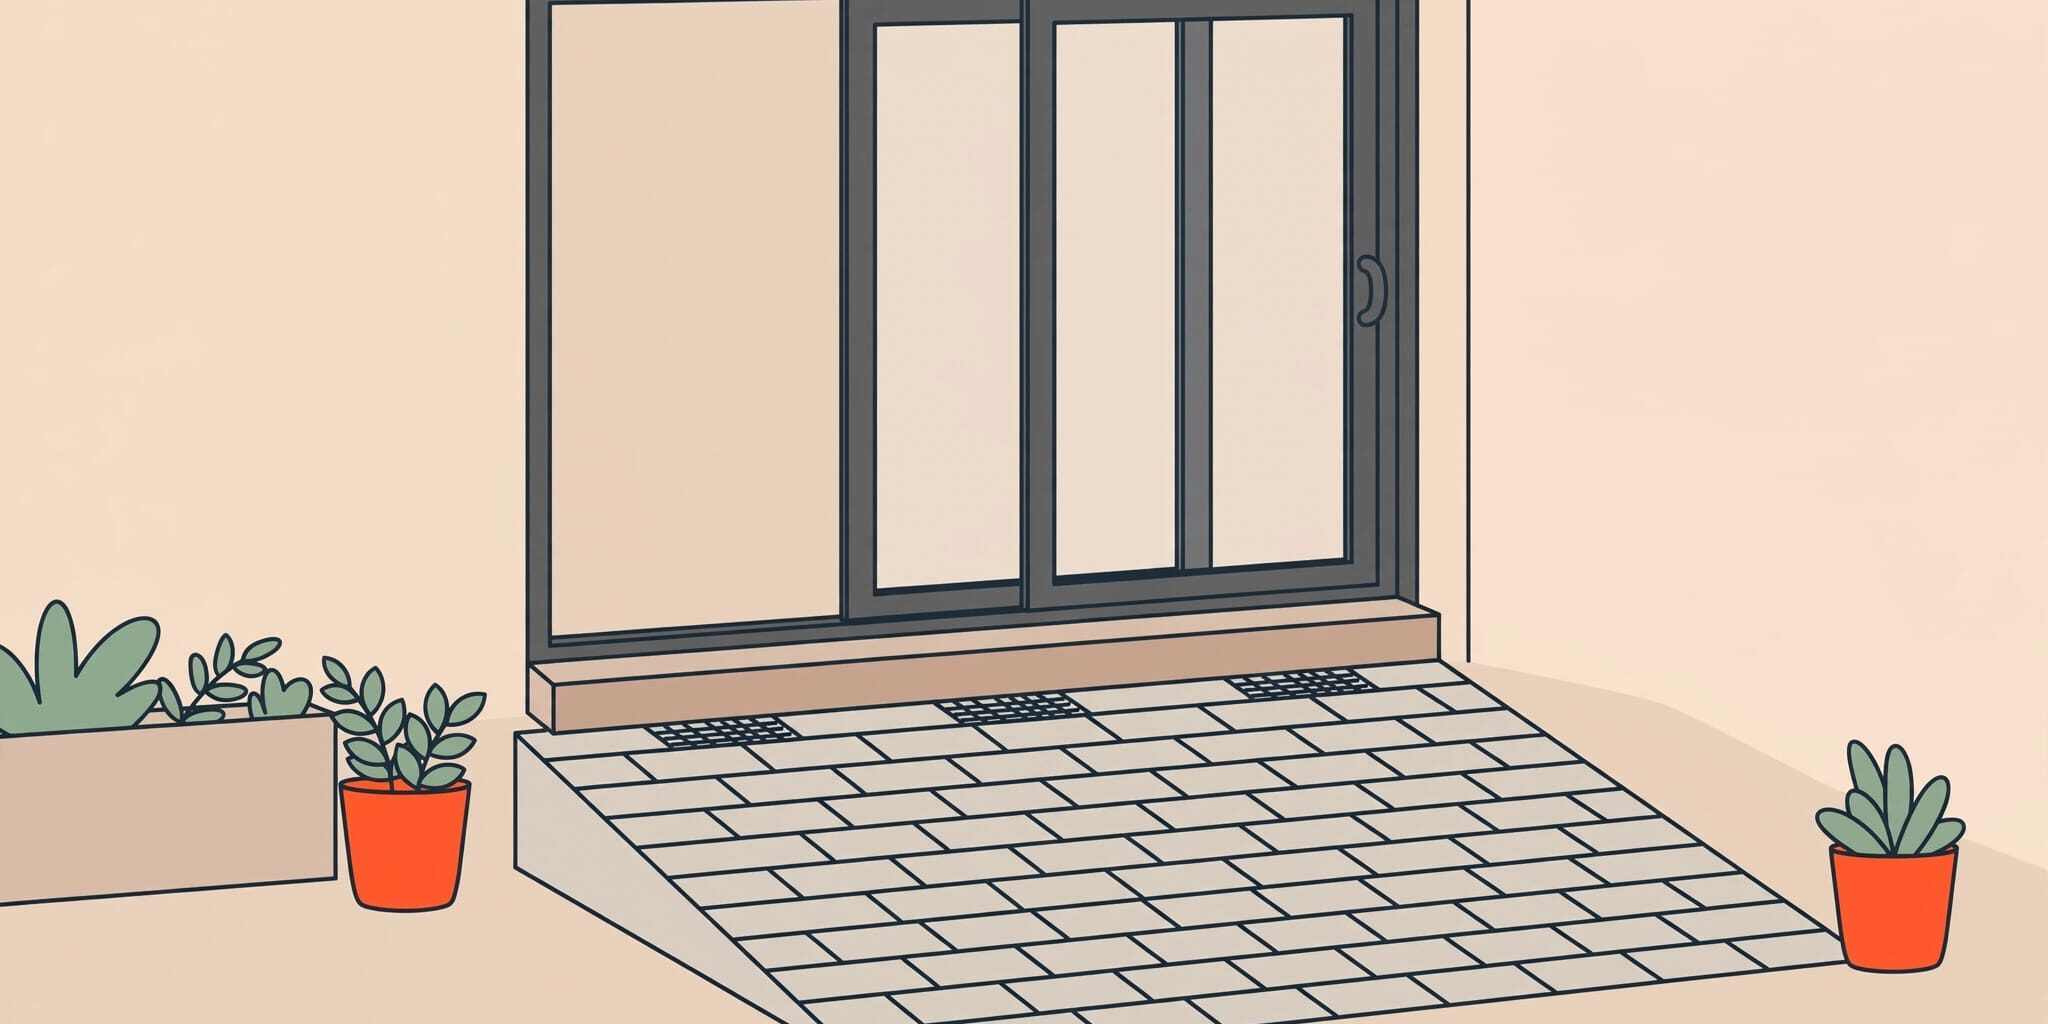
The threshold’s crossing height is separate from the patio’s slope and drainage route, but all three must work together. The right height gives you a safe place to step and keeps the door’s drainage openings clear.
I recommend setting the finished elevations first, before choosing pavers or ordering replacement door parts. Start at the doorway, then plan how the patio will carry water away from your home.
Key Takeaways
- Keep pavers clear of the door’s drainage openings, sill flashing, and operating parts.
- Match the replacement part by door brand, profile, width, and length, not appearance alone.
- Repair a weak base or poor drainage before resetting pavers, because extra sand and surface sealer won’t correct missing support.
A quality transition needs both a dependable door assembly and a properly supported patio. Replacing one worn part won’t solve a grading problem outside.
Plan the Paver Patio Door Threshold Height First
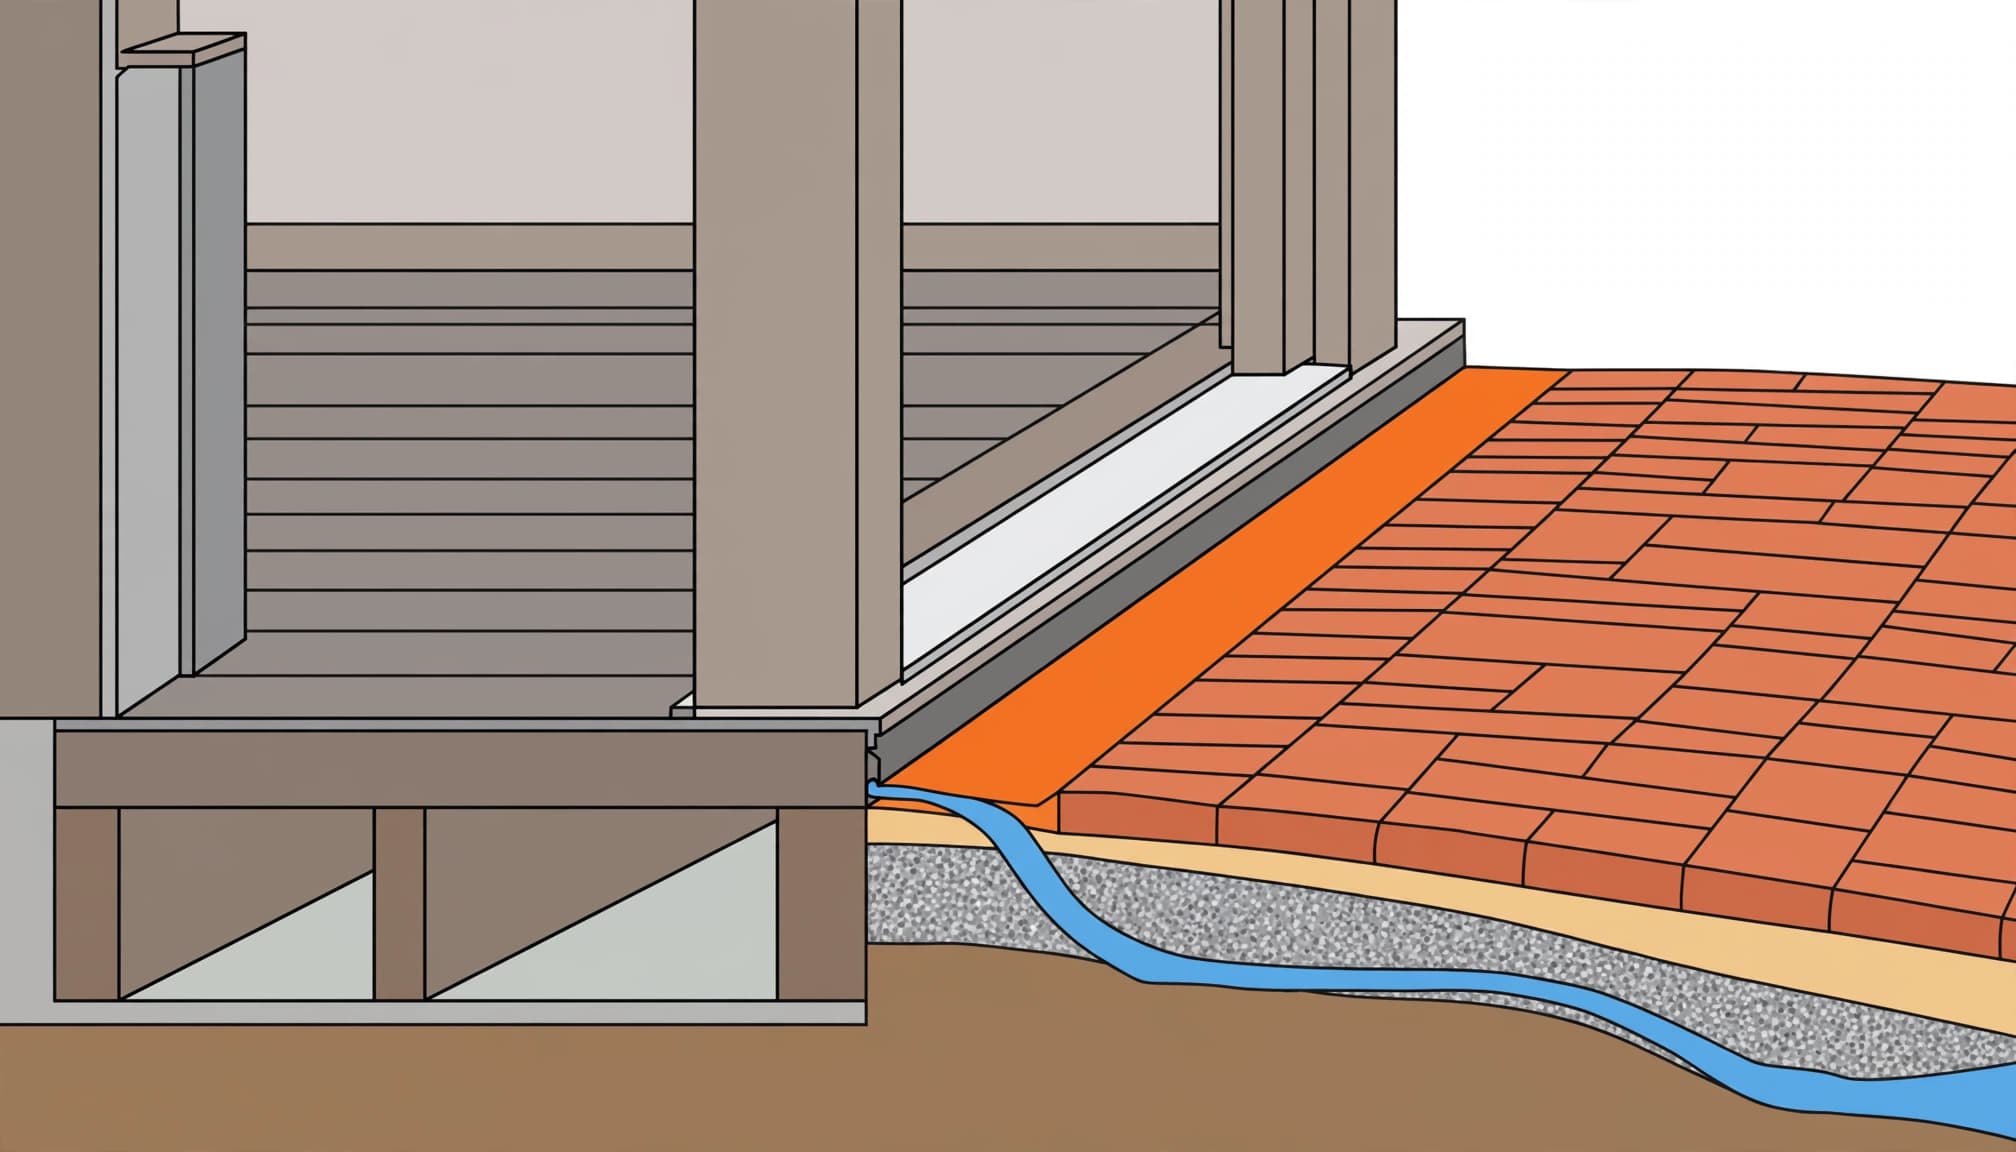
Separate Threshold Height From Landing Height
The threshold’s raised profile and the difference between the sill and patio are separate measurements. Both affect how comfortable and safe the doorway feels.
The finished pavers must leave the door’s weep openings exposed and preserve the clearances built into the assembly. Raising the patio until it looks flush can bury those openings and bring stormwater closer to the interior.
I recommend including paver thickness, bedding material, and any existing slab when calculating the finished elevation. An overlay adds height, even when the selected pavers look thin.
If that added height blocks drainage or creates an awkward lip, removing the existing surface and rebuilding the base is the better approach.
Plan Accessible Entry as a Complete System
The 2010 ADA Standards for Accessible Design generally limit the height of the raised crossing at covered accessible doorways to 1/2 inch, subject to listed exceptions. This standard isn’t a universal private-home clearance, and local code requirements vary by location and door type.
A low-threshold entrance needs coordinated door selection, landing elevations, drainage, and waterproofing. Simply raising the pavers against an existing sliding door doesn’t create a dependable accessible entrance.
Keep enough clear landing space for someone to open the door and step comfortably. Avoid an abrupt or unstable lip, and move furniture and planters away from the place where your foot needs to land.
Give Rainwater a Clear Route Away
For patio planning, about 2 percent slope, roughly 1/4 inch per foot, is a useful starting target where the site allows it. Across 12 feet, that produces about 3 inches of fall.
That figure isn’t a universal requirement. The finished grade also has to suit the landing, surrounding property, and available drainage outlet.
Build the fall into the prepared ground and compacted base, then carry it through the finished pavers. Changing only the bedding thickness leaves uneven support underneath.
Our guide to paver layout around a foundation explains why doorways, wall details, and drainage routes belong in the plan before the paving pattern.
Roof runoff matters too. A downspout discharging beside the threshold can overwhelm a small landing or wash material out beneath its edge. Irrigation should also stay off the door and nearby joints.
Where the yard doesn’t provide enough fall, a properly designed channel drain may be part of the solution. It needs a functioning outlet and maintenance access, not just a grate beside the door.
Water disappearing between ordinary pavers doesn’t prove the patio drains properly. It may be carrying bedding material out of the base.
Know Which Patio Door Part You Need
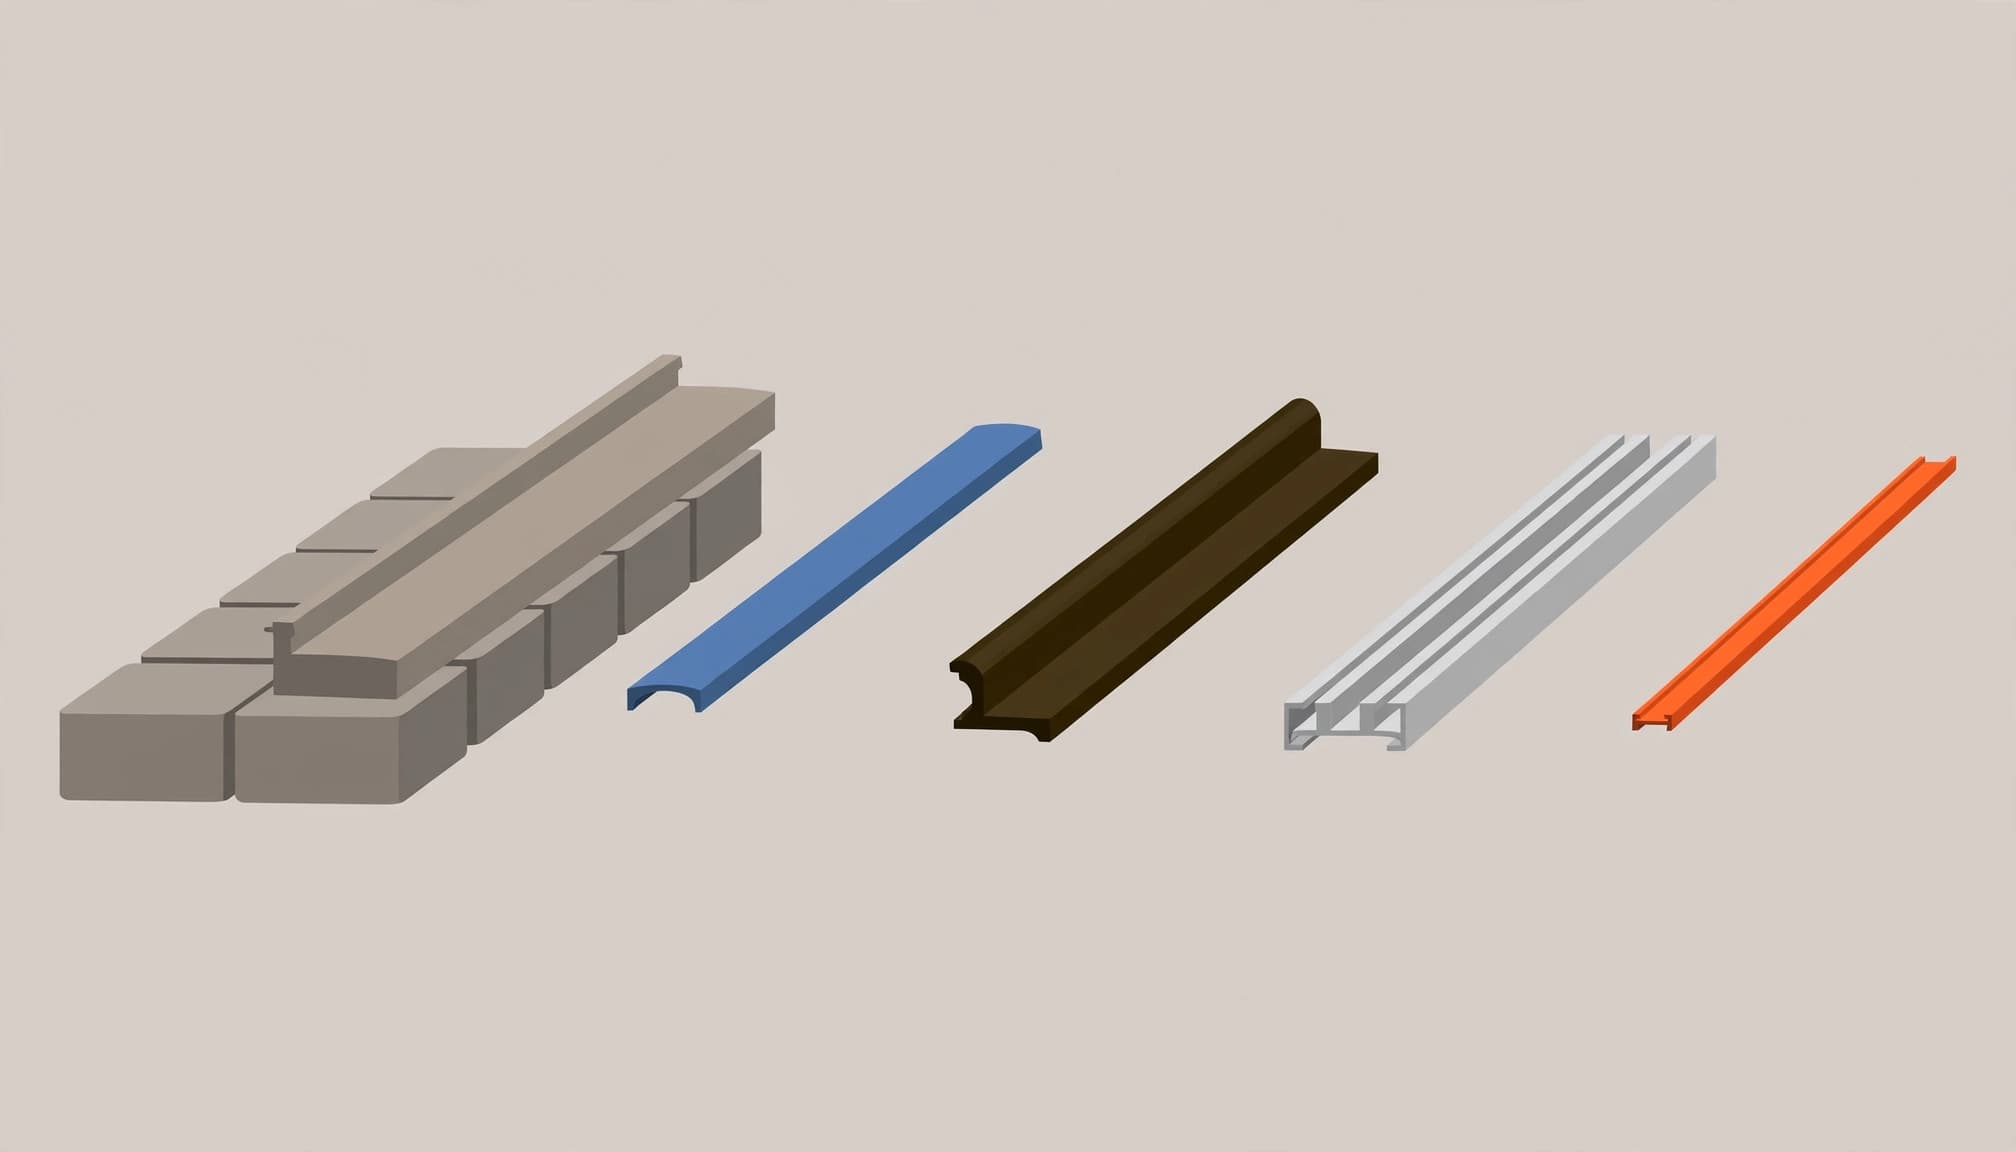
Door Sill and Threshold
On a sliding patio door, the sill is the bottom frame assembly. The threshold is the raised crossing portion, although manufacturers and suppliers sometimes use these terms differently.
The sill may contain tracks, drainage channels, and weep openings. Those features explain why a replacement needs to match more than the visible width.
I recommend identifying whether the trouble is a damaged crossing surface, worn roller track, failed seal, or movement beneath the entire frame. Each calls for a different repair.
Sill Covers, Track Covers, and Rails
A patio door sill cover is a separate piece fitted over a compatible sill surface. It doesn’t replace the complete bottom frame or repair concealed water damage.
A sliding glass door replacement rail repairs the running surface used by the door rollers. A sliding screen door rail supports the screen and is a separate product.
Track covers are profile-dependent, so check the fit and operating clearance before installation. A cover that sits too high can interfere with operation or create another raised edge underfoot.
A PVC barrier strip is another accessory. It isn’t a substitute for a supported threshold or working drainage system.
Measure Before Ordering a Replacement Threshold
A replacement threshold needs the correct cross-section as well as the correct length. I recommend recording the following measurements together, rather than shopping by doorway width alone.
- Record the door manufacturer, model information, and identifying marks on the frame or existing part.
- Measure the actual component length between its end conditions, rather than relying on the door’s advertised opening size.
- Measure the full front-to-back width and note the positions of channels, screw holes, and raised sections.
- Record the profile height, roller clearance, and drainage openings that the replacement must preserve.
- Photograph the complete sill and an exposed end profile so the shape is clear.
If the roller path is the problem, measure the sliding glass door replacement rail. Check its actual length, profile, and end conditions.
Catalog lengths often describe stock material. Cutting a long part shorter doesn’t make the wrong profile fit.
The final length must also accommodate the door’s end details and installation arrangement. Avoid forcing a replacement between jambs or fastening through an existing drainage channel.
Measure the paver-to-threshold transition at both ends and across the walking area. A patio can look even while one corner has settled enough to collect water.
Match CRL Parts to the Door
Aluminum and Bronze OEM Thresholds
CRL’s patio door threshold catalog lists aluminum and bronze OEM replacement models approximately 4-1/2 to 5 inches wide, with 6- and 8-foot lengths.
Compatibility is tied to particular door systems. Bronze OEM models are listed for Arcadia doors and for Century and Elco doors. Aluminum OEM thresholds are listed for Daryl Doors.
For example, TH802A identifies an aluminum Daryl Doors threshold measuring 5 inches wide by 8 feet long.
I recommend choosing by the original profile and door compatibility first. A similar finish and matching overall width aren’t enough to establish fit. A retail listing’s “best seller” badge, if present, doesn’t establish compatibility.
Stainless Steel Covers and Replacement Rails
CRL’s small stainless steel sill covers are listed in 6-, 8-, and 10-foot lengths. The large covers identified in the catalog are 8 and 10 feet long.
These covers and aluminum OEM thresholds perform different jobs. Comparing them as interchangeable upgrades overlooks how each attaches and what it repairs.
CRL lists aluminum replacement rails, including a sliding glass door replacement rail in 72-, 96-, and 120-inch lengths, plus a separate sliding screen door rail. Its PVC Barrier Strip for Patio Door Thresholds is item THBS8.
Those names help narrow the purchase. A worn running rail calls for a rail repair, while a damaged complete threshold requires a different part and installation approach.
Repair Support Problems Before Sealing
A Gap Under the Threshold Needs the Right Diagnosis
A visible opening at the outside face isn’t the same problem as missing support beneath the door frame. Caulk at the surface won’t rebuild a damaged supporting area.
Rot, frame movement, and water beneath the sill require attention to the door assembly and its waterproofing. A qualified door installer is appropriate when the frame moves or concealed damage is present.
Support methods are manufacturer-specific. For example, Viwinco’s patio door instructions prohibit shimming beneath the threshold or bottom track for that system.
I wouldn’t apply one door’s support detail to every sliding door. The repair needs to preserve the designed support, sill-pan arrangement, and drainage paths.
Settled Pavers Need Base Repair
If the threshold is stable but the pavers rock or dip, the repair belongs below the paving surface.
Lift the affected section, remove failed material, correct the drainage problem, and rebuild the compacted support before resetting the pavers. Adding loose sand beneath one stone can leave the surrounding failure untouched.
Our guide to paver patio joints and borders covers how washed-out support and drainage problems can resemble a simple joint issue.
Joint sand helps stabilize the finished paving system. Sealer protects the surface. Neither restores missing base material, so quality workmanship starts underneath.
Frequently Asked Questions
Can a Sill Cover Go Over the Existing Sill?
Yes, when the cover is designed for that sill profile and the existing assembly remains sound. The cover must leave drainage openings and operating clearances working.
It won’t correct a moving frame, concealed decay, or water entering beneath the sill. Covering those problems only makes them harder to see.
Which Rail Fits a 96-Inch Door Opening?
CRL lists the 96-inch aluminum replacement rail as PLD1659, but a nominal 96-inch opening doesn’t automatically require that finished rail length.
The existing track’s actual length, profile, and end conditions determine fit. The replacement also needs the correct relationship to the door rollers.
Is Stainless Steel Always Better in Wet Conditions?
Material alone doesn’t determine durability. Stainless steel sill covers and aluminum thresholds are different components, and their performance depends on fit, drainage, exposure, and installation.
I recommend repairing the failed component with a compatible part instead of choosing by material name alone.
Build a Safer Doorway Transition
A dependable patio entrance starts with finished height, firm support, and a clear drainage route. The door parts and paver surface need to work together without blocking drainage or creating an uncomfortable step.
I recommend correcting the cause before covering a damaged sill or resetting a low paver. That gives your repair a solid foundation.
For paver installation or repair in Southwest Florida, Get a Free Quote for a free consultation and estimate for your project.