

A clean, durable service area depends on a stable base, proper runoff, and level equipment. Keep a sound condenser pad in place whenever possible, and plan the surrounding surface for access and runoff control.
A finished border shouldn’t make your air conditioner harder to service or send rainwater toward your home. Start with the space your equipment needs, then choose the base and finished surface.
Key Takeaways
- Follow the AC manufacturer’s clearance requirements and local code, and keep service panels, the electrical disconnect, and a clear route for technicians accessible.
- Keep the condenser on a stable, level support that carries every bearing point. Pavers can support equipment only when the full assembly has a suitable base, joints, edge restraint, and anchoring.
- Grade the surrounding hardscape to move runoff away from the home, while keeping the condenser’s bearing surface level within its installation requirements.
- Choose a firm service area for reliable footing and contain decorative stone around the existing support. Compare the full project cost, including base work, drainage, tools, and any equipment relocation.
Start With Airflow and Service Access
How much clearance does an air conditioner need?
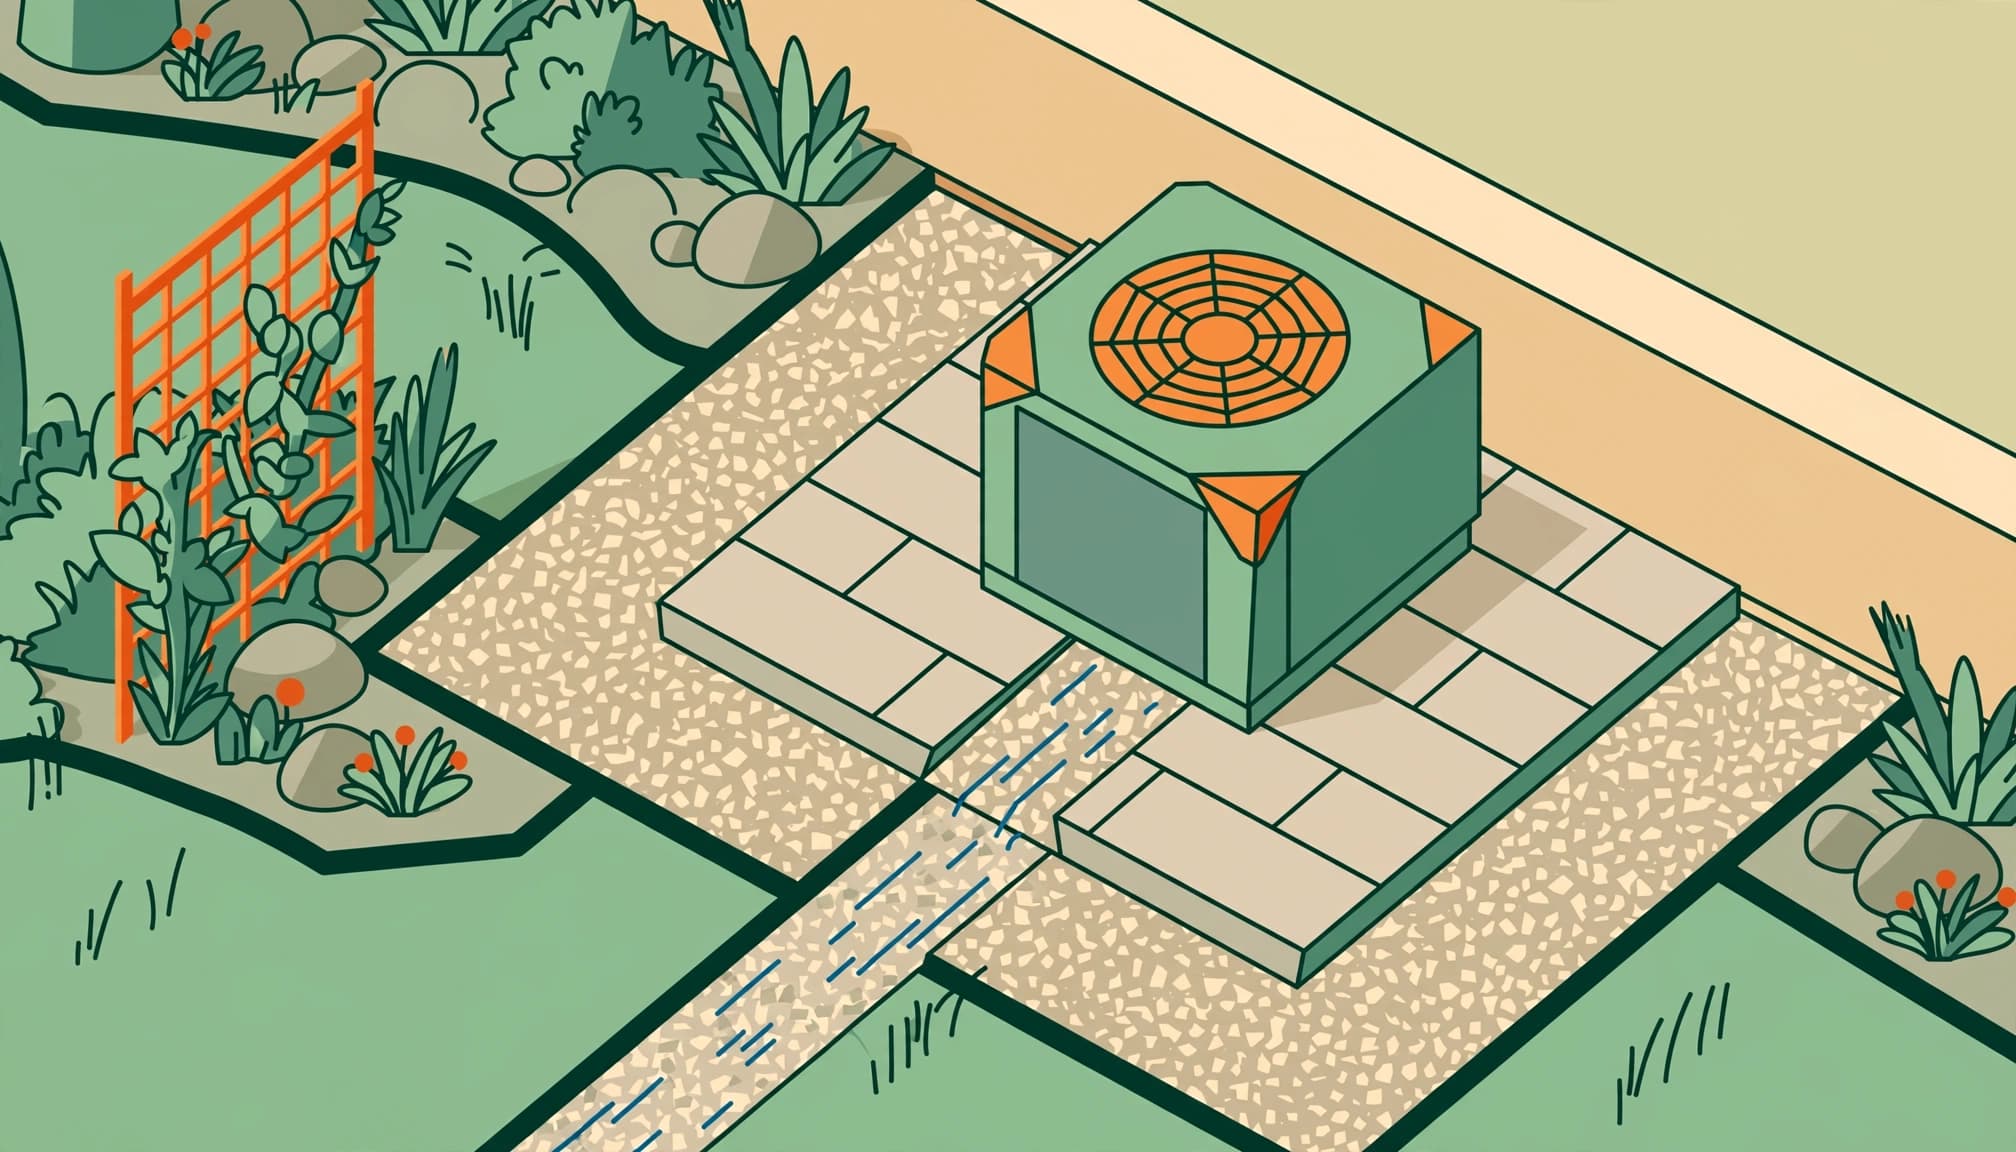
Follow the manufacturer’s installation requirements and applicable local code when setting the open space around an outdoor AC unit. Required clearance depends on its airflow and discharge design, so a 2 to 3 foot zone is only a planning allowance.
The cabinet, often called an AC condenser, may have service panels, a coil arrangement, and a discharge direction that affect the required space. Daikin’s condenser installation guidance illustrates why equipment-specific requirements matter.
Keep the electrical disconnect accessible and leave room to remove service panels. A technician needs a firm standing area and a clear route for tools or replacement equipment.
Can a trellis provide shade?
Position it only where it meets the manufacturer’s requirements, and keep the unit’s discharge path open. Avoid solid roofs or dense enclosures that trap hot exhaust air.
The Department of Energy’s HVAC guide discusses efficiency losses of up to 10% from direct sunlight, including guidance for window units. That doesn’t establish a guaranteed efficiency gain from shading a central condenser.
I put open space first. Broad landscaping shade can help, but a close-fitting screen can create a bigger problem than direct sunlight.
Choose the Equipment Support Before the Surrounding Surface
How thick should a condenser pad be?
Ready-made condenser pads commonly come in 3-inch thicknesses. Typical sizes include 24 by 24, 36 by 36, and 40 by 40 inches.
For a small poured residential concrete pad, 4 inches is a common starting thickness. Equipment weight, soil conditions, reinforcement, and anchoring can call for a different design. Thickness alone doesn’t establish load capacity.
The support must carry every bearing point of the AC condenser without overhang. Leave room for mounting hardware, and keep the finished height above surrounding soil and runoff. In Southwest Florida, wind anchoring also belongs in the equipment installation plan.
Can paving units or gravel replace a poured support?
Paving units can support equipment when the complete assembly suits the load and anchoring arrangement. Separate blocks on loose dirt aren’t a dependable foundation.
The assembly needs a compact subgrade, aggregate, consistent bedding, filled joints, and firm edge restraint. Our guidance on paver base depth in Florida explains how those layers affect excavation.
Loose decorative gravel is better used around a structural support than directly beneath equipment feet. A rated manufactured pad over a properly prepared base is often a simpler choice. I’d keep a stable existing support rather than replace it just to match the surrounding surface.
Give Rainwater a Route Away From the House
Keep drainage slope separate from equipment level
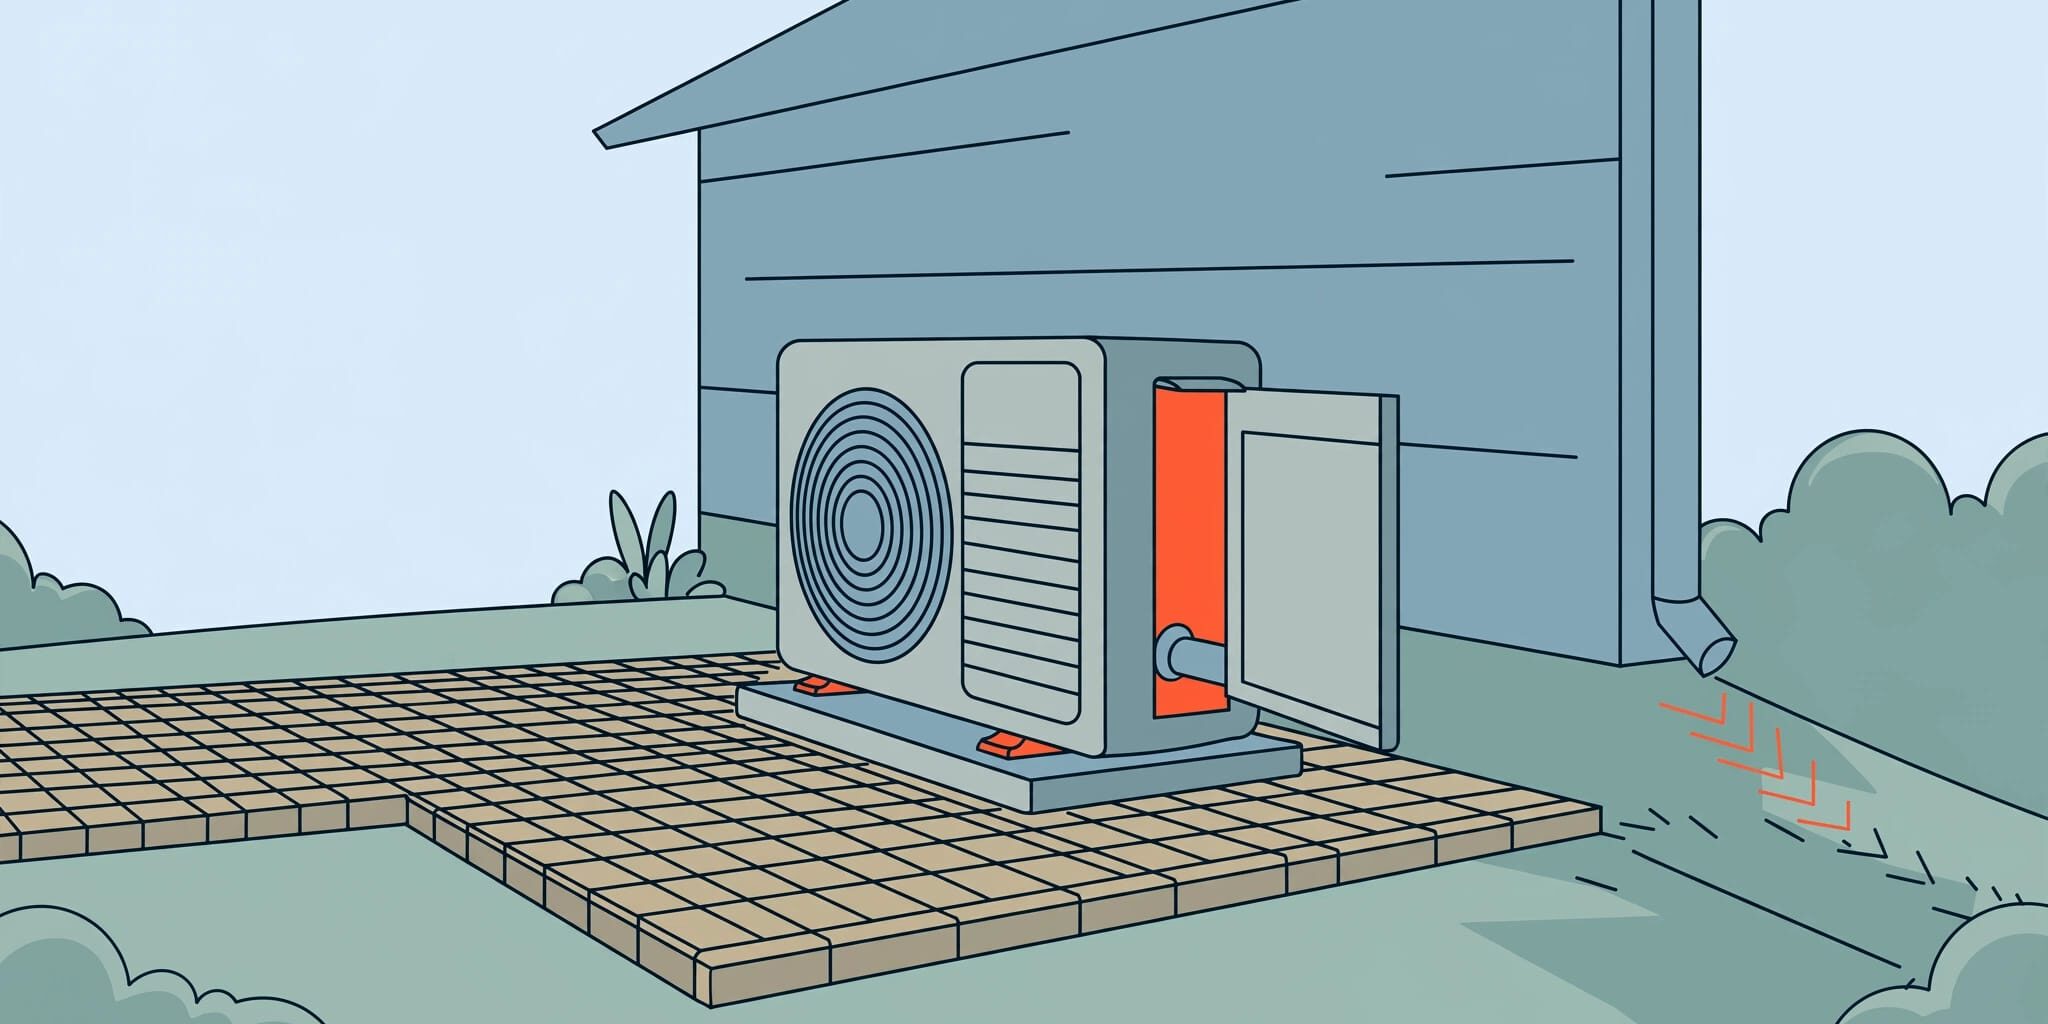
Where hardscape meets the house foundation, grade the surrounding area so runoff moves away from the home and unit. The needed slope and outlet depend on site conditions and applicable requirements.
Keep the condenser’s bearing surface level within its installation requirements, and leave the required airflow around the unit.
A level condenser base and a draining paver surface have different jobs. Set elevations so neither compromises the other.
Our guide to paver layout around foundations covers finished heights and drainage routes. Water needs a suitable destination, such as a swale or outlet.
Stop concentrated water before it washes out the base
A gravel border won’t correct a downspout emptying beside the pad. Address irrigation overspray and runoff from neighboring grades before installation.
Conventional paver joints admit some water, but standard pavers don’t automatically form a permeable pavement system. Water passing through joints can still carry supporting material away.
I recommend correcting the water source before resetting sinking pavers. Adding sand or sealer won’t replace missing aggregate. In a narrow side yard, a drainage channel or grading adjustment may protect both the equipment and foundation.
Compare Rocks, Gravel, and Pavers Around the Unit
Each material has a useful role, but appearance and structural support are separate decisions.
| Material | Main advantage | Main drawback |
|---|---|---|
| River rock | Attractive, durable border | Rounded stones shift underfoot and collect leaves |
| Decorative aggregate | Easy to spread around an existing base | Can migrate and needs containment |
| Block units | Firm footing and a coordinated finish | Need a proper base, joints, and restraints |
| Crushed stone | Angular particles compact into a stable base | Exposed material can scatter and looks utilitarian |
I prefer a firm surface where technicians need reliable footing, with contained decorative stone in adjacent landscaping beds.
Use suitable water-permeable landscape or separation fabric beneath the gravel where soil migration is a concern. Plastic edging can contain it, but it doesn’t automatically qualify as structural restraint.
Keep loose stone below the cabinet and out of the coils. Don’t pile it against electrical connections, refrigerant piping, or the condenser pad. Leave the border easy to clean so leaves don’t build up around the unit.
Build a Stable Concrete Pad in the Right Order
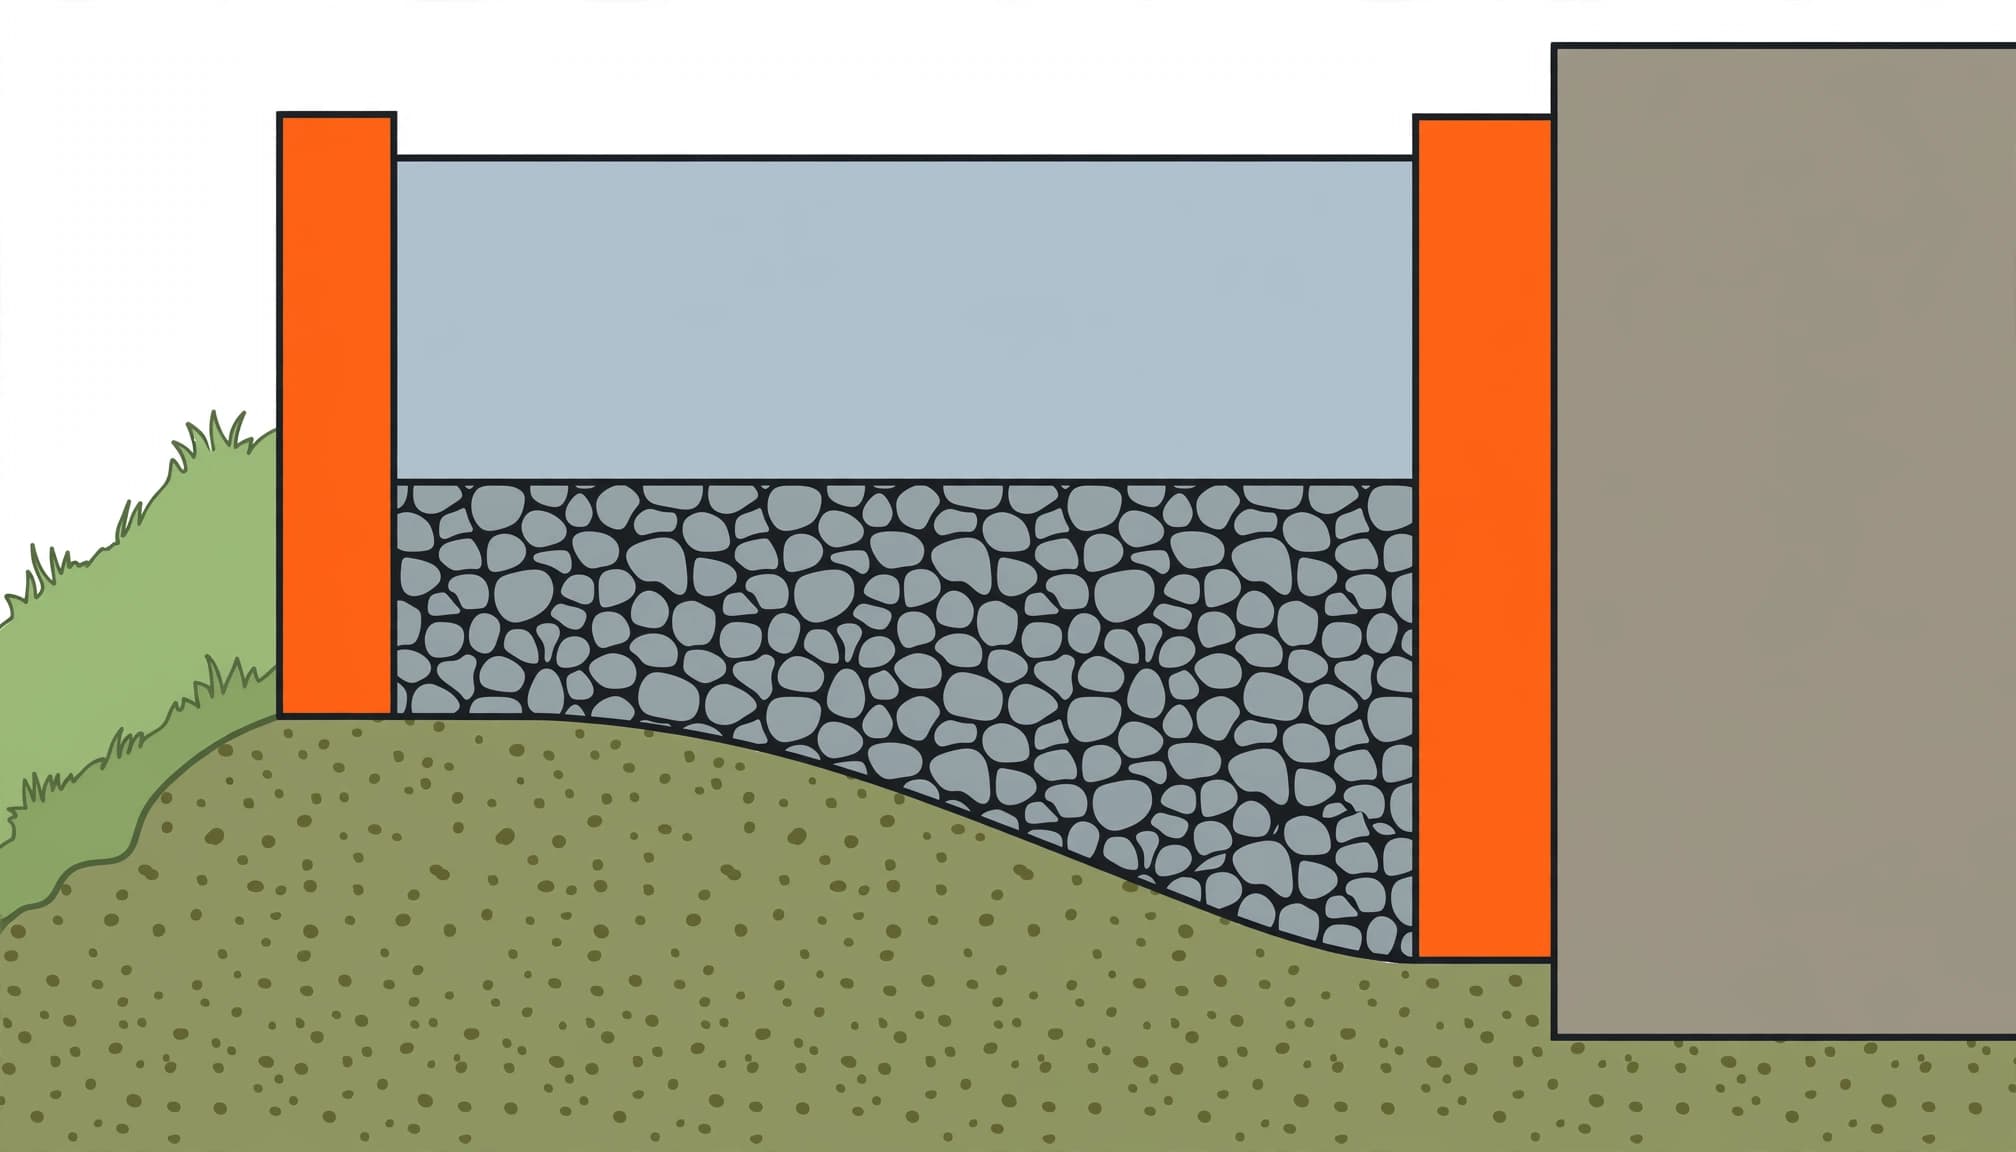
Prepare the ground and allow room for the form
For a form made from standard 2×4 lumber, allow about 3 extra inches across the outside width. Each opposing board is approximately 1 1/2 inches thick. This allowance accommodates the form, not extra equipment support.
Remove roughly 4 to 6 inches of topsoil where needed to reach firm subgrade, then compact it. Plan the excavation to fit the base and slab at the finished height of the condenser pad. Don’t excavate beneath the house footing.
Place about 4 to 6 inches of suitable crushed stone. Compact it in manageable lifts rather than dumping everything in at once. Soft ground that ruts or pumps water needs correction before concrete placement.
Mix and finish without weakening the concrete
Mix bagged concrete in a wheelbarrow using the specified water quantity. A “thick soup” description is sometimes used for workability, but the mix shouldn’t become watery or separate. Extra water can reduce strength.
Set the form, then check it before placing the concrete. Consolidate the mix around the edges and screed the surface. Light floating settles coarse aggregate and brings fine paste, often called the cream, toward the surface.
A bull float can flatten larger areas, while a magnesium float is practical on a small pad. Use an edging or corner trowel for clean edges. Avoid excessive finishing or adding water to the surface.
A broom finish is optional for traction. Protect and cure the concrete before loading it with equipment, then remove the form.
Compare Ready-Made Pad Prices With the Whole DIY Cost
Walmart listings show ready-made pads priced at roughly $69 to $123, depending on size and construction. These are product prices, not installed project costs.
| Listed pad | Listed dimensions | Example price |
|---|---|---|
| Lightweight equipment pad | 24 by 24 by 3 inches | $84.95 |
| Black condenser pad | 36 by 36 by 3 inches | $75.45 |
| DiversiTech pad | 40 by 40 by 3 inches | $76.48 |
| Mini-split pad | 38 by 18 by 3 inches | $69.00 |
| Heavy-duty pad | 24 by 48 inches | $123.10 |
A larger pad isn’t automatically more expensive, and price alone doesn’t determine whether it suits your equipment.
For a fair DIY comparison, include aggregate, concrete, form lumber, screws, delivery, compactor rental, finishing tools, and waste disposal. Equipment disconnection, lifting, reconnection, and anchoring are separate costs.
A manufactured pad suits many straightforward replacements. A poured concrete pad offers custom dimensions but needs forming and curing. Pavers work well when you also want a finished walkway or service area, especially around an existing sound pad.
Compare the full project scope, not just the price of concrete bags. Drainage corrections and difficult access can cost more than the visible pad.
Protect Existing Equipment During Paver Work
Don’t lift, drag, or pry an operating AC unit to slide it aside. Even a short move can damage refrigerant lines or electrical connections, so a qualified HVAC professional should handle relocation.
Keep excavation and compaction away from exposed lines and unsupported edges around the condenser pad. Locate buried utilities before digging, and don’t compact soil near the foundation.
Get HOA approval for landscaping and screening before ordering materials. Trellises, visible hardscape, and landscaping changes may fall under community rules.
A written project scope should identify base preparation around the equipment support, drainage corrections, edge support, finished elevations, and who handles the unit. For low spots near the foundation, our guide to sandy-soil base repairs explains why rebuilding support is more dependable than adding loose sand.
Frequently Asked Questions
How much clearance does an AC unit need?
Follow the manufacturer’s installation requirements and applicable local code. A 2 to 3 foot zone is only a planning allowance because the required clearance depends on the unit’s airflow and discharge design.
Can pavers replace a poured condenser pad?
Paving units can support equipment when the complete assembly suits its load and anchoring arrangement. The base needs compacted subgrade, aggregate, consistent bedding, filled joints, and firm edge restraint.
Should the condenser pad and the surrounding pavers both be level?
Keep the condenser’s bearing surface level within its installation requirements. Grade the surrounding hardscape so runoff moves away from the home and unit, with a suitable destination such as a swale or outlet.
What should a DIY pad cost comparison include?
Include aggregate, concrete, form lumber, screws, delivery, compactor rental, finishing tools, and waste disposal. Equipment disconnection, lifting, reconnection, and anchoring are separate costs.
Quality Work Starts Below the Surface
A finished area around an air conditioner needs stable support, usable service access, and drainage that directs runoff away from the unit and home. Keep the concrete pad sound, and arrange pavers so the area stays maintainable without reducing equipment efficiency.
For a consultation and project estimate, Get a Free Quote from Platinum Pavers of SWFL. The team can plan a clean layout that’s practical to maintain.