

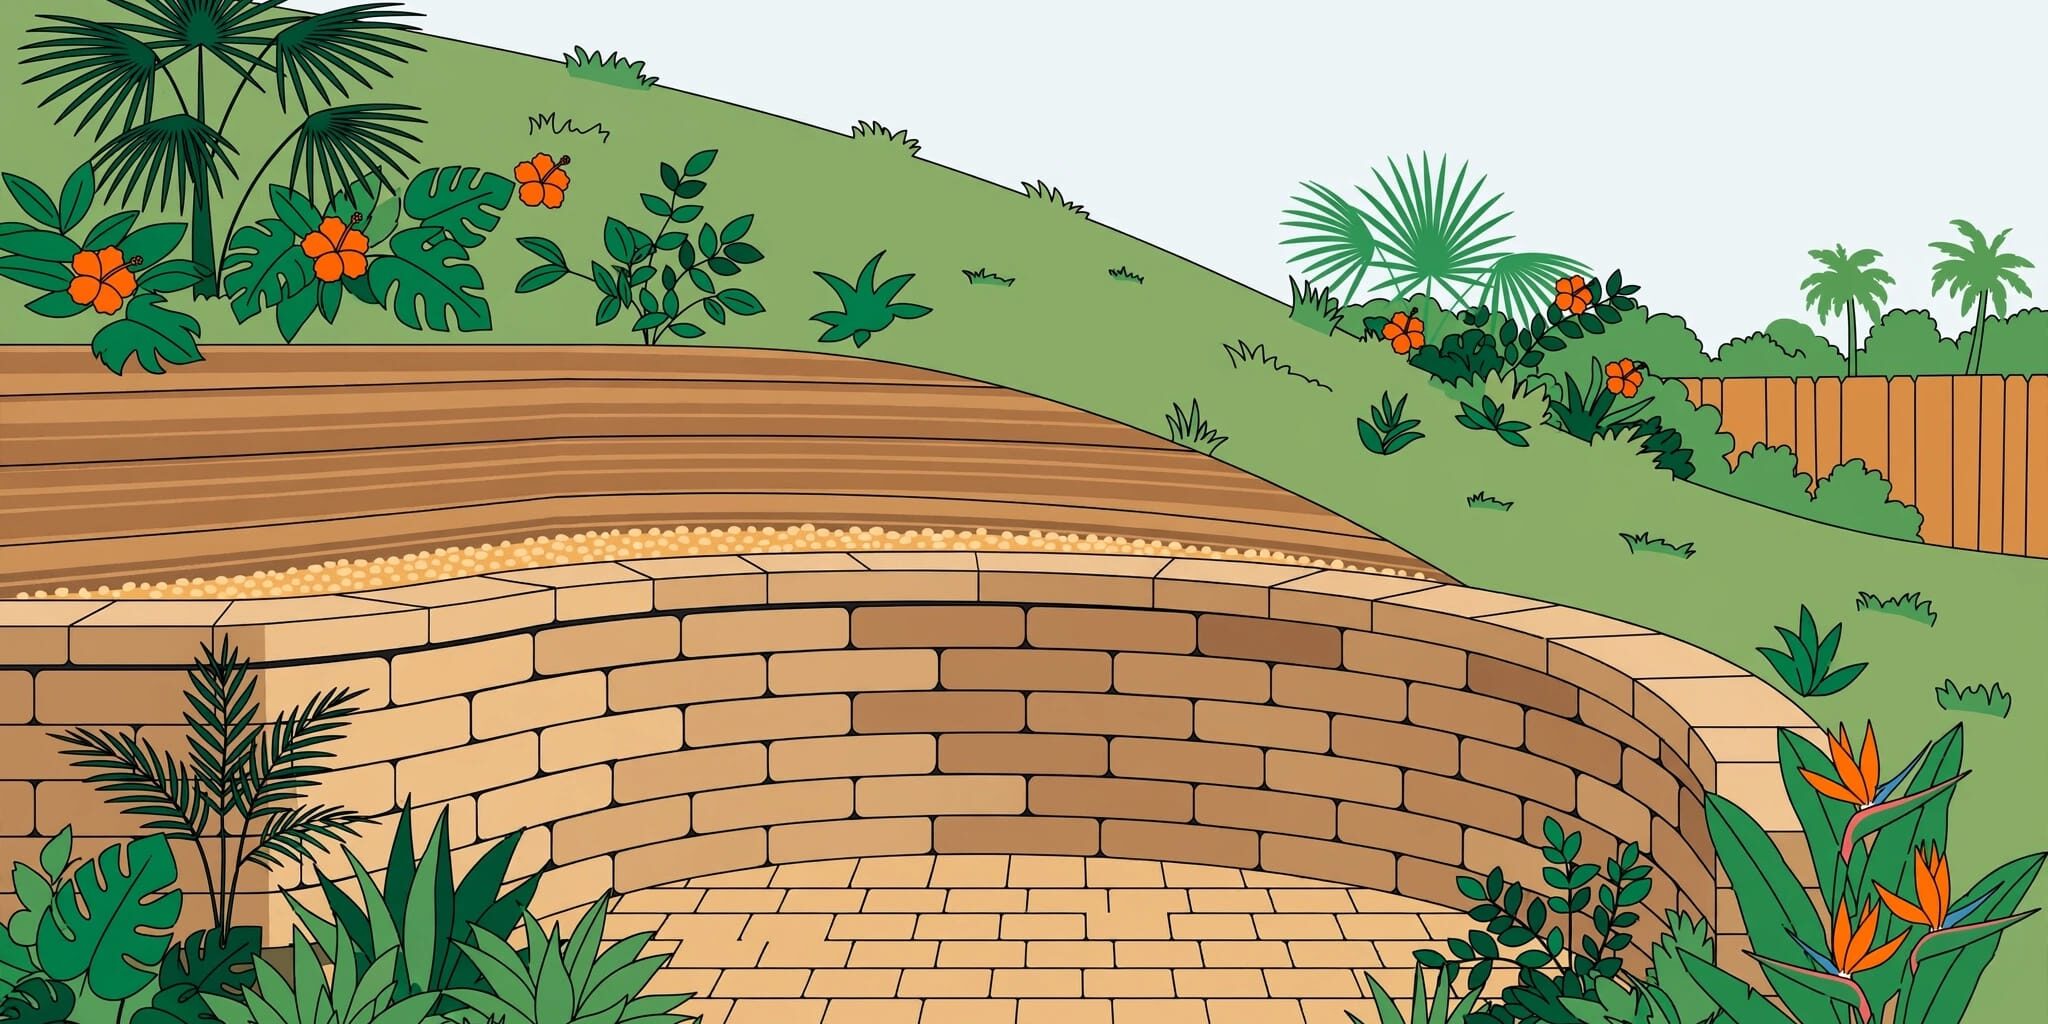
Properly built paver retaining walls hold back soil and create usable outdoor areas where your Florida yard changes elevation. I recommend retaining wall blocks designed for soil support, with a compacted foundation and planned drainage.
A wall can help create a beautiful patio or garden terrace, but Florida’s heavy rain and loose fill can affect its stability. The foundation deserves as much attention as the finished appearance.
Start with the right materials, then build each course carefully.
Key Takeaways
- Use retaining wall blocks designed for soil support, with a compacted base and drainage materials suited to the wall design. Ordinary pavers aren’t interchangeable with structural wall blocks.
- Check the grade, wall height, and loading before choosing a layout. The 2023 Florida Residential Code calls for accepted engineering practice when a wall retains more than 48 inches of unbalanced fill or is over 24 inches high and resists additional lateral loads.
- Compact the foundation in layers and level the first course carefully. Follow the selected block system’s instructions for setbacks and connections.
- Plan where water behind the wall and runoff across the yard will go. After heavy rain, check for leaning courses, separated joints, washed-out soil, or water collecting behind the wall.
- Plan terraces, steps, paths, and planting areas around how you use the yard, and account for maintenance access and water flow.
Materials for paver retaining walls
Have the wall materials ready before excavation so the trench doesn’t sit open while you source more aggregate.
For a small segmental block wall, the main materials are:
- Retaining wall blocks and compatible finishing caps, with extra units for cuts.
- Compacted paver base aggregate, clean stone, and suitable geotextile fabric.
- Perforated drain pipe and fittings where the design requires them, plus exterior landscape construction adhesive approved for the caps.
Belgard and Pavestone offer retaining wall systems, but ordinary pavers aren’t interchangeable with structural wall blocks. Choose the assembly for its intended height and loading conditions.
Basic equipment includes a shovel, hand tamper or plate compactor, tape measure, string line, torpedo level, and cutting tools. Cutting equipment needs appropriate dust control, eye protection, hearing protection, and sturdy footwear.
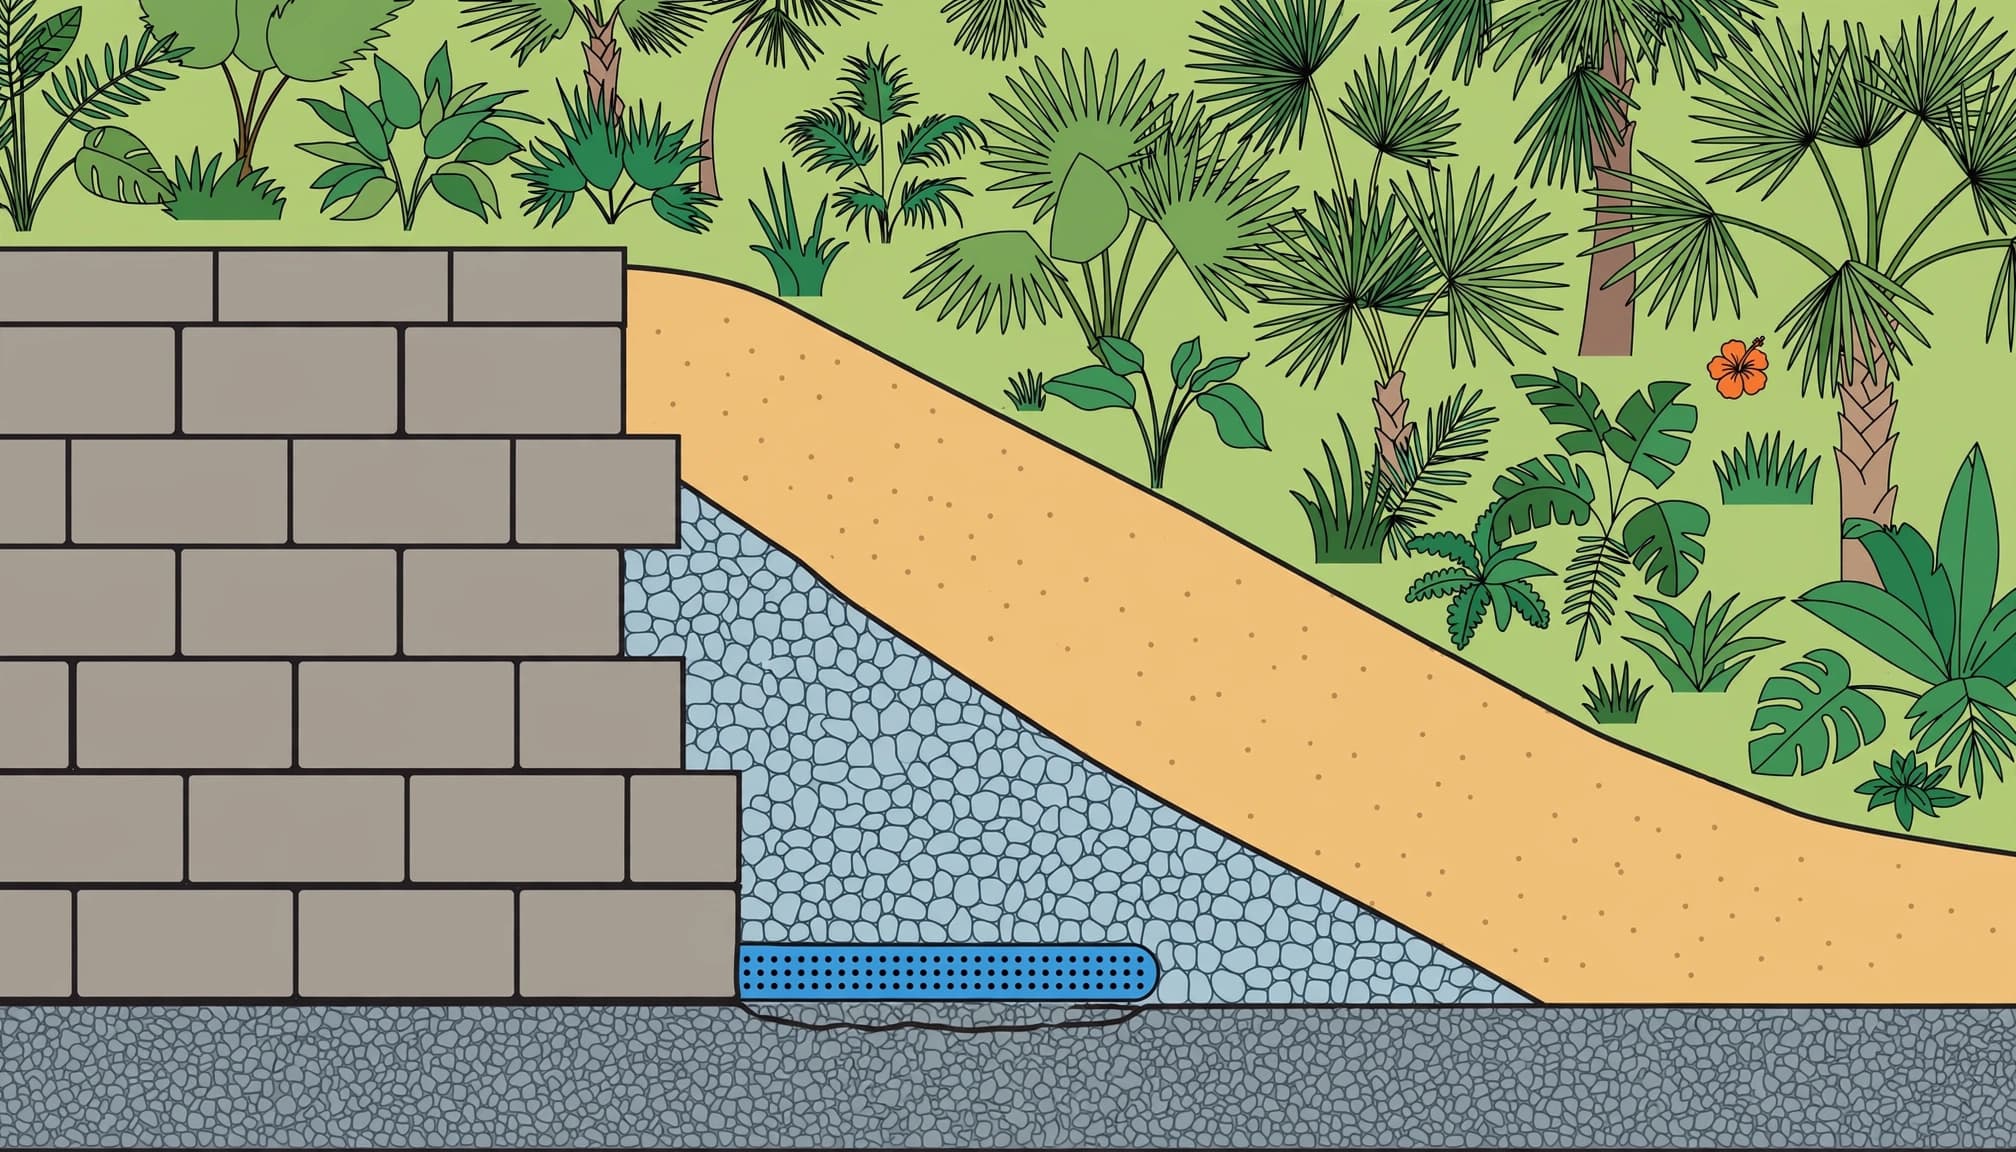
I keep base aggregate and clean stone separate. The base needs material that compacts firmly, while clean stone allows water to pass through for drainage. Decorative river rock can’t replace the specified compactable base aggregate.
Decide whether the grade needs a retaining wall
A moderate slope can sometimes support one continuous paved surface. A sharp drop usually needs a retaining wall, especially if you want comfortable seating or a connection between the patio and lawn.
Measure the total rise and horizontal distance before choosing a layout. Stakes, string, and a tape measure help establish elevations; a laser level makes longer runs easier.
Our guidance on pavers for sloped yards explains how the downhill edge, soil support, and runoff affect the installation.
I recommend terracing when the grade would leave an exposed edge or make the outdoor space difficult to use. Terraces and steps divide the elevation into smaller sections.
Pay attention to disturbed ground around pools, screen enclosures, utility trenches, and newer construction. Sandy soil can drain quickly, but loose fill can still settle or wash away.
Before digging, arrange utility locating and identify irrigation, buried lines, and septic components. Keep machinery and material storage away from protected areas. A small project can damage buried services if access isn’t planned.
Plan wall height, loading, and Florida drainage
When does a retaining wall need engineering?
Wall height alone doesn’t describe the job. A driveway, pool, steep slope, or heavy outdoor feature behind the wall adds loading.
The 2023 Florida Residential Code calls for accepted engineering practice when an unsupported wall retains more than 48 inches of unbalanced fill. It also applies to walls over 24 inches high that resist additional lateral loads.
That engineering trigger is separate from permitting. Permit-height measurements can start at the bottom of the footing, so exposed height doesn’t tell the whole story.
Local requirements also differ. Sumter County’s permitting guidance covers construction requirements and exemptions. It doesn’t give statewide permission to build without a permit.
I recommend professional design for walls supporting vehicles, structures, or significant elevation changes. Geogrid reinforcement needs a designed layout, not an improvised strip behind the blocks.
Does a 3-foot wall need drainage?
I plan for water movement behind a 3-foot wall rather than relying on gaps between blocks. The design depends on soil, groundwater, runoff, and the wall system.
Taller walls commonly use 3/4-inch clean crushed gravel, perforated drain pipe, and suitable fabric to separate soil from the gravel. The pipe needs an outlet that releases water safely.
Roof runoff, irrigation, and pool overflow also matter. Keep those flows away from building foundations, enclosure footings, and unsupported outdoor surfaces.
Southwest Florida’s main concerns are heavy rain, wet fill, and washout. A cold-climate frost-depth detail doesn’t automatically suit the yard.
Dig the trench and compact the foundation
1. Establish elevations and trench depth
Set the finished wall height against the lower and upper yard grades. Mark the level, wall line, water-management area, and outlet before excavation.
For a section buried up to its cap elevation, use this trench-depth calculation:
(Block height x number of rows) + cap height + compacted base depth = trench depth.
That calculation includes the full buried assembly. For an exposed retaining wall, excavation below the lower grade accommodates only the buried block portion and compacted base.
This distinction matters. Excavating for the full aboveground wall height would make the excavation unnecessarily deep.
Include space behind the blocks for water movement and any designed reinforcement.
2. Excavate and compact in layers
A common small-wall guide calls for a trench about twice the block’s front-to-back width. Larger engineered assemblies need their designed excavation dimensions.
Remove grass, organic material, and soft pockets. Tamp the trench bottom solid before adding aggregate; compacting stone over unstable soil leaves the weakness underneath.
Small landscape walls commonly use 3 to 6 inches of compacted paver base. Wall height, soil, and the selected assembly determine the final depth.
Place aggregate in controlled lifts and compact each lift separately. Don’t dump the entire base depth into the prepared area and compact only the surface.
Our advice on paver installation preparation explains the same foundation principle: loose sand can’t repair weak support.
Level the first course and stack the blocks
3. Set the first course carefully
Start at the lowest point and establish the first block’s elevation. Set neighboring blocks on the prepared base without disturbing it.
Check every block side to side and front to back with a torpedo level. Use a 2-foot or 4-foot level across several blocks to catch changes along the run.
Adjust with a rubber mallet, or lift the block and correct the base underneath. Don’t use loose soil to fill a low spot.
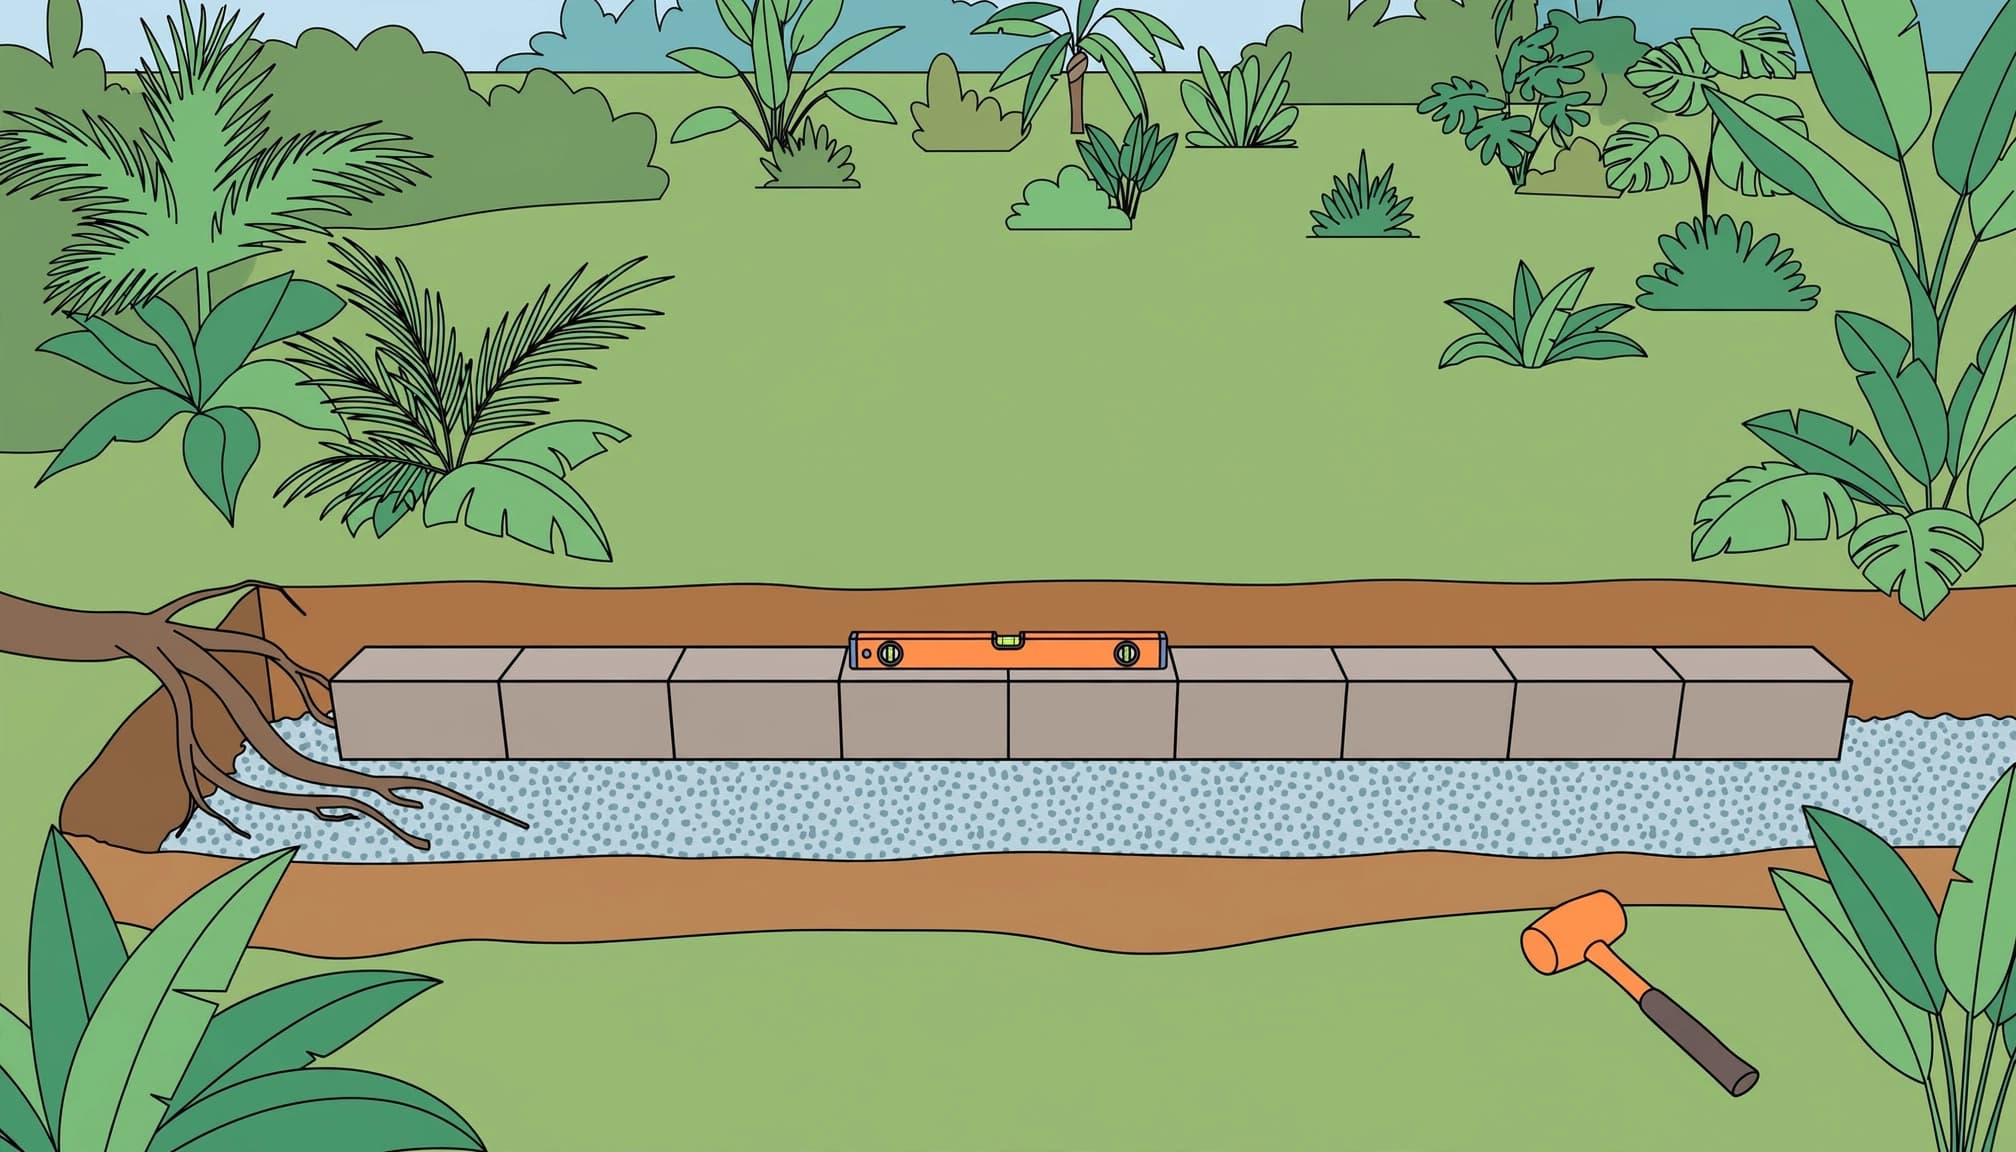
I recommend taking extra time here. An uneven first course carries its errors upward, and the finished retaining wall can look crooked even when individual blocks seem properly placed.
4. Stagger joints and engage the block connections
Clean the top of each course before stacking. Small stones beneath the next block can make it rock.
Stagger vertical joints and maintain the setback built into the wall system. With rear-lip blocks, seat the locating ridge against the course below. Other systems use pins or different connections.
Retaining wall blocks don’t all share one connection method. Follow the assembly instructions for the selected product instead of mixing details between systems.
As the courses rise, place drainage stone behind the blocks and compact suitable backfill. Use equipment and clearances suited to the wall so compaction doesn’t push the face outward.
Finish drainage, caps, and grade transitions
5. Backfill without trapping water
Separate clean stone from soil with suitable geotextile fabric. Fill hollow block cores with the rock specified for that assembly.
Keep the stone zone open so water can move through it. Soil mixed into the stone can clog the spaces and restrict flow.
Route perforated pipe toward its planned outlet. Don’t discharge onto neighboring property, near a vulnerable foundation, or where water already collects.
Shape the surrounding grades so runoff doesn’t collect directly behind the wall. Cover the exposed foundation as the wall design requires, without blocking the outlet.
I recommend considering both water paths: water behind the wall and runoff across the finished yard.
6. Secure caps and handle elevation changes
Dry-fit finishing caps before bonding them. Keep overhangs consistent and bearing surfaces clean.
Use compatible exterior landscape construction adhesive if the cap system requires it. The adhesive helps hold caps in place, but it doesn’t make the wall an approved walking surface.
On rising ground, build the foundation in full course-height increments. Each section needs firm, compacted support and properly connected courses.
If tree roots interfere with excavation, don’t cut major roots or bridge them with loose stone. An arborist and qualified installer can recommend a safer route or a different wall layout.
Keep soil away from the trunk and root flare to protect tree roots. Leaving the trunk untouched isn’t enough.
Design terraces around the outdoor space
A retaining wall should make your yard easier to enjoy. I recommend planning furniture, walking paths, planting areas, and patio use before deciding where it belongs.
A terrace can create a comfortable seating area while a lower zone connects to the lawn. Steps provide the transition, but their foundations and consistent riser heights need separate planning.
Our guidance on safe paver steps covers those connections.
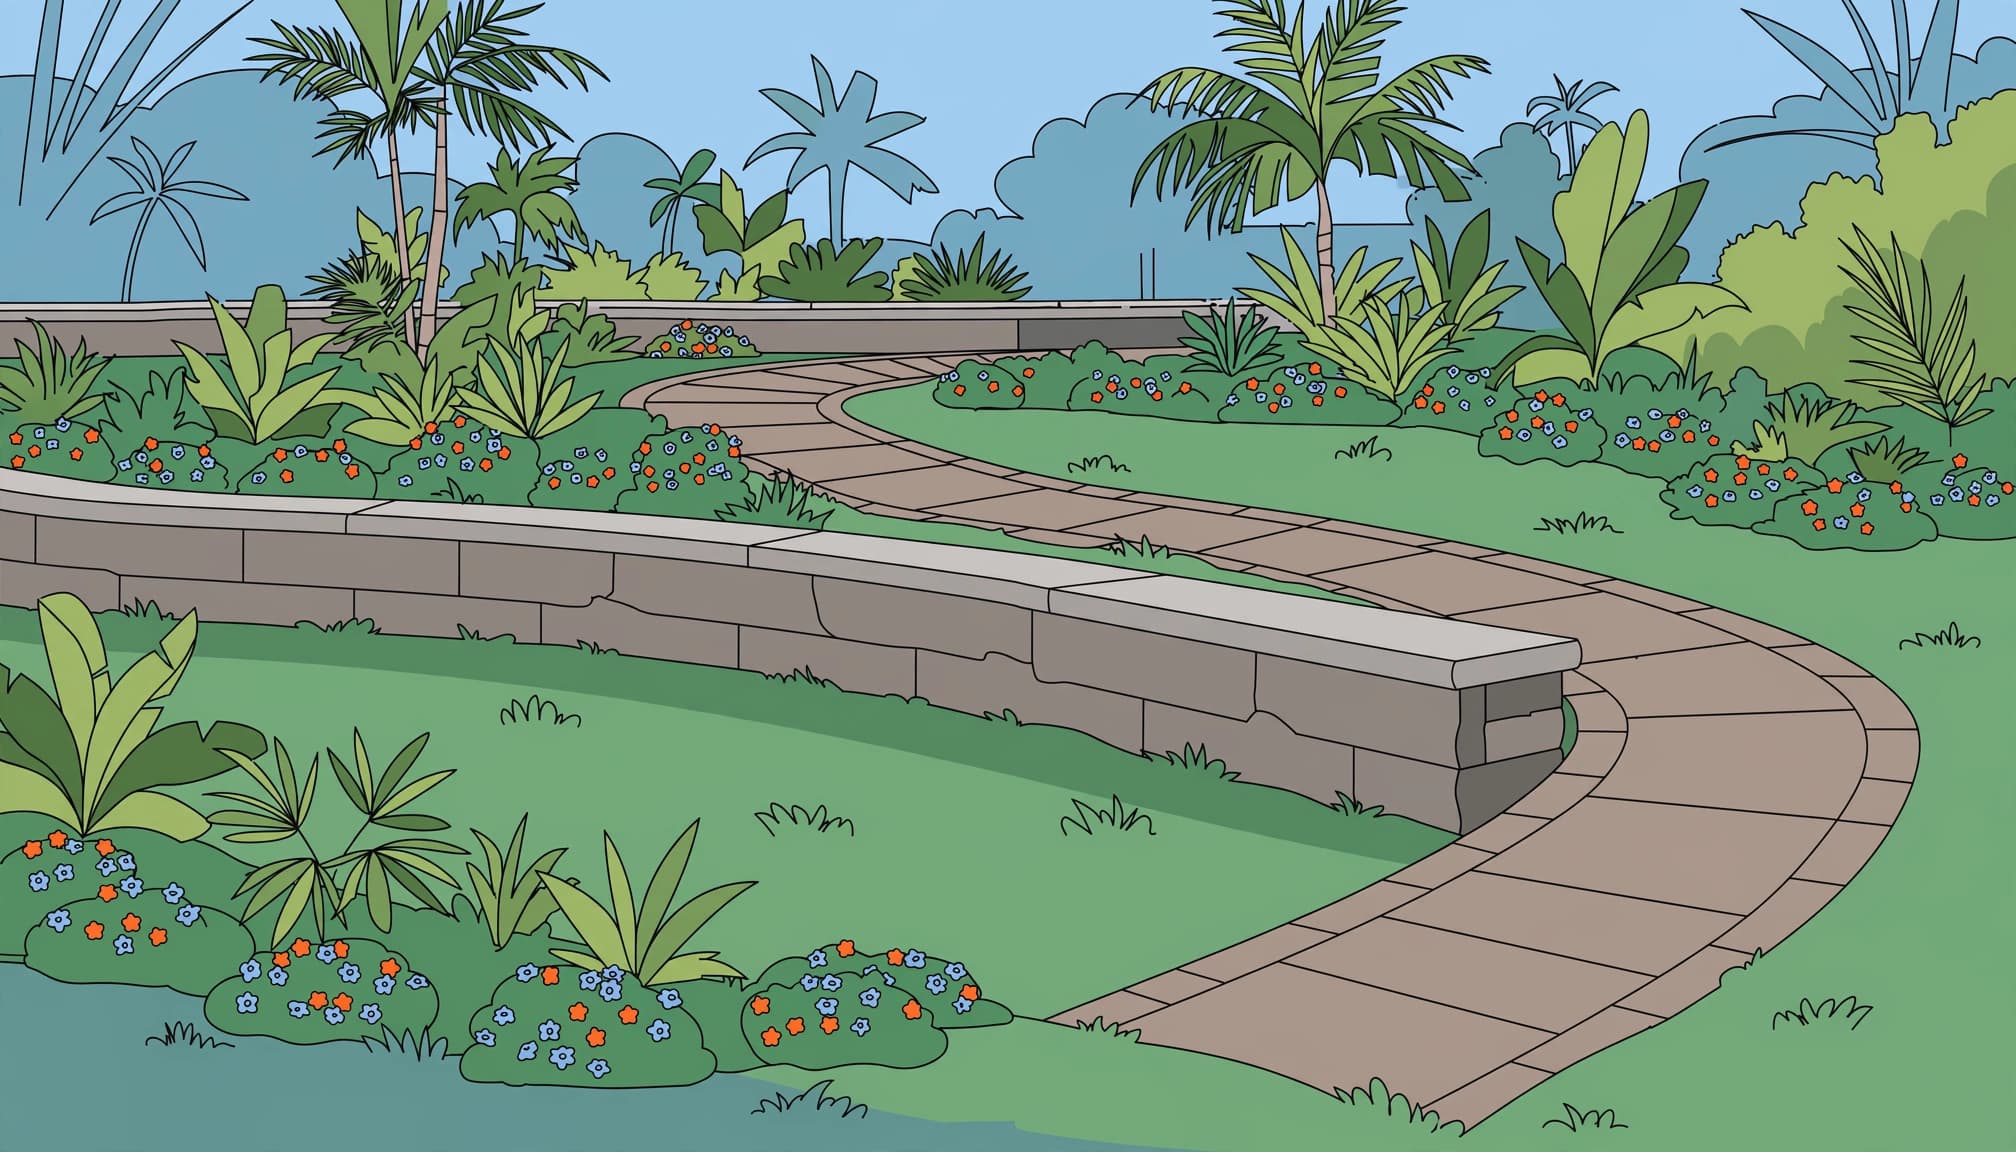
Coordinate wall blocks and caps with the patio, and choose pavers that complement the finished surfaces without requiring every area to match. Contrasting colors can help define edges and elevation changes.
Allow room for planting, maintenance access, and water flow. Two nearby walls can affect each other’s loading, so a tiered arrangement still needs proper design.
Plan the work and watch for movement
Welcome to the Woods reports about six hours of work for one small retaining wall. That’s one project’s installation time, not a schedule for a Florida terrace supporting a patio.
Excavation, hauling, water outlets, difficult access, reinforcement, and cutting all affect the workload. I recommend budgeting for the complete assembly rather than counting blocks alone.
After heavy rain, look for leaning courses, separated joints, washed-out soil, or water collecting behind the wall. Address these conditions before more soil support is lost.
Loose caps need repair too, but bonding them again won’t correct movement below.
Frequently Asked Questions
What materials do paver retaining walls need?
Use retaining wall blocks designed for soil support, compatible caps, and compacted paver base aggregate. The design may also call for clean stone, geotextile fabric, perforated drain pipe, fittings, and compatible exterior adhesive for the caps.
How deep should I excavate for a retaining wall?
For a section buried up to its cap elevation, calculate trench depth as block height times the number of rows, plus cap height and compacted base depth. For an exposed retaining wall, excavate below the lower grade for the buried block portion and compacted base, not the full aboveground wall height.
When does a retaining wall need engineering in Florida?
The 2023 Florida Residential Code calls for accepted engineering practice when an unsupported wall retains more than 48 inches of unbalanced fill, or when a wall over 24 inches high resists additional lateral loads. Engineering requirements are separate from permitting, and local requirements differ.
Does a 3-foot retaining wall need drainage?
Plan for water movement behind a 3-foot wall, based on soil, groundwater, runoff, and the wall system. The design may include clean crushed gravel, perforated drain pipe, and suitable fabric, with the pipe routed to a safe outlet.
What should I check after heavy rain?
Look for leaning courses, separated joints, washed-out soil, or water collecting behind the wall. Address these conditions before the wall loses more soil support.
Build the support before the finished surface
Quality paver retaining walls begin with stable support and controlled water management. Even courses and attractive caps depend on the work underneath them.
I recommend resolving the grade change with a retaining wall before installing the surrounding patio or walkway pavers. Contact us to Get a Free Quote for your paver project and a layout suited to your Southwest Florida yard.