


An outdoor kitchen needs more than attractive pavers underneath it. A paver pad outdoor kitchen must have a stable base, proper drainage, enough working room, and safe space for every appliance to protect your entire outdoor living space. If the foundation shifts, the grill, cabinets, countertop, and pavers can all develop problems.
I’ve seen pavers sink because the base was too thin, water washed out the joints, or the pad for your outdoor kitchen was built only as wide as the equipment. Take your time with the layout first, then build the foundation in compacted layers.
Key Takeaways
- Plan the pad around the complete outdoor cooking area, including doors, seating, and service space.
- Excavate deep enough for the compacted base, bedding sand, and paver thickness.
- Use crushed aggregate and compact it in lifts, not loose pea gravel.
- Maintain drainage away from the home, screen enclosure, and kitchen structure.
- Have gas, electrical, plumbing, structural, and building permit work handled by qualified professionals.
Plan the Outdoor Kitchen Pad Before Digging
The first step is deciding exactly where the custom outdoor kitchen will go. Look at the house, lanai, pool deck, screen enclosure, downspouts, utility lines, and the direction water moves during a heavy Southwest Florida rain.
A kitchen pad should not block a doorway, trap water beside the foundation, or force people to walk through the cooking area. I also recommend leaving enough room for cabinet doors, refrigerator doors, drawers, grill lids, and normal foot traffic. The pavers may look complete when the equipment fits, but the space can still feel crowded once everything is installed.
Measure the full footprint of your outdoor kitchen and add working space around it. Include:
- The complete cabinet and countertop layout
- Room for an l shaped kitchen configuration if you want extra preparation areas
- Built-in grill clearances required by the manufacturer
- Adequate countertop space for food preparation and serving platters
- Space for a mini fridge, a pizza oven, or a heavy duty bbq island
- Room for appliance doors and drawers to open
- A safe walking path around the kitchen
- Space for seating, serving, and trash containers
- Access to gas, water, electrical, and drainage connections
A paver pad outdoor kitchen installation also needs a finished elevation plan. The pad should sit high enough to shed water but not so high that it creates a trip hazard at the lanai, pool deck, or back door.
Call 811 before excavation to locate underground utilities. If the project changes a screen enclosure footing, concrete slab, gas line, electrical system, or plumbing, check with the local building department before starting. Minor paver work may be treated differently from structural or utility work.
How to Build a Paver Pad Outdoor Kitchen Base
The base is where the long-term performance starts. Pavers are strong, but they depend on the material below them for support. Loose soil, organic material, and poorly compacted fill can settle under the weight of an outdoor kitchen.
Mark the pad with paint or stakes. Confirm the dimensions one more time before removing soil. I prefer to excavate the full area instead of building the kitchen on a narrow strip of paving stones, because a wider base gives the edge restraints and surrounding surface better support.
Remove grass, roots, topsoil, and soft material. The excavation depth depends on the paver thickness, bedding sand, soil conditions, and expected loads. While some builders might pour a concrete pad, a layered aggregate system provides necessary flexibility. As a starting example, a 2 3/8-inch paver, about 1 inch of bedding sand, and 6 inches of compacted aggregate require close to 9 1/2 inches of excavation before adjustments for the finished elevation.
Soft or wet soil may require additional excavation and a suitable separation fabric. The correct solution depends on what is found below the surface. Do not cover unstable soil and hope the pavers will hide it.
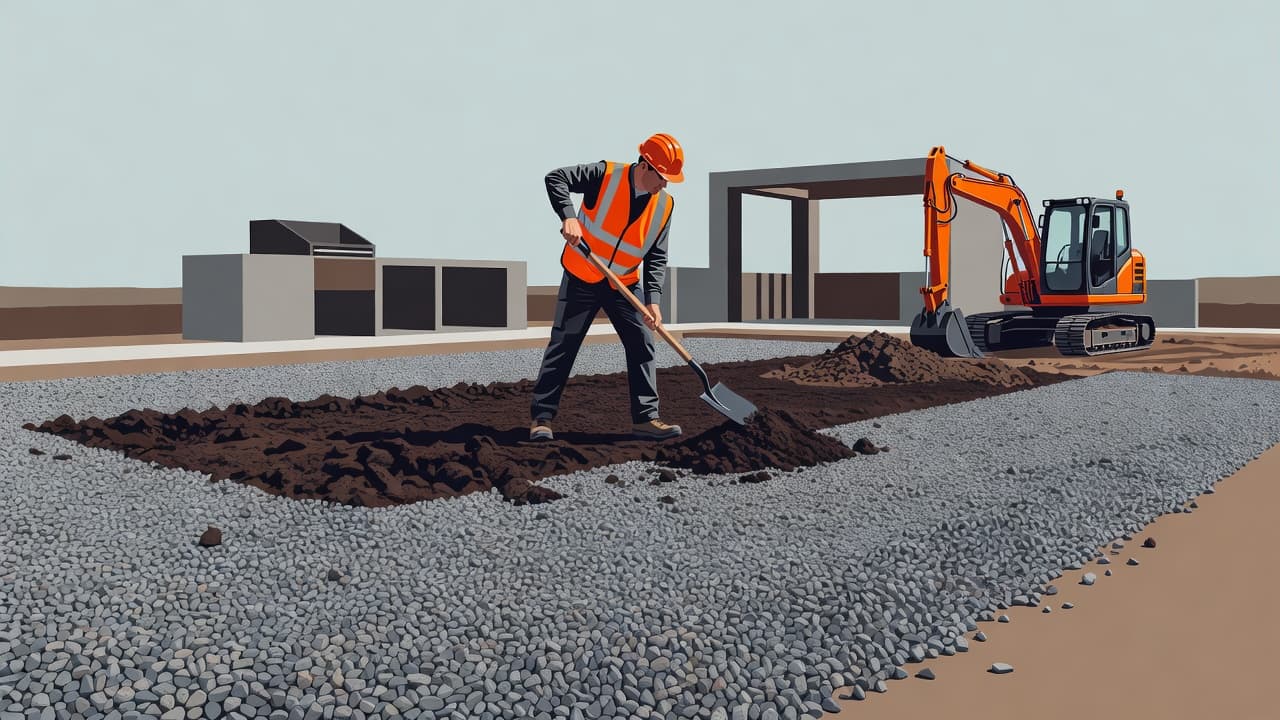
Use a well-graded crushed aggregate made for a compacted stone base. Pea gravel is rounded and does not lock together the same way. Spread the aggregate in lifts, usually 2 to 3 inches at a time, and compact each lift with a plate compactor.
The base should be firm and even before sand is added. If a plate compactor leaves deep marks or the material moves under your feet, more compaction is needed. The four basic steps for preparing a paver base are layout, grading, gravel, and sand, but each step must be done correctly for the next one to work.
Build the proper slope into the compacted base. A common patio slope is around 1/8 inch per foot, but the right grade depends on the property and where runoff can safely go. Water should not drain toward the house, kitchen cabinets, screen enclosure footings, or an area that already stays wet.
A beautiful surface cannot correct a weak base. If the aggregate moves, the pavers will move with it.
Add Bedding Sand and Lay the Pavers
Once the base is compacted, install a thin, even layer of bedding sand. The sand is not meant to make up for a poor grade or fill large dips. It provides a consistent setting bed for the pavers.
Place screed rails across the pad and pull the sand level with a straight board. Avoid walking across the prepared sand because footprints create low areas. If the sand is too thick, even modular outdoor kitchen kits can settle unevenly under the structure.
Start laying pavers from a straight edge or a fixed reference point. Check the pattern as you work, especially if the pad connects to an existing paver patio or pool deck. A small layout mistake can become obvious at the opposite edge.
Set interlocking pavers close together and keep the joints consistent. Use a rubber mallet for minor adjustments, but don’t pound one paver into a deep soft spot. That usually means the sand or base needs to be corrected below it.
Cut edge pieces with a wet saw or approved paver saw. Wear eye protection, hearing protection, gloves, and sturdy footwear. Keep cut edges where they are less visible when the layout allows, but don’t force a pattern that creates weak slivers along the perimeter.
After all pavers are placed, use a plate compactor with a protective pad. Make several passes in different directions. The compactor settles the pavers into the bedding sand and helps create an even surface. I always check the pad again after compaction because a low paver or rocking piece is easier to correct before joint sand is installed.
The recommended paver base materials and installation layers include compacted gravel below and a thin bedding layer above. That separation matters. The gravel provides structural support, while the sand helps position the individual pavers.
Finish the Edges and Coordinate the Utilities
Weather resistant edge restraints keep the outside pavers from spreading. Without solid restraint, the perimeter can separate as people walk near it, water reaches the edge, or the outdoor kitchen carries weight over time.
Install restraints along the exposed edges and anchor them according to the product instructions. Existing concrete, a properly supported border, or another permanent edge may also be part of the design. Make sure the restraint is compatible with the paver system and does not create a raised trip point.
Sweep joint sand across the completed pad. If you use polymeric sand, follow the product directions for moisture, curing, and temperature. The joints must be filled properly, and the surface must be cleaned before water is applied. Incomplete joints leave room for movement, weeds, and washout.
Utility work should be planned before the final equipment is set. Gas lines, electrical circuits, water connections, drainage, and appliance ventilation are not paver installation tasks. I recommend coordinating these trades with the paver contractor so the finished surface does not need to be removed later.
Built-in grills and heavy features like stainless steel appliances paired with granite countertops also need the correct cabinet structure. Pavers support the pad, but they don’t replace the manufacturer’s required noncombustible enclosure, clearances, or connections. Follow the installation manual for every appliance and ensure proper ventilation within the setup.
Be careful around existing lanai slabs and screen enclosures. A concrete footing for a screen enclosure and the surrounding pavers can settle at different rates, especially after excavation, heavy rain, or drainage changes. Do not cut or alter a structural footing without professional direction.
Avoid Problems That Bring the Pavers Back Down
The most common mistake is treating the pavers as the foundation. They are the finished surface. The real support comes from the soil preparation, compacted aggregate, drainage, edge restraint, and joint sand below and around them.
Another problem is building the pad around the equipment instead of around the complete use of the kitchen. A grill station may fit, but there may be no room to open the refrigerator, set down a hot pan, or walk safely behind another person. If sloped site conditions or unstable soil require extra support, you may also need retaining walls to keep the base secure over time.
Avoid these shortcuts:
- Pouring loose sand into a low area instead of rebuilding the base
- Using pea gravel where compacted aggregate is needed
- Skipping compaction between base lifts
- Allowing downspouts to discharge directly beside the pad
- Filling joints halfway and expecting the surface to stay tight
- Pressure washing aggressively after installation and removing joint sand
- Pouring concrete over a damaged paver edge without correcting drainage
Pressure washing is also something to handle carefully when maintaining your paver patio. Strong pressure can chip pavers and blow sand out of the joints. If the surface needs cleaning later, use the proper equipment and technique, then replace lost joint sand before sealing. I inspect the pavers, joints, base, and drainage together because a surface repair won’t hold if water is still washing out the support below.
For a small, accessible pad with stable soil, an experienced homeowner may complete the paver work. Larger kitchens, sloped yards, soft soil, pool areas, screen enclosures, and utility connections deserve professional planning. My team serves Fort Myers, Cape Coral, Bonita Springs, Punta Gorda, Sarasota, and nearby communities, and we can review the entire area before work begins. If you want help with the layout or foundation, Get a Free Quote for a consultation and estimate.
Frequently Asked Questions
Can I put an outdoor kitchen directly on an existing concrete patio?
Yes, you can build an outdoor kitchen on an existing concrete patio if the slab is structurally sound and thick enough to support the weight. However, you still need to ensure proper drainage, utility connections, and manufacturer clearances for your appliances.
Why is pea gravel not recommended for the paver base?
Pea gravel is rounded and cannot lock together tightly under heavy loads, which can cause the foundation to shift over time. A well-graded crushed aggregate should always be used and compacted in lifts to provide the necessary stability.
Do I need a building permit for a paver pad outdoor kitchen?
Permit requirements depend on the scope of your project and local regulations. Any work involving gas lines, electrical circuits, plumbing, or structural changes to screen enclosures and concrete slabs typically requires approval from your local building department.
Conclusion
A paver pad outdoor kitchen project succeeds when the foundation is treated as seriously as the appliances and countertop. Excavate the right depth, compact the aggregate in layers, maintain drainage, install firm edge restraints, and fill the joints completely.
I’ve repaired too many sunken areas that started with a weak base or uncontrolled water. Build a paver pad outdoor kitchen correctly the first time, and you will enjoy a stable, attractive foundation that enhances your outdoor living space for years.