


A quality sealer should protect your patio, driveway, or pool deck constructed from concrete pavers, not leave the surface cloudy, sticky, or slick after a rainstorm. When the old coating begins to fail, applying another layer typically hides the problem for a short time and creates a much larger repair project later on.
I inspect the sealer, joint sand, surface texture, and drainage together before recommending paver sealer stripping. The right solution may simply be a careful cleaning, but peeling, heavy buildup, and incompatible coatings often mean the old sealer needs to come off first.
Key Takeaways
- Cloudy, peeling, sticky, or uneven sealer often needs removal before applying a fresh coat.
- A slippery surface can result from heavy film buildup, poor drainage, algae, or missing joint sand.
- A white haze on your pavers is not always caused by failed sealer. Moisture trapped beneath the surface and efflorescence can create a similar appearance.
- Performing a small test area helps identify whether a deep cleaning is sufficient or if full paver sealer stripping is required.
- Successful resealing only occurs when the pavers are clean, dry, stable, and compatible with the new product.
What Paver Sealer Stripping Actually Removes
Paver sealer stripping is the process of removing an old coating from the surface and, in some cases, from the pores of the pavers. The goal is to expose a clean, stable surface so a new sealer can bond properly.
Not every sealer needs to be stripped. Some older coatings can be cleaned and recoated when they are intact, thin, compatible, and free from peeling. Other surfaces require you to remove multiple layers of product built up over time. A new coat may soften that buildup, trap moisture, or create an uneven finish.
I first look at what type of coating is present. A topical sealer leaves a film on the surface, while a penetrating sealer soaks into the paver and provides protection without creating the same heavy surface layer. An acrylic sealer is a common example of a film forming product that, when applied in thick coats, is more likely to peel, turn cloudy, or feel slippery when wet.
Product chemistry matters too. A water-based sealer and a solvent-based sealer do not always work together. If you do not know what was applied before, I do not recommend guessing with a new product. A small test area can prevent a large, expensive mistake. This discussion about water-soluble paver sealers shows why identifying the existing coating matters before choosing a removal method.
The surface underneath also needs attention. If pavers have settled, joints have lost sand, or water is collecting in a low area, stripping alone will not correct the problem. The sealer is only one part of the hardscape system.
Signs the Old Sealer Should Come Off
Some warning signs are easy to see. Others appear only after rain or close inspection. I look for the following conditions before recommending resealing.
Cloudy or milky patches
A white, foggy, or milky appearance often means moisture became trapped beneath the sealer. This white haze is common when rain, sprinkler spray, morning dew, or damp joint sand creates moisture issues, especially in the humid weather of Southwest Florida.
Cloudiness can also come from applying too much product. When sealer puddles instead of forming a thin, even coat, it may dry with roller marks, glossy patches, or a washed-out appearance.
Don’t assume every white mark means the coating must be stripped. Efflorescence, which is a mineral deposit that moves through masonry with moisture, can look similar. I check whether the haze is sitting on top of the coating, coming from the joints, or returning after cleaning.
Peeling, flaking, or lifting
Peeling material is one of the clearest signs that you are dealing with a failed paver sealer that should not be covered with a new coat. The surface may show small flakes at first, then larger sections begin lifting around edges and joints.
If the coating is no longer attached, another layer cannot restore that bond. The loose material needs to be removed, and the pavers need to be cleaned before the surface is evaluated again.
Sticky or soft areas
A sealer that stays tacky after the expected curing period may have been applied too heavily, exposed to moisture, or used under poor weather conditions. Dirt can stick to these areas, leaving dark footprints, tire marks, or a greasy appearance.
Sticky spots are not a good base for another application. I test the affected area and check whether the product is soft on the surface or whether the pavers are holding moisture below.
Uneven shine and visible buildup
A patio with a few glossy spots and several dull areas often has an uneven sealer layer. Drips, lap marks, thick edges, and overlapping applications can build up around borders, pool coping, steps, and tight corners.
Older pavers may also have several coats from different maintenance jobs. That buildup can hide the natural texture and make the surface look painted instead of protected. When the coating has become thick and inconsistent, stripping usually gives the next sealer a more reliable surface.
The pavers feel slippery when wet
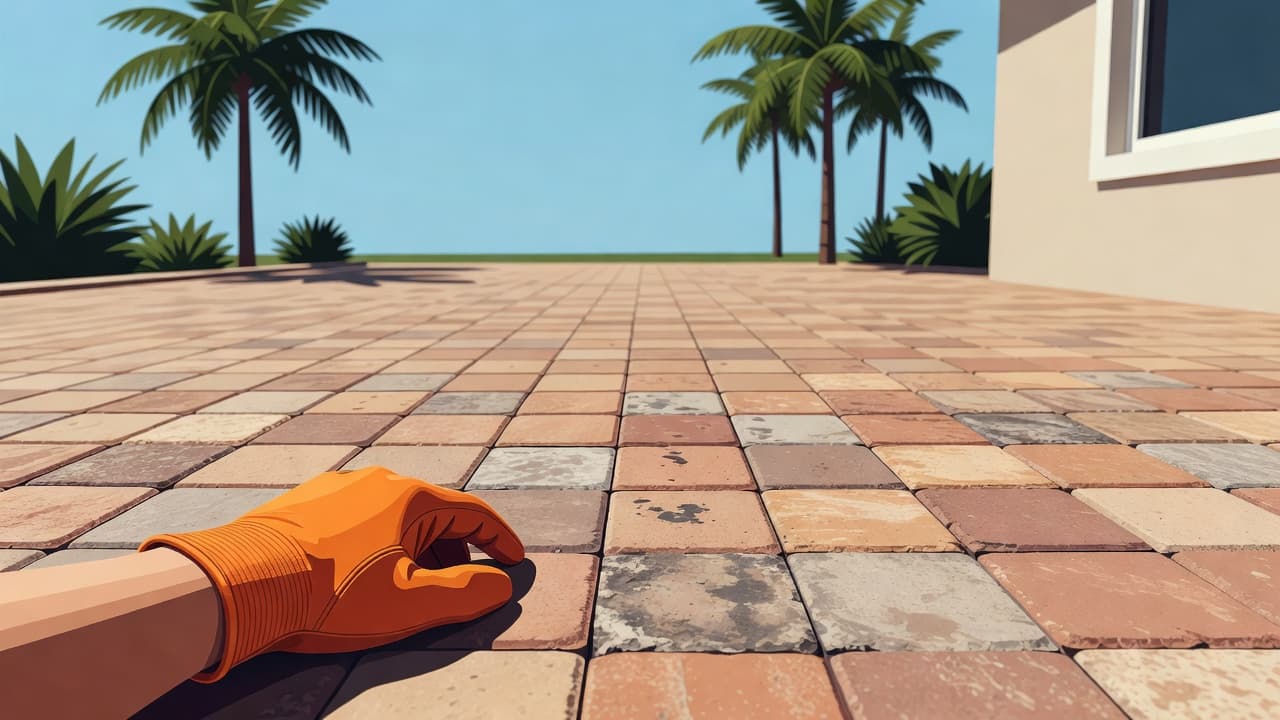
A slick pool deck or walkway needs attention, but slipperiness does not always mean the sealer is the only cause. A heavy film, especially from a high-gloss acrylic sealer, can significantly reduce the natural grip of textured pavers. Algae, sunscreen, dirt, standing water, and missing joint sand can make the problem worse.
I do not recommend a high-gloss finish around a swimming pool when a matte or natural appearance will provide better footing. A clear explanation of paver sealing can help homeowners understand the difference between a surface film and a product that penetrates the pavers.
If cleaning does not improve the traction and the surface still feels coated, I test for excessive sealer buildup. Stripping may be needed before applying a compatible, lower-build product. In some situations, an anti-slip additive may also be appropriate.
When Cleaning May Be Enough
Stripping is not automatically the right answer. Often, the best path forward is a professional cleaning and sealing process. If the existing sealer is still bonded, the color is even, and there is no peeling or thick buildup, a careful cleaning may be all that is needed to prepare the surface for a fresh coat.
I start by removing leaves, dirt, algae, and other organic residue. A surface cleaner attachment on a pressure washer provides a controlled, even clean that removes grime without damaging the pavers. While pressure washing is effective, using too much force can chip the stone and blow joint sand out of the gaps.
Open joints create another problem. Once sand is missing, the pavers can shift, water can enter more easily, and debris can settle below the surface. I replace lost sand when necessary, then check the pavers for rocking or movement before considering new sealer.
A small test section tells me more than a guess. I clean an inconspicuous area and let it dry fully. Then I check the color, texture, sheen, and water behavior. If the old coating remains sound and the test looks even, full stripping may not be necessary.
Fading alone is not proof that sealer removal is required. Sun exposure, stone color, surface finish, and normal weathering all affect appearance. A color-enhancing sealer may restore some depth, but it should never be used to cover peeling or unstable material.
How I Approach Stripping and Resealing Pavers
I don’t begin with the strongest chemical or the highest pressure. Instead, I focus on comprehensive surface preparation by inspecting the pavers, joints, edges, drainage, nearby walls, landscaping, and pool surfaces. This helps me identify whether the problem stems from coating failure, trapped moisture, shifting pavers, or a combination of these factors.
The professional process usually includes these steps:
- Test the existing coating. I check how the sealer reacts in a small area and look for signs of a topical film, penetrating product, or mixed coatings.
- Protect surrounding areas. To protect vegetation, I use a plastic sheet and other barriers to shield plants, walls, pool water, screens, drains, and metal fixtures from cleaning and stripping products.
- Remove surface contamination. Oil, algae, dirt, and loose debris are cleaned away so they do not interfere with the process.
- Apply the correct stripping product. Using a pump sprayer, I apply a high-quality sealer remover to the pavers. I prefer using a biodegradable, non-toxic, and environmentally friendly stripping product that effectively breaks down old layers. I ensure the product has sufficient reaction time to soften the coating without damaging the paver face, strictly following the manufacturer application instructions instead of letting the chemical dry on the surface.
- Agitate and remove the residue. Once the sealer remover has softened the old coating, the residue must be lifted from the paver face and joints. The cleanup is carefully controlled to ensure the liquefied sealer does not spread across clean areas.
- Rinse and inspect. I rinse thoroughly with a pressure washer to clear away all loosened material. I then check for remaining film, cloudy areas, stains, damaged pavers, and open joints. A second treatment may be needed in areas with heavy buildup.
- Let the surface dry completely. Damp pavers and wet joint sand can cause a new sealer to turn cloudy or fail to bond.
- Repair before resealing. Cracked or rocking pavers should be replaced or reset. Low joints should receive fresh sand, and drainage problems need correction.
- Apply a compatible sealer in a thin, even coat. More sealer does not mean more protection. Heavy application can create a slick, brittle, or cloudy finish.
The weather matters in Florida. Direct sun can make a product dry too fast, while humidity and rain can trap moisture in the joints. I watch the surface conditions instead of rushing the job because the final appearance depends on proper preparation.
If your pavers have cloudy buildup, peeling edges, or a slippery finish, you can Get a Free Quote and have the area inspected before another coat is applied.
How to Avoid Stripping Problems Next Time
A good sealer maintenance plan starts with selecting the right product and applying the appropriate amount. When choosing your next coating, consider the long-term maintenance requirements. A water-based sealer typically offers easier cleanup and less aggressive weathering, while a solvent-based sealer often provides a more durable, high-gloss finish that may be harder to remove later. I prefer a finish that matches how the area is used. Pool decks and walkways often need natural texture and dependable footing more than a heavy wet-look shine.
Keep leaves and organic debris from sitting on the surface. Clean algae before it forms a slippery film, and replace joint sand when visible gaps appear. Check downspouts and irrigation heads too. Water that repeatedly runs across the pavers can damage the base and shorten the life of the coating.
Don’t apply sealer over damp pavers, recently washed joints, or an unknown failing coating. Test a small area first, follow the product instructions, and inspect the surface after rain. These simple steps can prevent another stripping project.
Frequently Asked Questions
How do I know if I need to strip my pavers or just clean them?
If your existing sealer is still intact, has an even finish, and shows no signs of peeling or extreme buildup, a professional cleaning is often sufficient. However, if you see white hazing that won’t wash off, flaking, or tacky areas, stripping is necessary to ensure a proper bond for the new product.
Can I just apply a new coat of sealer over the old one to fix the color?
Applying a new layer over failed or peeling sealer will not fix the underlying issues and will likely make the finish look much worse. A fresh coat will only adhere to loose material, which will eventually lift and cause the new sealer to peel as well.
Is it normal for my pavers to look white or cloudy after being sealed?
No, a properly sealed paver should not be cloudy or milky. This usually indicates that moisture was trapped beneath the sealer during application or that the product was applied too heavily. While efflorescence can sometimes mimic this look, a professional inspection can determine if you are dealing with a trapped moisture issue that requires removal.
Conclusion
Cloudy patches, peeling film, sticky areas, uneven shine, and continued slipperiness are common signs that old sealer may need to come off before you apply a new product. I also check for efflorescence, poor drainage, algae, missing joint sand, and paver movement because those issues can often look like sealer failure.
A new coat only works when the surface underneath is clean, dry, stable, and compatible. Performing professional paver sealer stripping may be the right repair route for your hardscape, but you should always conduct careful testing before making a final decision.