

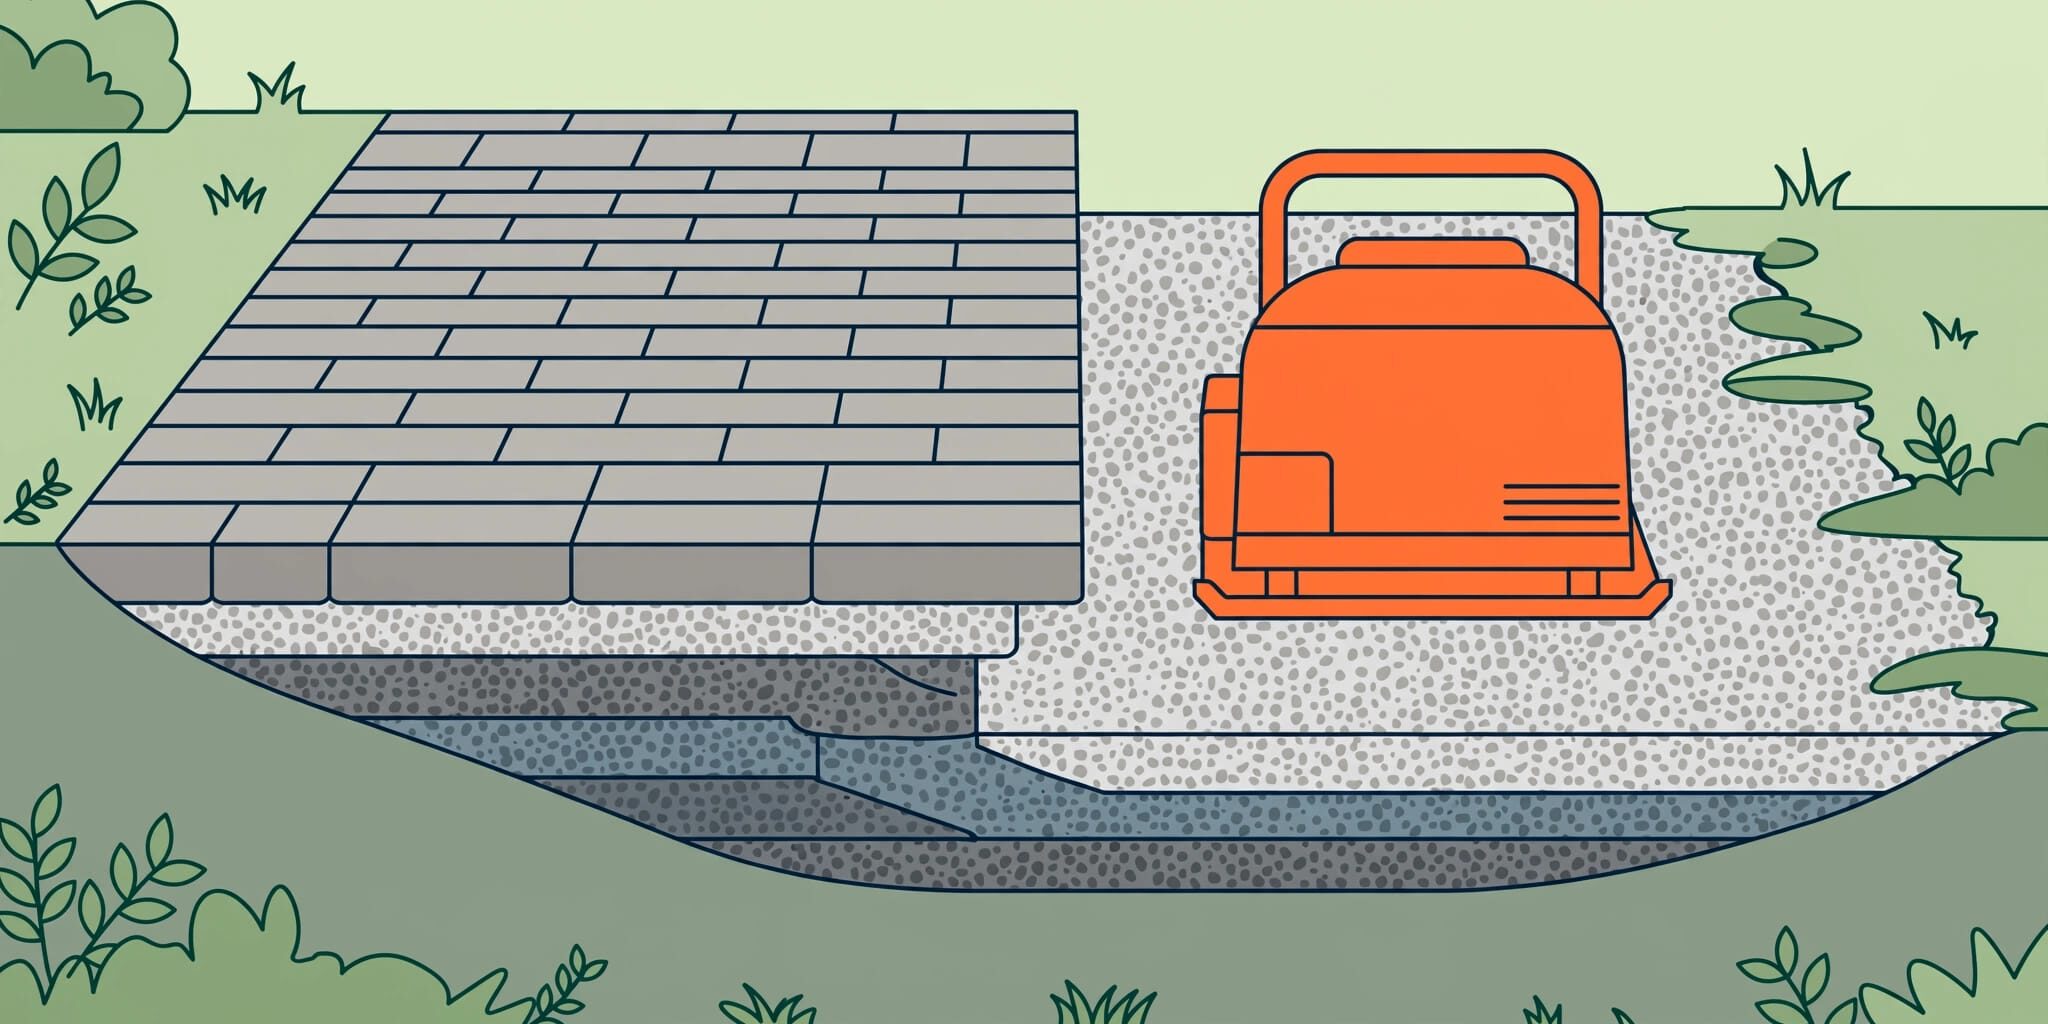
Paver base compaction works best when crushed aggregate goes down in thin lifts, with each layer compacted before the next is added. A thick pile can feel firm on top while loose material underneath remains ready to settle.
I recommend putting your effort into uniform support, because quality pavers can’t correct weak ground or a poorly compacted base. For your paver patio, walkway, or driveway, that work starts before the first load of stone arrives.
Key Takeaways
- Place aggregate in manageable lifts, commonly 2 to 3 inches with residential equipment, and compact every layer.
- Build the drainage slope into stable soil and compacted stone, rather than correcting it with extra bedding sand.
- Match lift thickness to the material and compactor, and keep the base damp without saturating it.
1. Excavate to Stable Ground and Set the Grade
Remove material that cannot support the pavers
Remove sod, roots, topsoil, organic debris, and unstable fill before placing aggregate. Shape and firm the exposed soil, called the subgrade.
If that ground ruts, leaves deep footprints, or pumps water under equipment, stop and correct the condition. Burying soft soil under stone leaves the weakness underneath your finished surface. Our guide to preparing the ground for pavers covers these groundwork concerns.
Geotextile fabric can act as a separator where clay or weak soil could mix into the aggregate. Rochester Concrete Products recommends considering it over poor soils and in wet climates, including Florida. Fabric cannot replace stable ground or proper drainage.
Calculate excavation and drainage together
Common planning ranges are 4 to 6 inches of compacted aggregate for pedestrian areas and 6 to 8 inches for residential driveways. The bedding layer and paver thickness are additional.
Rochester gives excavation examples of 7 to 9 inches with a 4-inch patio base, and 8 to 12 inches with a 6- to 8-inch driveway base. Actual layer thicknesses control the excavation.
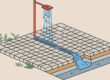
Its drainage recommendation is at least 1/4 inch per foot away from structures, approximately a 2 percent slope. Carry that grade through the subgrade and base. In freezing climates, drainage, frost heave, and frost-sensitive soil also affect the design.
2. Choose Crushed Aggregate and Adjust Its Moisture
Use stone intended for a compacted base
For conventional sand-set concrete pavers, I recommend a dense graded base of well-graded crushed aggregate intended for paving support. Rochester specifies 3/4-inch-minus crushed stone, which includes angular stone and smaller particles.
Angular particles and smaller sizes work together during compaction. Rounded pea gravel doesn’t lock together the same way.
The CMHA aggregate-base specification describes this conventional assembly of compacted aggregate, the sand layer, and concrete pavers. Engineered permeable systems use different materials and shouldn’t receive this same fine-rich base by default.
Should you wet the base before compacting?
Yes, when it is too dry. Add water gradually and distribute it through each lift rather than flooding the excavation.
Bartell Global suggests squeezing a handful of sub-base material. It should hold together, with enough moisture to help the particles settle into position. That check works better with aggregate containing fines than with clean, open-graded stone.
There shouldn’t be standing water or a muddy surface. In Southwest Florida, rain and irrigation can already leave the soil wet, so adding more water isn’t always helpful.
3. Compact Paver Base in Thin Lifts
Match lift thickness to the machine
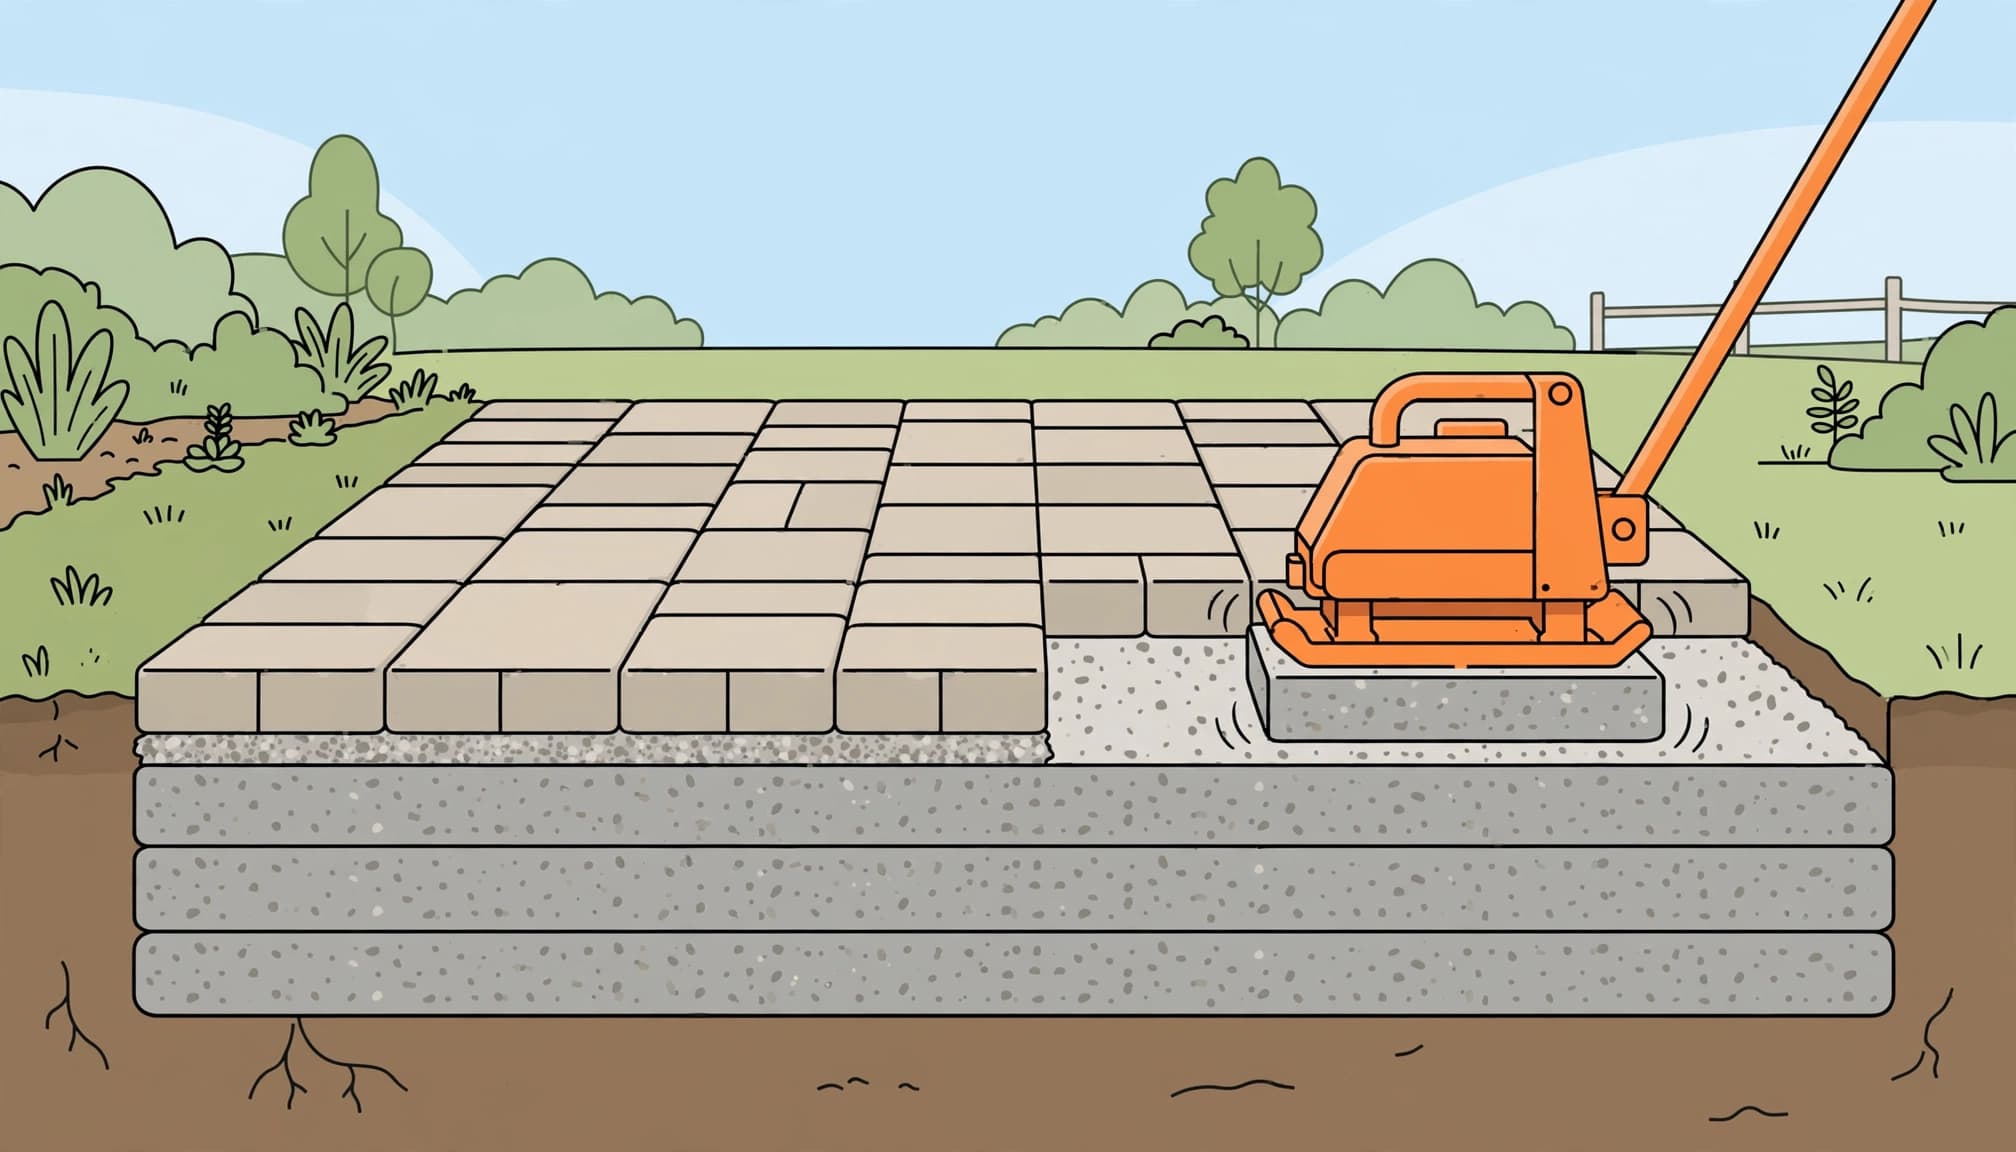
Bartell’s rule of thumb is 1 inch of material for every 1,000 pounds of compaction force. Under that rule, a 3,000-pound-force plate compactor should handle lifts no thicker than 3 inches. Compaction force isn’t the machine’s carrying weight.
Bartell also recommends 4- to 8-inch sub-base lifts where possible. That broader recommendation doesn’t make an 8-inch lift suitable for a small rental plate.
For homeowner work, thinner placement is the more practical starting point. Rochester recommends 2- to 3-inch lifts. Tomahawk recommends a 4- to 6-inch crushed-gravel or road-base foundation, placed no more than 2 inches at a time.
Compact every layer before adding more
Spread one even lift of gravel base, adjust moisture, and compact with overlapping passes. Consistent density through each lift supports the next layer of compacted gravel. Rochester recommends multiple passes in alternating directions on each layer.
Include the perimeter and corners. Loose edges leave poor support beneath the border and edge restraint.
Measure lift thickness while placing loose aggregate, but measure completed base depth after compaction. Those measurements aren’t interchangeable.
A firm-looking top doesn’t prove that a thick layer is compacted underneath. Thin lifts give the equipment a better opportunity to compact the full depth.
Footprints, deep machine marks, or moving aggregate are warning signs. Appearance alone doesn’t establish density. The CMHA pavement construction guidance also addresses the finished aggregate surface beneath the bedding layer.
4. Screed Bedding Sand, Then Compact the Pavers
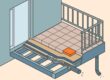
Once the aggregate is firm, evenly graded, and at the correct elevation, screed approximately 1 inch of bedding sand. Both Bartell and Rochester describe this thickness.
Rochester advises leaving the screeded sand undisturbed before placing the pavers. Lay the units onto the prepared sand bedding, secure the edges, and then complete the final compaction sequence.
This layer provides consistent support beneath the units. It shouldn’t fill deep hollows in the stone. I recommend correcting those hollows in the aggregate first, as explained in our paver bedding sand depth guide.
Bartell recommends a minimum of 2 passes over the installed pavers. Use equipment and a protective mat suitable for the selected units to reduce surface damage.
The CMHA interlocking pavement application guide describes placing pavers on the prepared sand layer, compacting them, sweeping sand into the joints, and compacting again. Polymeric joint sand has its own installation and watering requirements; it doesn’t replace bedding sand.
Choose a Compactor That Matches the Work
Western Interlock offers a rough rule: a plate compactor can compact about as many inches of gravel as the number of people needed to lift it. Treat that as an equipment-sizing shortcut, never an instruction to lift heavy machinery manually.
Its published examples pair machine width with project use and lift counts:
| Project use | Plate width | Suggested lifts |
|---|---|---|
| Walkways and normal-use patios | 14 inches | 2 to 4 |
| Heavy pedestrian traffic | 20 inches | 4 to 6 |
| Driveways | 30 inches | 6 to 8 |
These are source-specific examples. Your actual layer count depends on required compacted depth and permissible loose lift thickness, not plate width alone.
Western Interlock lists approximately $85 per day or $340 per week for a 14-inch plate compactor. It lists a steel tamper at under $50 to buy or around $10 per day to rent. These are published examples, not local compactor rental quotes.
I recommend renting for an occasional homeowner project rather than buying equipment that will sit unused. A hand tamper is useful in tight spots, but Tomahawk recommends a plate compactor for areas over 50 square feet. A driveway also needs suitable compaction capacity, beyond simply having a wide plate.
Troubleshoot Gravel That Moves Instead of Compacting
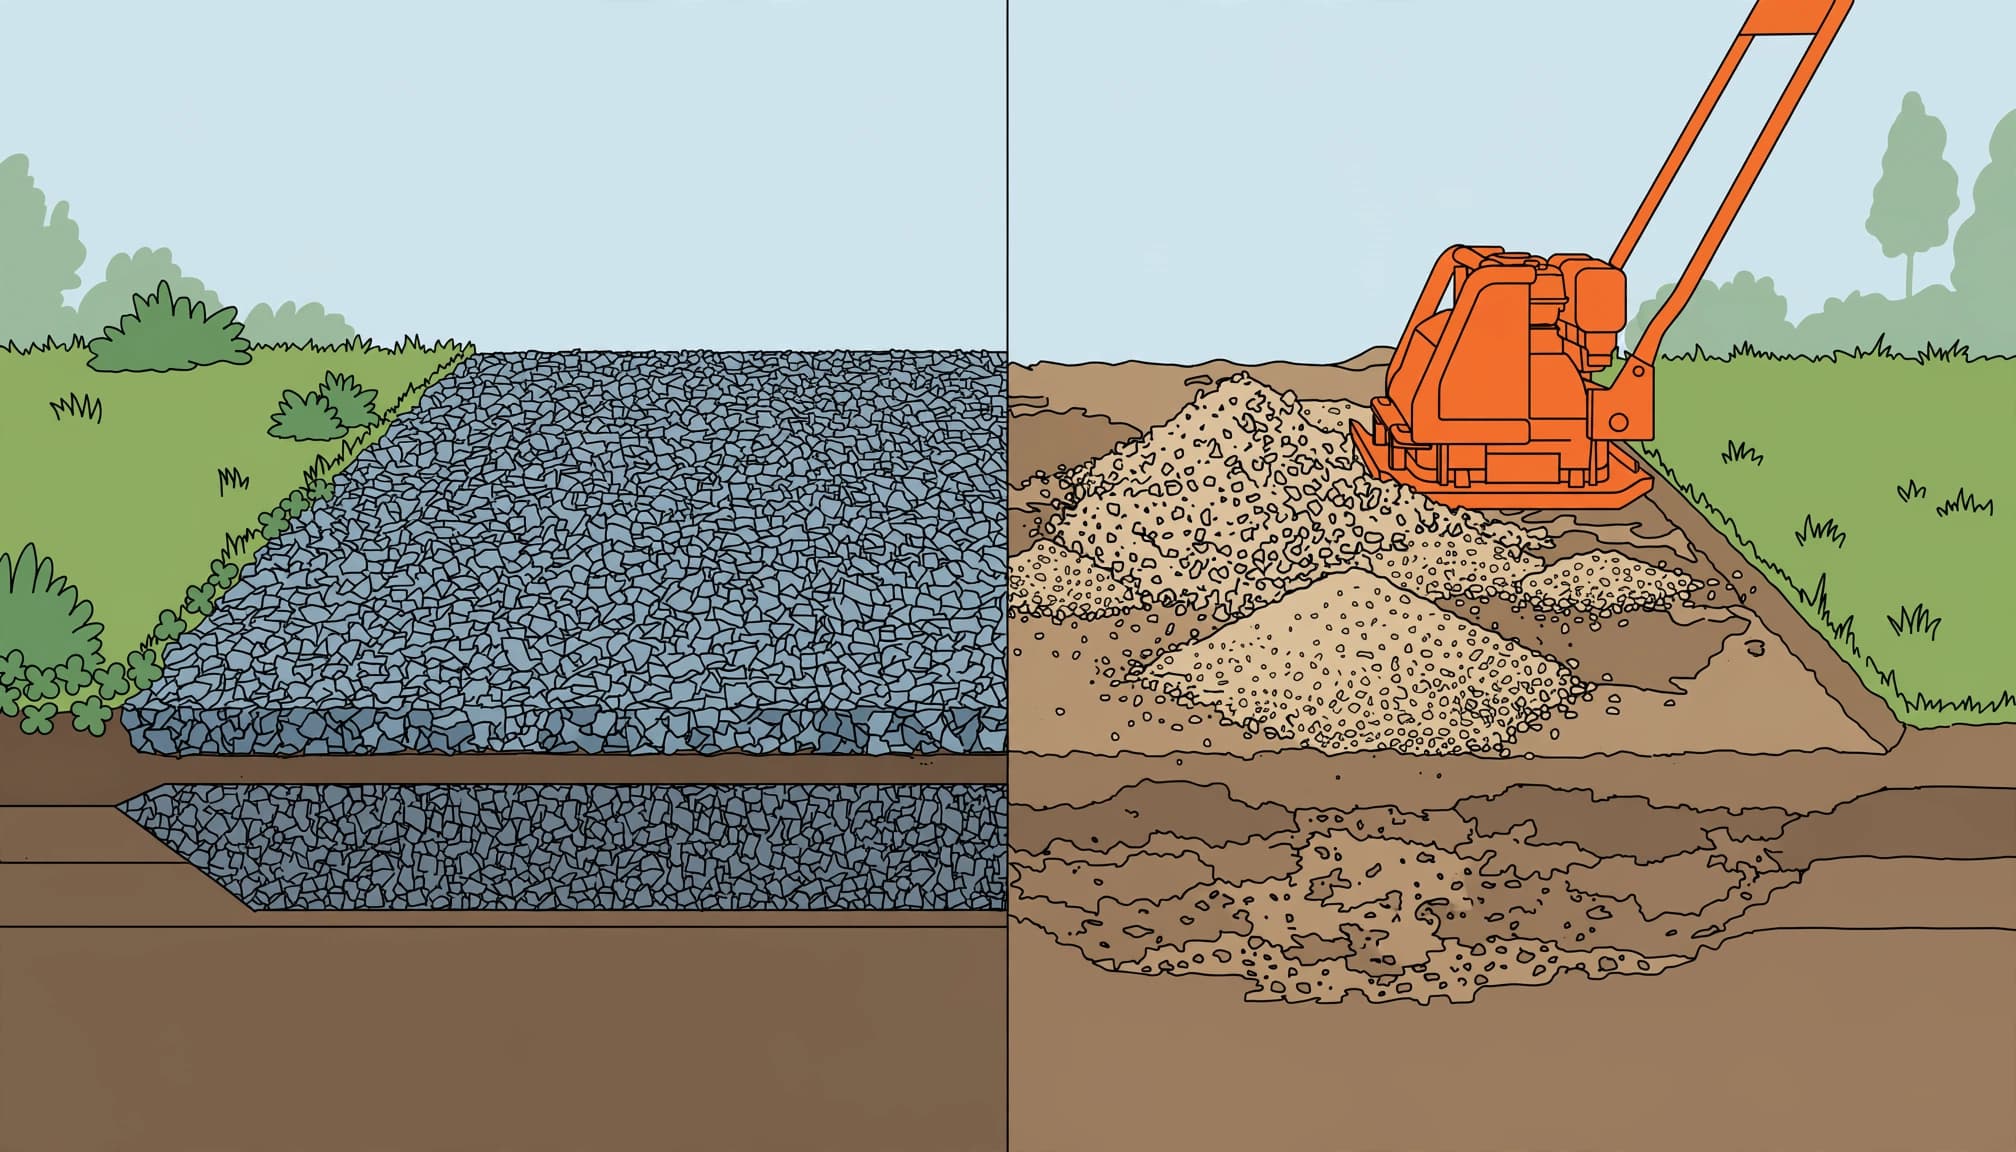
When the material keeps moving, I recommend stopping to find the cause. More passes won’t repair every problem.
- If dry gravel shoves ahead of the plate, reduce lift thickness and distribute moisture evenly. A fine-rich material can behave differently from the specified crushed base.
- When wet material ripples or pumps, stop adding water. Allow drainage or drying, and correct unstable soil before continuing.
- If finished pavers sink repeatedly, inspect the supporting aggregate, drainage route, edge restraint, and disturbed fill instead of adding more joint sand.
A homeowner discussion on Reddit reported 1/4-inch-minus material being displaced rather than compacted. That is an observation, not proof that every 1/4-inch-minus product is unsuitable. Gradation, moisture, confinement, and the underlying soil all matter.
For existing low spots, repairing a settling paver driveway may require lifting the surface and rebuilding the affected base. Sealer and polymeric sand can’t stabilize loose aggregate underneath it.
Frequently Asked Questions About Paver Base Compaction
How much will pavers settle after compacting?
Pavers seat into the bedding during final compaction, but there isn’t one settlement allowance for every assembly. The selected units, bedding, and installation method affect that movement.
Continued sinking, rocking, or growing depressions deserve attention. I wouldn’t cover those symptoms with extra sand and call the work finished.
How many gravel lifts does a walkway need versus a driveway?
A walkway commonly starts with 4 to 6 inches of compacted base, while a residential driveway commonly starts with 6 to 8 inches. Driveways generally require more layers when the same equipment and lift thickness are used.
Count layers around the specified finished depth. Remember that loose aggregate reduces in thickness during compaction.
Can too much compaction cause problems?
Repeated passes aren’t a substitute for correct material, moisture, and lift thickness. If the stone starts breaking down or the soil pumps under the machine, stop and address that condition.
My advice is to finish each lift properly, then move forward. Don’t keep running equipment over a failing layer.
Build the Support Before Finishing the Surface
Thin lifts make paver base compaction more dependable because each layer receives attention before it is buried. Stable soil, controlled moisture, drainage, and firm edges all support the finished work.
I recommend giving the hidden preparation the same care as the visible pavers. Quality workmanship starts underneath, where future settlement can be prevented rather than covered up.
For help with your Southwest Florida patio, walkway, or driveway, Get a Free Quote and discuss your project with Platinum Pavers of SWFL.