



Brick Paver Repair: Signs, Causes, and Lasting Fixes
Brick paver repair usually starts with something small. A low spot by the garage. A loose brick near the pool. A walkway that feels off when I step on it.
I see this all over Southwest Florida. Homeowners put it off because the damage looks minor, then rain gets under the surface, sand washes out, and the problem spreads. What starts as an eyesore can turn into a trip hazard fast.
If you’re in Fort Myers, Cape Coral, Bonita Springs, or nearby, it helps to know what you’re looking at. I’ll walk through the warning signs, the usual causes, and what a proper repair should include, so you can tell when a small fix is enough and when it’s time to bring in help.
The Most Common Signs My Pavers Need Repair
Some paver problems shout. Others whisper. The tricky part is that small surface issues often point to a bigger problem below.
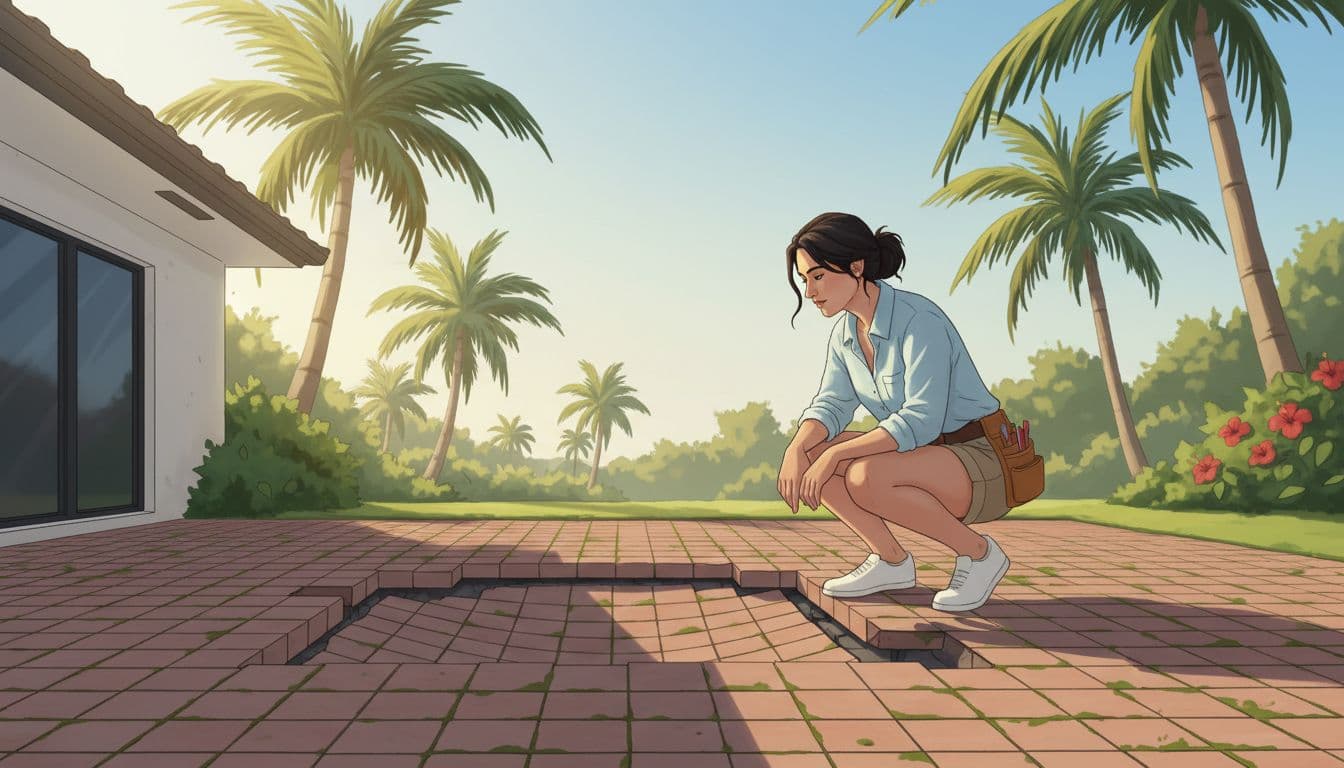
Uneven, sunken, or raised pavers
Low spots are hard to miss after a rain. Water sits there, shoes splash through, and the surface never looks quite right. Raised edges are just as bad because they create an easy place to trip.
Most of the time, that movement means the base has shifted or the soil underneath has settled. I treat these as early warning signs, not cosmetic flaws. If the surface isn’t level now, it usually won’t fix itself later.
Cracked, loose, or wobbly bricks
A cracked paver may look like one bad piece. Sometimes it is. But when bricks start rocking underfoot or shifting side to side, water can slip underneath the patio, driveway, or walkway.
That matters because water under pavers weakens the whole section. A few damaged bricks can often be replaced before the area turns into a larger reset. Wait too long, and the repair usually gets wider.
Gaps, weeds, and sand washing out
When joint sand disappears, pavers lose the material that helps lock them together. That’s when lines start opening up, weeds pop through, and the surface gets easier to move.
I tell homeowners not to shrug this off. Open joints are like loose stitches in fabric. Leave them alone, and the whole thing starts to pull apart. If you want a quick visual on how sunken sections get reset, this step-by-step paver repair guide shows the basic process clearly.
Why Brick Pavers Get Damaged in the First Place
Most surface problems start below the surface. That’s the part many people never see, and it’s usually where the trouble begins.
Bad base prep and weak compaction
If the ground wasn’t built right in the first place, the pavers don’t have much chance. A weak base can settle, shift, or wash out, which leaves the top layer to carry stress it was never meant to handle.
This is why I don’t blame every repair on the pavers themselves. The brick on top is often fine. The real problem is the support underneath.
If pavers keep moving, the issue is usually the base, not the brick.
Water, drainage problems, and Florida weather
In Southwest Florida, water and heat do most of the damage. Heavy rain can wash out bedding sand and base material. Poor drainage keeps sections wet longer than they should be. Strong sun adds wear year-round.
Up north, freeze-thaw cycles are a major cause. Here, I worry more about pooling water, erosion, and sandy soil that shifts after storms. When runoff isn’t controlled, pavers start sinking in the same few spots again and again.
Tree roots, heavy loads, and normal aging
Roots can push from below and lift a walkway before you notice what’s happening. Driveways take a different kind of abuse. Repeated vehicle weight can stress the surface, especially where the base is already weak.
Then there’s plain old age. Sun, traffic, and time wear things down. Joint sand breaks down, edges soften, and older repairs may stop holding. If you’re curious how pros re-level a low area, this video on fixing sinking pavers gives a good overview.
What a Proper Brick Paver Repair Usually Includes
A lasting repair is more than swapping out a few bricks. The goal is to fix the reason the area failed, then rebuild it so it stays put.
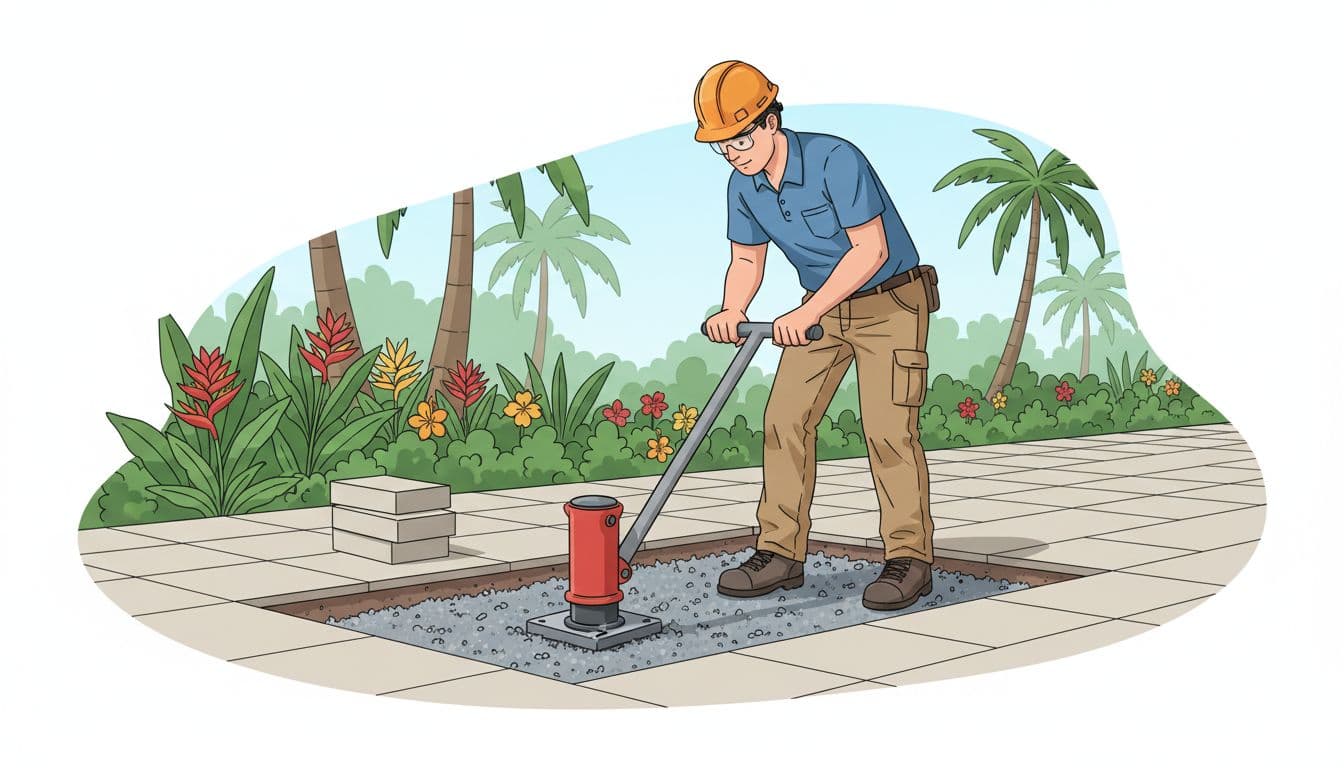
Lifting the damaged pavers and fixing the base
First, the affected section gets removed carefully. Then the old bedding material is cleared out, and the base is checked for washout, soft spots, or poor compaction.
This is the part that matters most. If the base isn’t corrected, the same low spot usually comes back. Good repair work starts below grade, not at the surface.
Replacing broken pavers and leveling the surface
Once the base is solid, broken pieces get replaced and the area is brought back to the right height. The goal is simple: no rocking, no tripping edge, no obvious dip.
Matching older pavers can take some care, especially if the color has faded over time. If you are considering regular clay bricks for the repair, read about using regular bricks as pavers before you buy. Even so, a clean repair should blend in well and feel safe underfoot.
Refilling the joints and sealing when needed
After the pavers are reset, fresh joint sand is swept in to help hold everything together. That step is easy to overlook, but it makes a big difference in how well the repair performs.
Sealing can help too, especially with stains, weeds, and moisture resistance. I like to keep this part balanced. Sealing is helpful, but it doesn’t replace a solid base repair. If the foundation is weak, sealer won’t save it.
Final Thoughts
Small paver problems rarely stay small for long. A few loose bricks might be a simple fix today, but sinking areas, repeat movement, and drainage trouble usually point to a deeper repair.
The best time to deal with brick paver repair is early, before water and traffic make the job bigger. If you’re in Southwest Florida and want a clear answer on what your surface needs, Get a Free Quote and find out whether it’s a quick repair or a full reset.
 Paver Sealing and Maintenance Tips for Long Lasting Beauty and Protection
 Free On‑Site Assessment & Estimate


