


Cement residue can turn a clean patio, driveway, or walkway into an unfinished-looking mess. Start with the gentlest approach rather than the strongest treatment.
Fresh spots are easier to control, while hardened blobs require patience and the right tools. On concrete pavers, the paver patio’s surface type determines the safest cleaning method. I always check the surface finish, nearby jointing material, and existing sealers before testing one small section.
Key Takeaways
- Start with the least-aggressive method: let the residue firm up, sweep away loose grit, and use a plastic scraper and non-metallic brush.
- Check the paver material, surface finish, sealer, and jointing material before cleaning, and test every product in a hidden area first.
- Use a paver-safe masonry detergent before considering muriatic acid, which can etch pavers, damage sealers, harm plants, and weaken jointing material.
- Treat pressure washing as a finishing step, using a wide fan nozzle, low pressure, and careful technique to protect pavers and joint sand.
- Replace a paver when it is etched, chipped, badly discolored, cracked, or unstable rather than escalating an aggressive cleaning method.
Check the Paver Surface Before Cleaning
Before I touch cement residue, I identify the paver material, installation age, and surface condition. Concrete pavers, clay brick, natural stone, and sealed surfaces can react differently to the same cleaning method. A single concrete paver may also react differently, so I check its texture, color, and surface finish.
If the paver patio was installed recently, contact the installer before using chemicals. Some sealers may still be curing, and the jointing material may not be fully stable. I check the jointing material’s current condition before choosing a product, since older sealers may react differently.
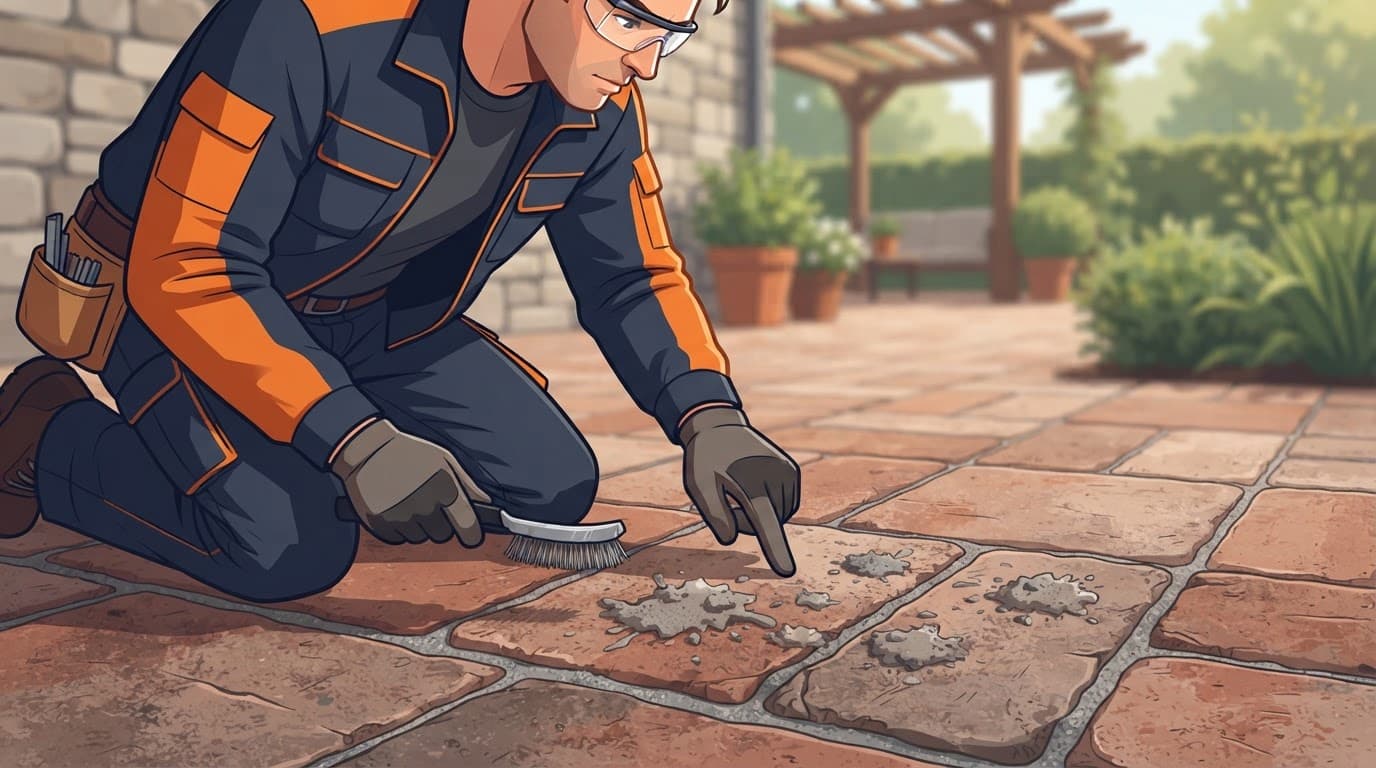
I also check whether the deposit is sitting on top of the paver or has soaked into its texture. A raised, dry surface buildup usually responds to careful scraping, while a thin cement film may need targeted treatment. This inspection helps distinguish focused treatment from routine maintenance, so I start in a hidden test area.
Protect the jointing material during cleaning, along with nearby walls, plants, pool water, metal edging, and screen enclosure components. Acid and concentrated detergent can damage surfaces that were never part of the deposit.
The safest cleaning job removes the cement without removing the paver’s color, texture, sealer, or joint sand.
A homeowner discussion about mortar on finished pavers shows why the surface type matters before choosing a product.
How to Remove Concrete Splatter Pavers Without Damage
I use the least-aggressive cleaning method first on textured concrete pavers. This approach lifts the material while protecting existing sealers and the paver’s appearance.
- Let wet material firm up slightly. Wiping soft concrete across the surface can spread the mess into the texture and joints. If the material is still runny, remove only the excess with cardboard or a disposable tool.
- Sweep away loose grit. Clear loose grit from the area before scraping. Sand, broken cement particles, and loose jointing material can scratch the paver when you start.
- Use a plastic scraper at a low angle. Work under the edge of the dried spot with light pressure. A plastic putty knife or stiff plastic scraper is safer than a sharp metal blade on textured or colored pavers.
- Treat thick blobs separately. If a heavy piece has fully hardened, use a narrow chisel with very light taps along the concrete itself. Keep it nearly parallel to the paver and stay away from the edges. Do not hammer directly into the paver face.
- Wet the area before using detergent. Dampening the paver can reduce how quickly it absorbs the cleaning solution. Avoid flooding the joints or disturbing the jointing material, especially when poly sand is loose.
- Scrub with a non-metallic brush. A stiff nylon brush can reach the surface texture without leaving the scratches that a wire brush may create. Rinse with clean water and inspect the jointing material after the area dries.
Never use a wire brush on colored pavers unless you are willing to accept visible marks. Wire can scratch the finish, remove color, and create a rough patch that becomes more obvious after sealing.
After masonry work, I find that two or three controlled passes are safer than one aggressive pass. If a small shadow remains, repeat the cleaning method rather than increasing the force immediately.
Use a Masonry Detergent Before Muriatic Acid
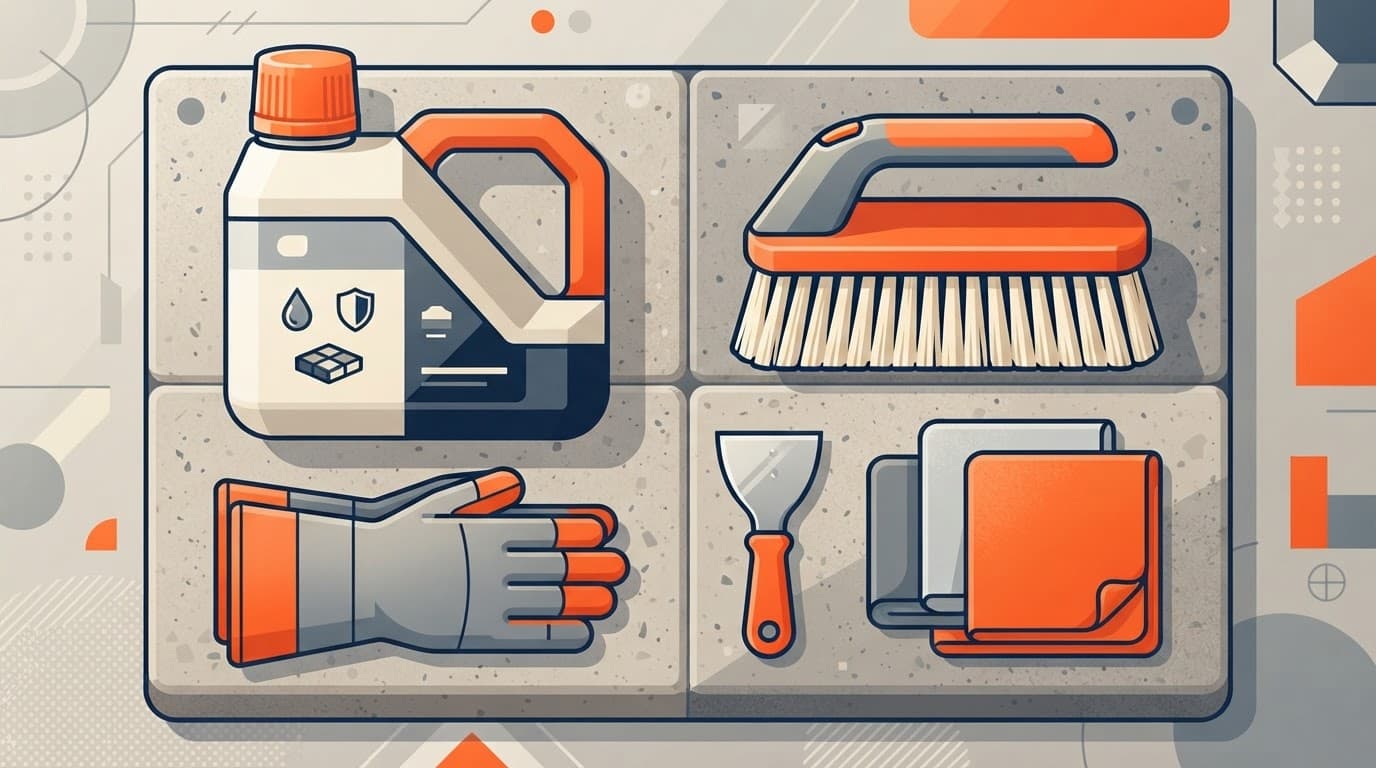
A masonry detergent is usually the better next step for a thin cement film or mortar stains. Look for a specialty cleaner labeled for concrete pavers, brick, or masonry, and follow the label exactly. Vanatrol is one example of this product type, but the right choice depends on the material, finish, and compatibility with existing sealers.
Apply the cleaner to a small hidden test area on a concrete paver first. Let it sit for the directed time, scrub with a non-metallic brush, and rinse thoroughly. Allow the area to dry before evaluating the specialty cleaner and the final color. Wet pavers can look darker and cleaner than they will after drying.
Muriatic acid should be treated as a last-resort product, not a normal first step. It can etch concrete, damage cement paste, strip some paver colors, weaken nearby metal, harm plants, affect existing sealers, and permanently damage natural stone.
If the paver manufacturer and product label both allow muriatic acid, a commonly cited starting dilution is 10 parts water to 1 part acid. That ratio is not universal, and a stronger mixture isn’t automatically better. Always add acid to water, never water to acid. Use it outdoors or with strong ventilation, and wear chemical-resistant gloves, eye protection, long sleeves, and suitable footwear. Keep people and pets away from the area.
Work in a small section, keep the paver damp, and keep the solution away from joints and surrounding jointing material. Apply only what is needed to avoid weakening the jointing material. Rinse thoroughly without displacing the jointing material, according to the product instructions. Never mix muriatic acid with bleach, ammonia, or other cleaners.
A stain removal demonstration is useful to compare with aggressive acid-heavy advice. The practical lesson is simple: loosen the material mechanically first, then use the mildest appropriate cleaning method that can finish the job.
Pressure Washing Can Damage Pavers and Joint Sand
Pressure washing is a finishing cleaning method, not the first attack on dried cement residue. It can help remove residue after scraping and chemical cleaning. A narrow stream can chip pavers or expose aggregate. It can also push water and debris beneath them, then strip or damage sealers.
For routine maintenance, use gentler care. For general cleaning of concrete pavers, a conditional starting range of 1,000 to 1,500 PSI with a 25- to 40-degree fan nozzle is often safer than a concentrated tip. Keep the nozzle at least 12 inches away, keep it moving, and test an inconspicuous area first. The correct setting still depends on the concrete paver, its age, condition, and existing sealers.
Avoid zero-degree nozzles, and don’t aim the stream directly into the jointing material. High pressure can blow ordinary sand and poly sand out of the jointing material, leaving visible gaps. Those gaps allow weeds, insects, and water movement to create new drainage problems.
After pressure washing, let the pavers dry, then inspect the jointing material and exposed aggregate. If sand was removed, sweep compatible material across the surface and work it into the gaps. Any replacement jointing material should match the existing system, since polymeric sand isn’t the right choice for every installation.
Replace the Paver When Cleaning Is Not Enough
Sometimes replacing a damaged unit is safer than escalating the cleaning method. If it is etched, badly discolored, chipped, or has a surface finish visibly different from its neighbors, further cleaning may not restore its original appearance.
Replacement also makes sense when a bonded blob sits on a paver that is already cracked or unstable. A stain on a loose paver can signal that the area needs more than surface cleaning.
For a single paver, remove jointing material from the surrounding joints, then lift it with a narrow flat bar or paver tool. Avoid levering a crowbar directly against neighboring pavers. A hammer and chisel can break up a severely bonded piece, but careless force can damage adjacent pavers, making a hardscape professional safer for difficult removals.
Once removed, inspect the bedding sand, base, and any exposed aggregate. Add or level material as needed, then set a matching replacement paver and tap it into place with a rubber mallet. Refill the gaps with jointing material, such as poly sand, that matches the existing system. The replacement should match surrounding concrete pavers in color, shape, texture, and thickness. Check that it is compatible with neighboring units and their sealers.
If the area is sinking, rocking, or holding water, I don’t treat replacement as the whole repair. Drainage problems may require attention to the base, drainage, and edge support first.
Treat Oil, Moss, and Efflorescence Separately
Cement residue and other stains require different products and a different cleaning method. Concrete pavers may have mortar stains, oil, grease, moss, or algae, and each requires a suitable approach.
For fresh oil stains, absorb as much as possible without spreading them. Older or persistent oil stains may need a paver-safe degreaser, specialty cleaner, and stiff nylon brush. Use several mild applications for oil stains rather than flooding the area with a harsh solvent.
Moss and algae are forms of biological growth that need surface cleaning, moisture control, and suitable drainage. Remove loose growth, scrub with a suitable masonry cleaner, and rinse carefully around the jointing material. Check whether water remains between or beneath pavers, since saturated jointing material and sealers can affect moisture behavior. Routine maintenance and improved airflow can help prevent recurring growth.
Efflorescence appears as a pale, powdery deposit caused by salts moving through cement-based materials. Dry brushing may remove light efflorescence. Don’t assume every white mark is concrete residue, and don’t reach for muriatic acid before identifying the material. If efflorescence returns, look for persistent moisture instead of repeatedly applying cleaner.
If pavers have a thick crust of dirt, widespread staining, or years of surface buildup, professional pressure washing and restoration may produce a more even result. It can be safer than spot cleaning for broad stain removal.
Frequently Asked Questions
What is the safest way to remove concrete splatter from pavers?
Start by allowing wet material to firm up, then remove loose grit and gently scrape dried residue with a plastic scraper. Finish with a non-metallic brush and a paver-safe masonry detergent if needed.
Can I use muriatic acid on concrete pavers?
Muriatic acid should be a last resort and only used when the paver manufacturer and product label permit it. It can etch concrete, strip color, damage sealers and metal, harm plants, and weaken jointing material, so always test first and follow the label’s safety instructions.
Will pressure washing remove dried concrete from pavers?
Pressure washing is better used as a finishing step after mechanical removal and suitable chemical cleaning. Keep the pressure moderate, use a wide fan nozzle, maintain distance, and avoid directing the stream into the jointing material.
When should I replace a paver instead of cleaning it?
Replacement may be safer when the paver is etched, chipped, badly discolored, cracked, unstable, or visibly different from neighboring units. Inspect the bedding sand, base, drainage, and edge support before installing the replacement.
How can I protect the jointing material during cleaning?
Avoid flooding the joints, keep cleaning solutions targeted, and do not aim a pressure-washer stream directly at them. After cleaning, let the area dry and replace any displaced jointing material with a compatible product.
Final Thoughts
The safest cleaning method for removing concrete splatter from pavers starts with gentle scraping, a non-metallic brush, and a paver-safe specialty cleaner or masonry detergent. Test first, protect the jointing material, and use muriatic acid or pressure washing only when the surface and product instructions permit.
I have seen homeowners create a second repair by trying to solve a small cement spot with too much force. If you want the area inspected before using chemicals or a pressure washer on your paver patio, Get a Free Quote for service in Fort Myers, Cape Coral, Bonita Springs, Punta Gorda, Sarasota, and nearby Southwest Florida communities. Once the surface is fully clean and dry, consider an optional sealer if the product suits the pavers. A careful repair keeps the pavers looking consistent, supports routine maintenance, and prevents replacement beyond the area the original splatter damaged.