


Paver Installation Preparation for Your Florida Property
A beautiful paver driveway can start sinking after heavy rain if the ground underneath wasn’t prepared correctly. I put quality preparation first, because your paver patio, walkway, or pool deck needs dependable support before the first paver goes down.
Good paver installation preparation starts with your property, its drainage, and how you plan to use the finished surface. Before choosing colors and patterns, take a look at the work that protects your investment.
Key Takeaways
- Plan the layout, finished elevations, permits, HOA approvals, and utility locations before excavation begins.
- Decide where rainwater will go and confirm the drainage plan won’t send water toward your home, a neighbor, or another wet area.
- Match excavation and compacted aggregate depth to the surface’s intended use and actual site conditions; remove unstable soil and compact the subgrade properly.
- Build the base in compacted layers, then use a consistent bedding layer, secure edge restraints, and compatible joint material.
- Review the prepared area, elevations, drainage, and agreed materials with your installer before the work is covered by pavers.
Start With the Layout, Approvals, and Utilities
Mark the finished area before making decisions
I start by checking the proposed footprint and finished height. A paver driveway should tie neatly into the garage and sidewalk, while patios need to meet doors and pool coping without awkward steps or blocked drainage.
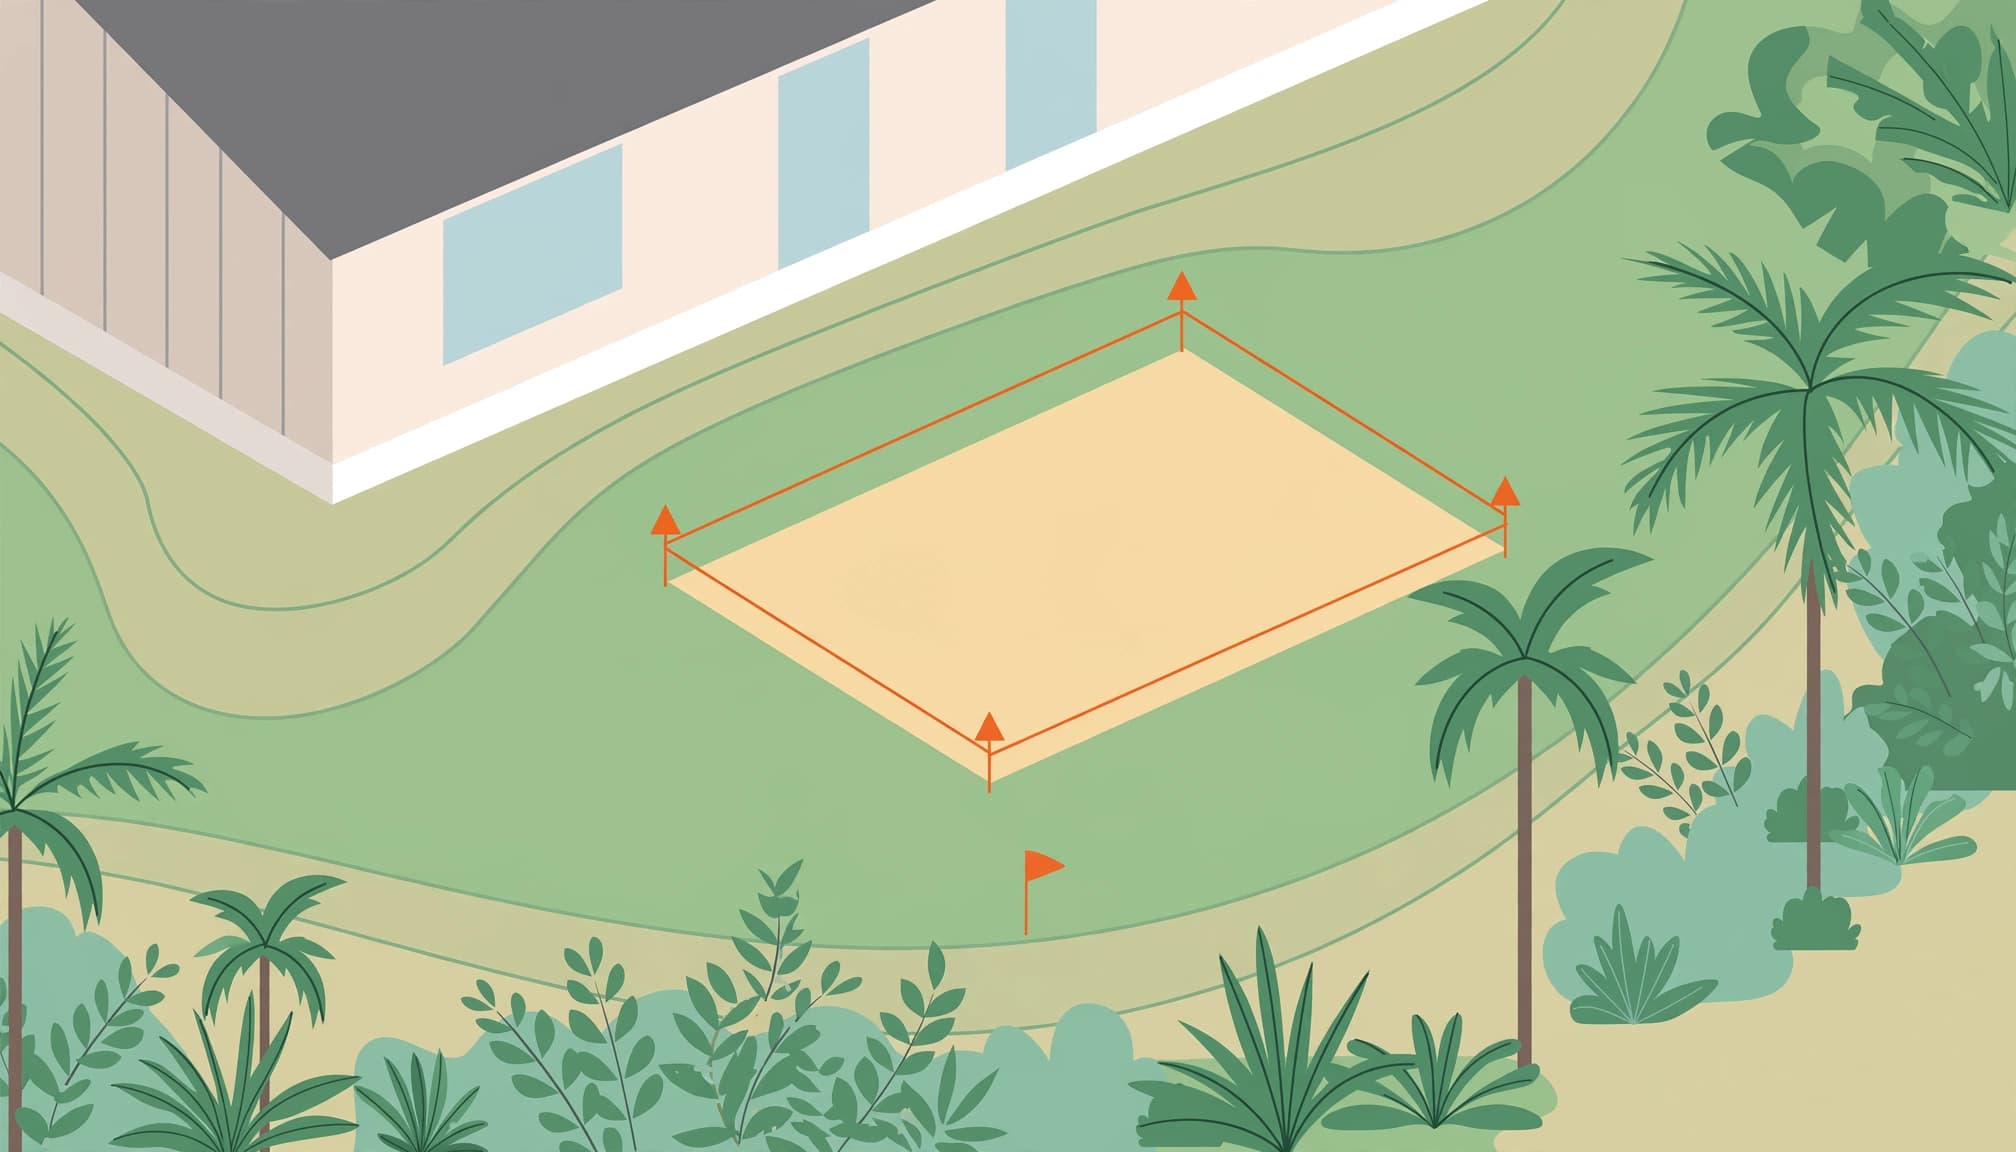
Mark the perimeter with stakes and string, then walk the area. Make sure the planned square footage leaves room for furniture, gates, lawn equipment, and comfortable movement around your pool. A patio that looks large on paper can feel tight once everything is in place.
Check local permit requirements and HOA approval before work begins. Driveway changes, drainage work, and projects near property boundaries may need additional review.
Locate underground lines before digging
Contact Sunshine 811 before excavation so member utility companies can mark their underground lines. Allow time for the process and keep the markings visible throughout the job.
Also identify irrigation pipes, landscape lighting, pool plumbing, and other privately owned lines. Don’t assume every buried line will be covered by a utility locate.
I recommend showing the installer any available property plans. If you know where a sprinkler line or electrical connection runs, share that information before equipment arrives. Digging first and sorting out utilities afterward can cause damage and delay your project.
WHERE WILL THE RAINWATER GO?
In Southwest Florida, drainage deserves attention before installation. Heavy rain can expose weak areas quickly, especially beside a house, screen enclosure, or pool.
I check existing low spots, downspouts, swales, and places where runoff crosses a proposed paver driveway. Look at your yard after rain when possible. Standing water tells you something useful.
The finished surface and supporting layers need a planned grade for proper drainage to an appropriate outlet. The right slope depends on the property and drainage design, so check where the water will end up.
Pool decks need particular care around coping, enclosure footings, and equipment. Our information on pool deck drainage channels covers issues worth discussing before changing the surface height.
Ask the installer to explain the drainage path for your paver driveway. Water shouldn’t be redirected toward your home, a neighboring property, or another area that already stays wet.
Clear the Property and Plan Crew Access
Move belongings and protect nearby features
Before the crew arrives, remove patio furniture, planters, decorations, and anything else within the work area. Arrange another parking location if your paver driveway will be unavailable.
Point out plants you want protected, along with pool equipment, outdoor outlets, irrigation controls, and delicate screen panels. I prefer having these conversations before demolition starts, while everyone can see what needs attention.
Keep children and pets away from the work zone. Excavation, cutting equipment, loose materials, and open trenches need a clear boundary throughout the installation.
Agree on deliveries, equipment, and cleanup
Your contractor needs a practical route for equipment and material deliveries. Check gate widths and decide where pallets, aggregate, and removed materials will go.
Discuss whether equipment will cross your lawn or an existing paved surface. Include protection and restoration in the professional installation plan.
Our Florida paver installation timeline outlines the broader sequence. I also recommend confirming working hours, debris removal, and weather-related scheduling before the job begins. Clear arrangements make the project easier on your household.
How Deep Should Excavation Be?
Start with the intended use
A walkway carries different loads than a paver driveway. Cars also apply turning and braking forces, so the system’s load-bearing capacity must match its intended use.
These are starting ranges for discussing compacted aggregate depth.
| Project | Common planning range |
|---|---|
| Pedestrian patio or walkway | About 4 to 6 inches |
| Residential driveway | Often about 6 to 8 inches, with deeper sections possible |
These figures describe compacted base material only. They aren’t excavation instructions for every property. Weak soil, disturbed fill, and drainage conditions can change the design. Heavier vehicles can also affect a paver driveway, so subgrade preparation matters.
I recommend reviewing driveway paver thickness requirements alongside base depth. Concrete pavers and the supporting structure need to work together.
Calculate down from the finished elevation
Excavation must allow for the compacted base, specified bedding layer, and actual paver thickness. Set the finished height first, then calculate excavation depth.
Don’t measure only from the existing lawn. Sod, old concrete, and previous landscaping can hide elevation differences.
Remove unsuitable material until the project has dependable support. If unexpected soft soil appears, stop and reassess. A fixed depth in an estimate shouldn’t become an excuse to leave unstable ground beneath your new pavers.
Prepare the Subgrade Before Adding Stone
Check sandy soil, clay soils, and old fill
Subgrade preparation means getting the soil beneath concrete pavers firm, correctly shaped, and free of organic material before aggregate is placed.
Remove sod, roots, buried debris, and unsuitable fill. Tree roots near the project deserve review before cutting, particularly around established trees.
Sandy soil can drain quickly but still shift or mix with the base. Clay soils and imported fill can behave differently within the same yard. That variation can affect the load-bearing capacity of a paver driveway, so don’t assume the whole property has identical support.
If the ground ruts, feels spongy, or pumps water under equipment, address the condition before covering it.
Require proper soil compaction
Proper soil compaction reduces movement that can lead to settlement. It needs suitable equipment, moisture conditions, and a clear project specification. This is especially important for a paver driveway that will carry vehicle loads.
The CMHA guide specification recommends at least 98% standard Proctor density under ASTM D 698 for soil subgrade beneath pedestrian areas and residential driveways. That is a specification recommendation, not a universal local code requirement.
A surface that looks firm doesn’t prove it meets a density target. Ask whether testing is appropriate for your project.
Geotextile fabric may help separate soil and aggregate where conditions call for it. It isn’t required everywhere, and it can’t repair poor drainage or replace stable ground. I want the reason for using it explained clearly.
Build a Stable Base in Compact Layers
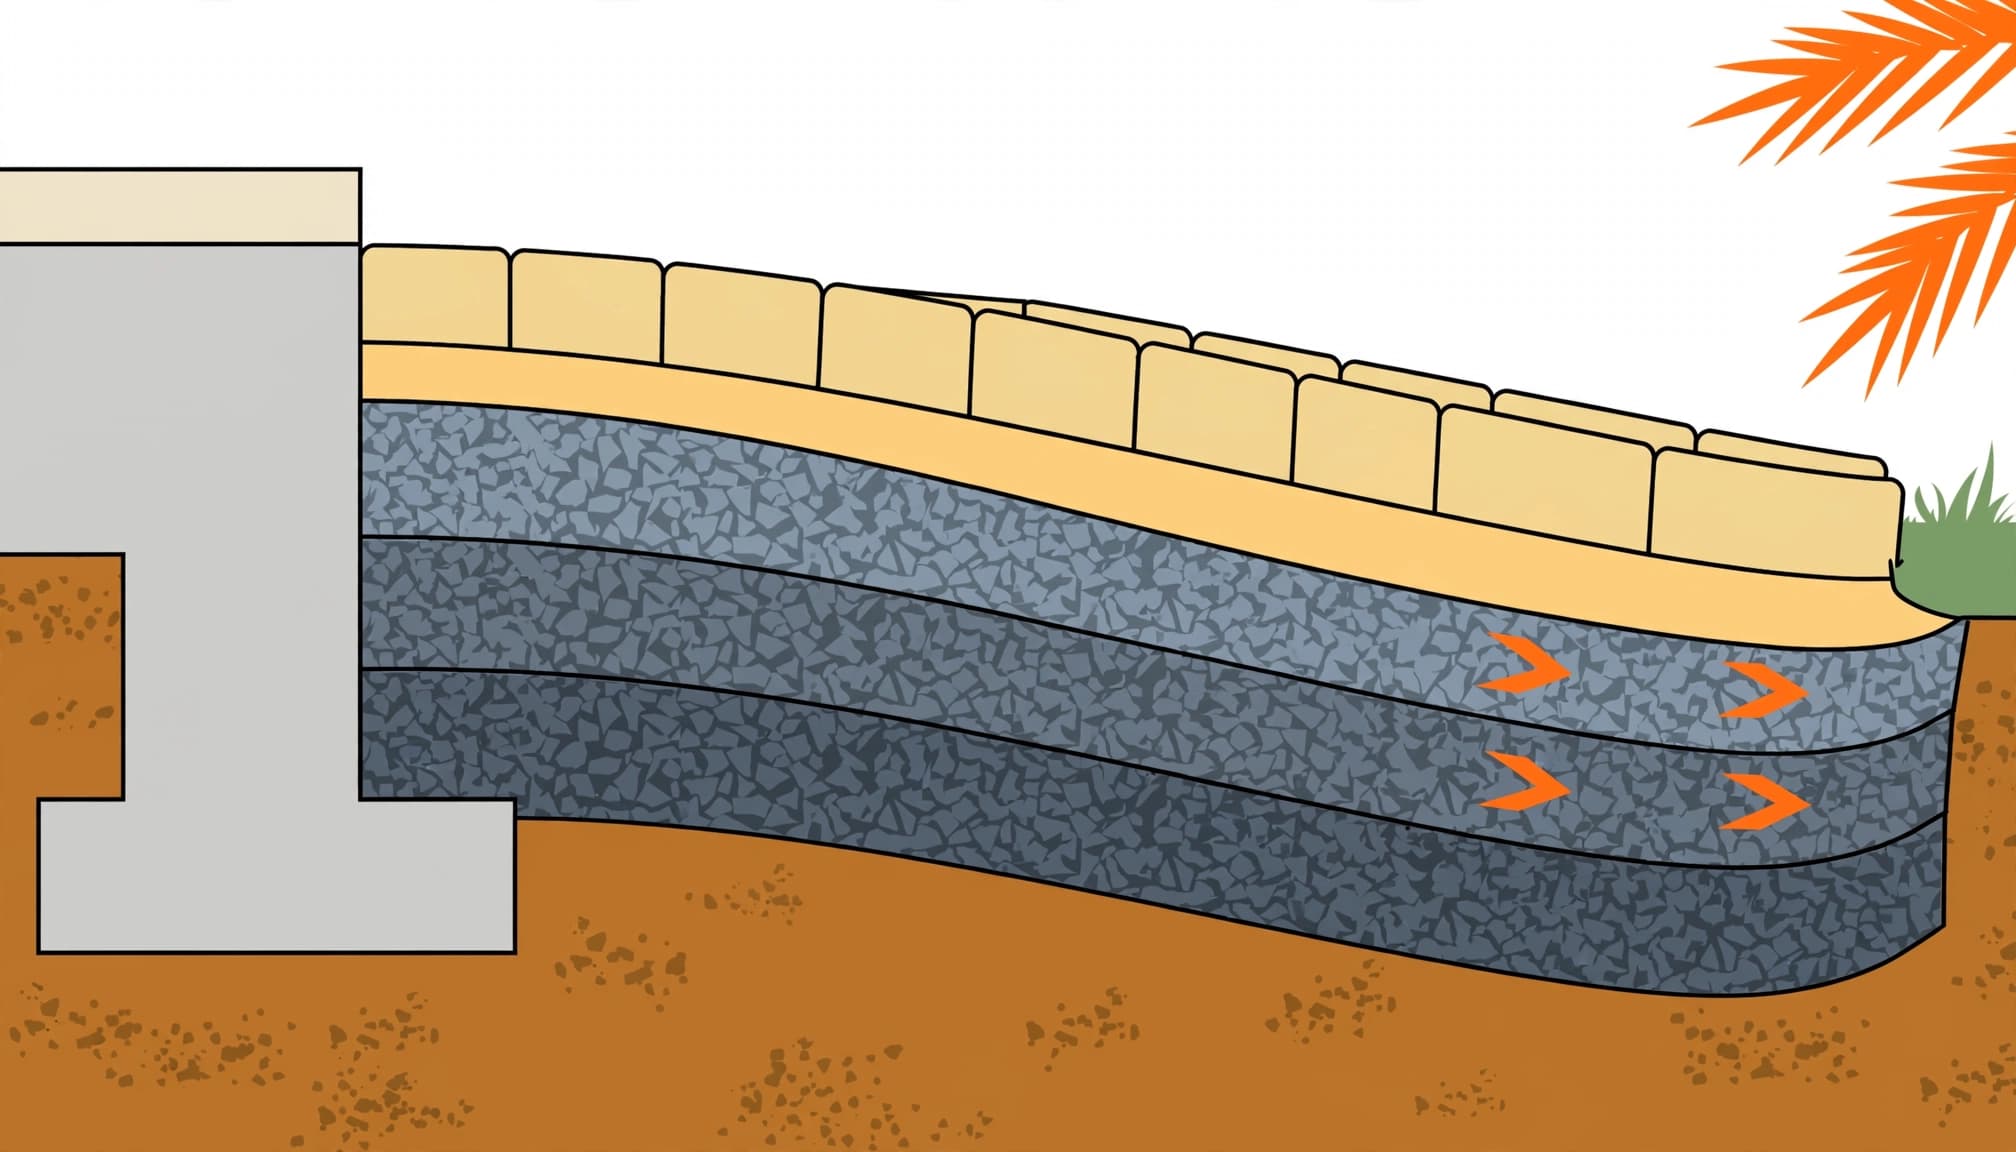
The aggregate base does the heavy work. For a paver driveway, it supports the bedding layer and distributes vehicle loads across the prepared ground, providing load-bearing capacity.
Use the specified base material, such as compactable crushed stone approved for the installation. Rounded pea gravel doesn’t lock together the same way as material intended for a compacted paving base. Material names vary, so ask for the specified product rather than ordering whatever a supplier calls gravel.
I want the base placed in controlled lifts, compacting each lift with a plate compactor before adding the next. The equipment and material determine the workable lift thickness. Dumping the entire depth at once can leave loose material underneath a firm-looking surface.
The CMHA construction guidelines are a useful technical reference for conventional interlocking concrete pavement work.
Check elevations during surface leveling as the base develops. The drainage grade needs to be built into the support layers before bedding material goes down.
Extra bedding sand over a low base can hide the problem temporarily. Correct the aggregate grade before covering it.
If aggregate shoves, ripples, or develops deep ruts under equipment, stop and inspect the condition. More material on top won’t explain or correct what’s happening below.
Bedding, Edges, and Joints Need Their Own Plan
Keep the bedding layer thin and consistent
Bedding material positions the individual pavers above the structural base. For a conventional sand-set system, use the specified bedding sand and screed it to the required, uniform depth.
I don’t use extra sand to fill deep depressions or replace missing aggregate. Leave the prepared bed undisturbed and follow the paving system’s installation instructions.
Natural stone and other paving products may require different support methods. Permeable pavers also use a different assembly. The CMHA permeable pavement construction bulletin covers these systems, where ordinary fine sand can interfere with drainage. In climates with freeze-thaw cycles, follow the system’s material guidance.
Secure the perimeter and choose compatible joint material
Edge restraints keep the outside pavers from spreading. Plan their location and anchoring before ordering materials, including curves, transitions, and driveway edges exposed to turning tires. On a paver driveway, turning tires make dependable perimeter support especially important.
A decorative border still needs dependable support. Install edge restraints on the supporting base as required by their manufacturer.
I often recommend polymeric sand when it suits a sound, conventional paver installation. Its water-activated additives help resist joint washout and limit weed growth. Regular joint sand doesn’t contain those binders and may need more frequent replenishment. When comparing joint sand products, confirm they’re compatible with your pavers and installation system.
For joint sand, follow product directions for joint dimensions, surface cleaning, water activation, and curing. Polymeric sand needs suitable dry conditions before application, and it can’t hold up a failed base.
Check the Preparation Before Installation Continues
You don’t need to supervise every pass of the plate compactor. You should understand the paver installation process and have the important details in writing.
Before approving the next stage, make these checks:
- Confirm the finished elevations, drainage outlet, and connections to existing surfaces with the installer.
- Ask for the agreed base material, compacted depth, and method for handling unsuitable soil.
- Verify that utilities, edge restraints, cleanup, and any additional work for your paver driveway are covered in the project scope.
I recommend using our questions to ask a paver contractor when comparing estimates. Licensing, insurance, supervision, and written workmanship terms matter along with the price.
Ask to see the prepared area before it’s covered. If something needs correction, this is the right time to catch installation mistakes and discuss it. Once the pavers are installed, reaching the same problem requires removing finished work.
Frequently Asked Questions
How deep should the base be for pavers?
Common planning ranges for compacted aggregate are about 4 to 6 inches for pedestrian patios or walkways and often 6 to 8 inches for residential driveways. Soil conditions, drainage, and vehicle loads can change the design, so confirm the depth with your installer.
Why is drainage important before paver installation?
Poor drainage can cause standing water and contribute to movement beneath the pavers, especially after heavy rain. Plan the finished grade and where runoff will go before installation begins.
Should the soil be compacted before adding the aggregate base?
Yes, the subgrade should be firm, properly shaped, and free of organic material before aggregate is placed. If the ground feels soft, ruts, or pumps water under equipment, address the condition before covering it.
Can bedding sand fix an uneven base?
No. Bedding material should be thin and consistent; it isn’t a substitute for correcting low spots in the aggregate base. Correct the base grade before the bedding layer is installed.
Get Your Property Ready for Quality Paver Work
Proper paver installation preparation gives surfaces like patios and a paver driveway the support they need. I prioritize drainage, stable soil, and careful compaction over rushing toward the finished appearance. Sound preparation supports long-term paver maintenance, though routine care is still needed.
Your property deserves quality workmanship underneath as well as beautiful pavers on top. Preparation is where that workmanship begins.
For your Southwest Florida project, Get a Free Quote and discuss the layout, site conditions, and professional installation plan before work starts.