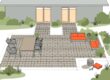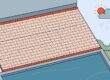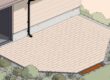


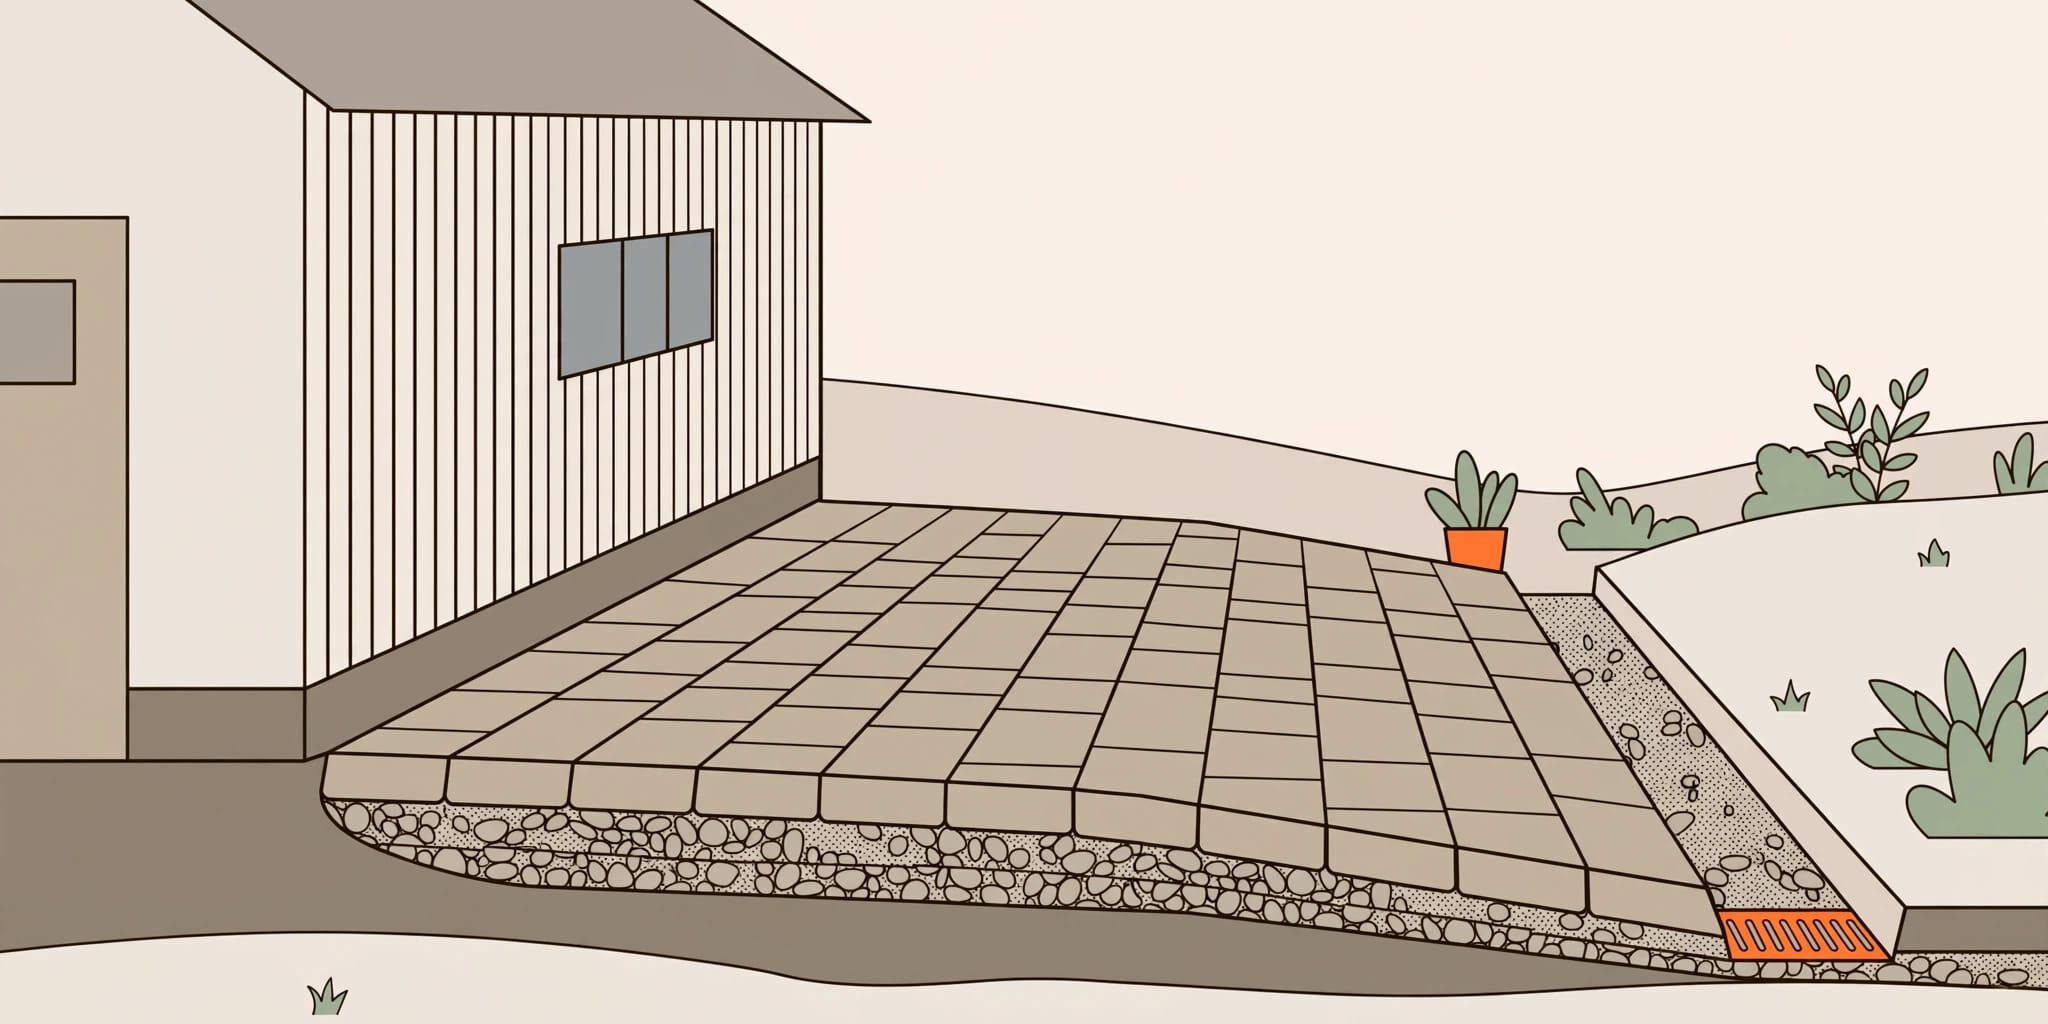
A commonly recommended starting point is a 1/4 inch per foot fall away from the house, about a 2% slope where site conditions allow. A 1/8 inch per foot grade may work in some situations, but it’s a lower-end option, not a universal recommendation. Direct runoff to a suitable destination.
The right fall helps protect your foundation, but it needs proper support underneath. Set the finished elevations before digging or ordering materials.
How Much Fall Is Needed?
Some manufacturers set 1% as a minimum, while 1/4 inch per foot is a common practical target. Recommendations and site conditions can vary.
Calculate the total fall by multiplying the patio depth in feet by the selected fall per foot. The table shows the drop for common patio lengths.
| Fall per foot | Approximate grade | 8-foot run | 12-foot run | 20-foot run |
|---|---|---|---|---|
| 1/8 inch | 1% | 1 inch | 1.5 inches | 2.5 inches |
| 1/4 inch | 2% | 2 inches | 3 inches | 5 inches |
A 20-foot patio with a 1/4-inch-per-foot fall needs 5 inches of total drop.
The slope percentage is rounded. Exactly 2% means 2 inches over 100 inches, or 0.24 inch per foot. Use that exact measurement where 2% is a firm maximum.
Unilock recommends a 2% maximum for patios. Its 5% walkway guidance isn’t a target for seating patios. The U.S. Access Board’s accessible-route standards distinguish running slope, limited to 1:20, from cross slope, limited to 1:48. Accessibility provisions aren’t automatically local building codes, and manufacturer recommendations aren’t interchangeable with local requirements.
Calculate the Drop and Set the String Line
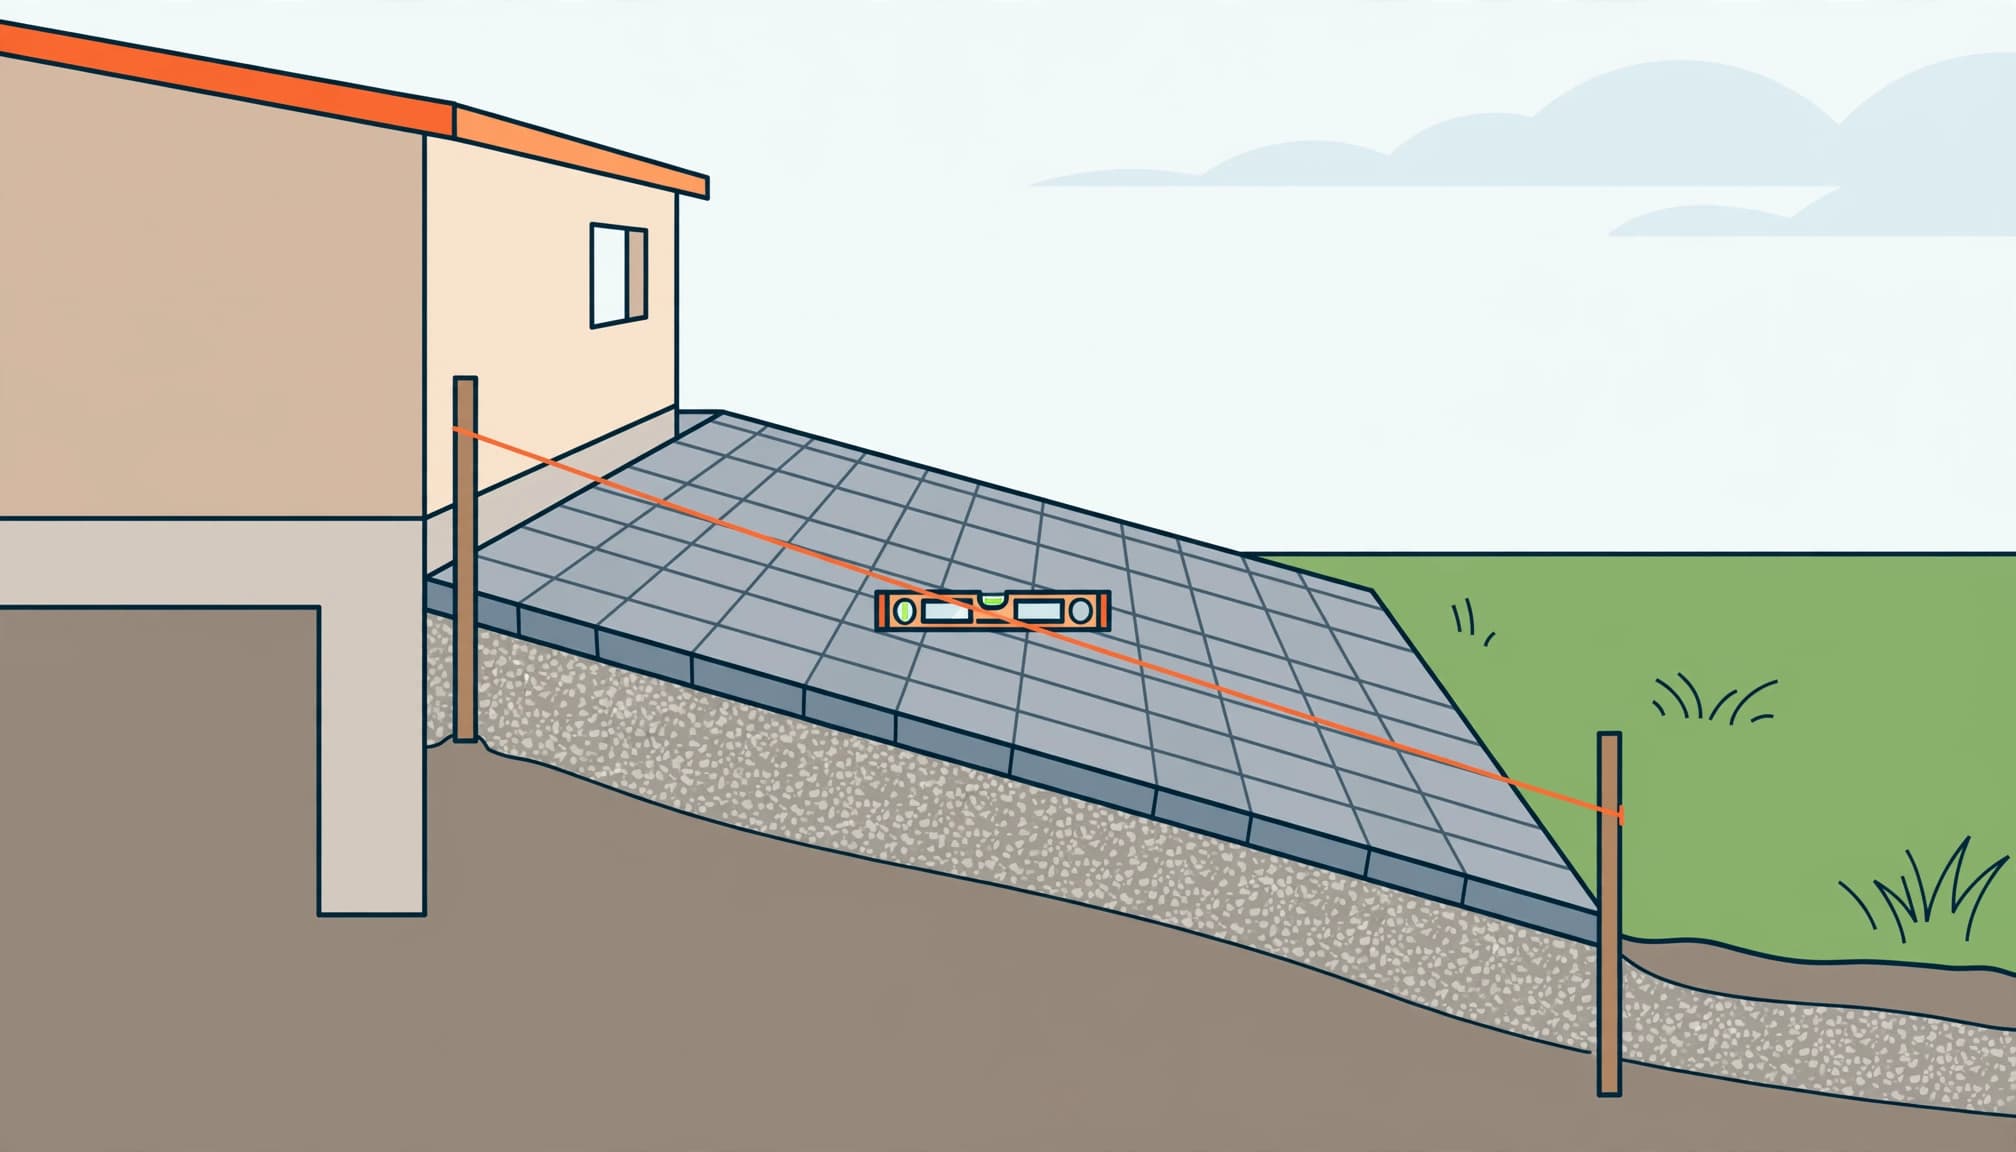
Multiply the horizontal distance from the house by your selected fall per foot:
12 feet × 1/4 inch = 3 inches of total drop.
For this layout, the outer finished edge belongs 3 inches below the house-side edge. Check the planned elevations with a tape measure and string line. A laser level can also compare the house-side and outer-edge elevations.
- Place stakes beside the foundation and at the patio’s outer edge, clear of buried utilities.
- Tie a string at the planned house-side finished height. Use a string level to make the initial line horizontal.
- Measure down 3 inches on the outer stake and lower that end of the string.
- Add supporting stakes every 4 feet if the string sags, keeping each support on the same sloping line.
After setting the pavers, check the surface with a straightedge or 4-foot level. At a 1/4-inch-per-foot grade, it should fall about 1 inch over 4 feet. Keep clearance below door thresholds, siding, and wall drainage openings. Our guide to planning pavers around a foundation covers these layout concerns.
Build the Slope Into the Base
The subgrade and aggregate need the planned fall before bedding material goes down. I don’t recommend adding thick sand over a low base to create the slope. Prepare and compact the base consistently to help limit settling.
Excavate and Compact in Layers
Excavation includes the paver thickness, approximately 1 inch for the bedding course, and the specified compacted aggregate. Many pedestrian patios start with 4 to 6 inches of aggregate. Unilock’s roughly 8-inch excavation example isn’t a universal digging depth; poorly draining clay or unstable fill can require more.
Use well-graded crushed aggregate rather than rounded pea gravel. Place manageable lifts, commonly 2 to 3 inches with residential equipment, and compact each lift. A specified 9-inch base, for example, can be built in three 3-inch lifts.
Moisten dry aggregate as needed. Footprints shouldn’t remain, but appearance alone doesn’t prove adequate compaction. If wet material shoves, ripples, or pumps under the compactor, stop and correct the condition.
Screed, Lay, and Secure the Pavers
Screed a uniform 1-inch bedding course using two 10-foot pipes set to the finished slope. Use coarse concrete sand or fine chip stone only as specified for that paving system.
Lay pavers at the lowest edge and work upward, keeping rows straight with a string line. Secure exposed edges with suitable restraints, such as plastic or aluminum edging with specified 12-inch spikes, or a concrete wedge.
Our paver edge restraint guide explains perimeter support. For conventional sand-jointed systems, compatible polymeric sand hardens after activation and helps limit joint erosion and weeds. Activate polymeric sand according to product directions; a well-prepared base and secure edge support also help limit erosion.
Account for Settling and the Water’s Destination
Settling near foundation backfill can reduce or reverse a small fall. Expansive clay and disturbed ground beside deep basements deserve particular attention. If settling or unstable soil is present, address the underlying conditions instead of simply increasing the grade.
Direct runoff away from the house and neighboring property, toward a suitable swale, planted drainage area, or designed outlet. Site conditions and local requirements vary. Keep water away from screen enclosure footings and corners that stay wet, and avoid routes that could cause erosion.
Permeable systems need a different base and joint assembly. The EPA’s permeable pavement guidance explains how they reduce runoff through infiltration. They don’t automatically need steeper slopes. Ordinary polymeric sand can block drainage openings in a permeable system, so use joint material designed for it instead of standard polymeric sand.
Key Takeaways
- Plan a grade of about 1/4 inch per foot away from the house.
- Choose the runoff destination before excavation.
- Build the drainage grade into stable, compacted support layers, not extra bedding sand.
Frequently Asked Questions
Is a 1-in-100 Fall Enough?
That’s 1%. It can work on a properly built surface, but it leaves less tolerance for dips and settling. I prefer planning near 2% where appropriate.
How Much Slope Is Too Much?
Above approximately 2%, furniture can feel increasingly tilted. Comfort depends on the furniture and layout; steeper ground may need terracing or drainage redesign.
Should a Patio Slope on a Flat Yard?
Yes. A level yard doesn’t remove the need for fall away from the house. If the outer edge has nowhere to discharge, the drainage plan needs more than slope.
Give Rainwater a Clear Route Away
Reliable patio drainage needs measured elevations, consistent fall, firm support through proper base preparation, and a suitable destination for runoff.
For installation or repair help from Platinum Pavers of SWFL, Get a Free Quote for your project.