

A mailbox bed can look sharp on installation day and start spreading after the first hard rain. A mailbox makeover can boost your front yard’s curb appeal, but the pavers need a firm foundation because what’s underneath them matters as much as the border you see.
I like this project because it gives your mower a clean edge and makes the street side of your home look cared for. Whether you’re shaping a mailbox garden or edging a mulch bed, the mailbox still has to be easy for your carrier to reach. In Florida, the pavers need a stable base to hold through hard rain. Here’s how I would plan and build it.
Key Takeaways
- Keep the mailbox accessible and check its placement before changing the ground around it.
- Call for utility locates before digging, even for a small flower bed.
- Remove the sod, compact the soil and aggregate, and keep water moving away from the border.
- Support the outside row with an edge restraint. Joint sand alone won’t hold a loose border in place.
- Plant inside the finished edge, keeping the mulch bed and materials such as black mulch below the pavers. Don’t bury the wooden post or block the carrier’s approach.
How to plan pavers around mailbox posts
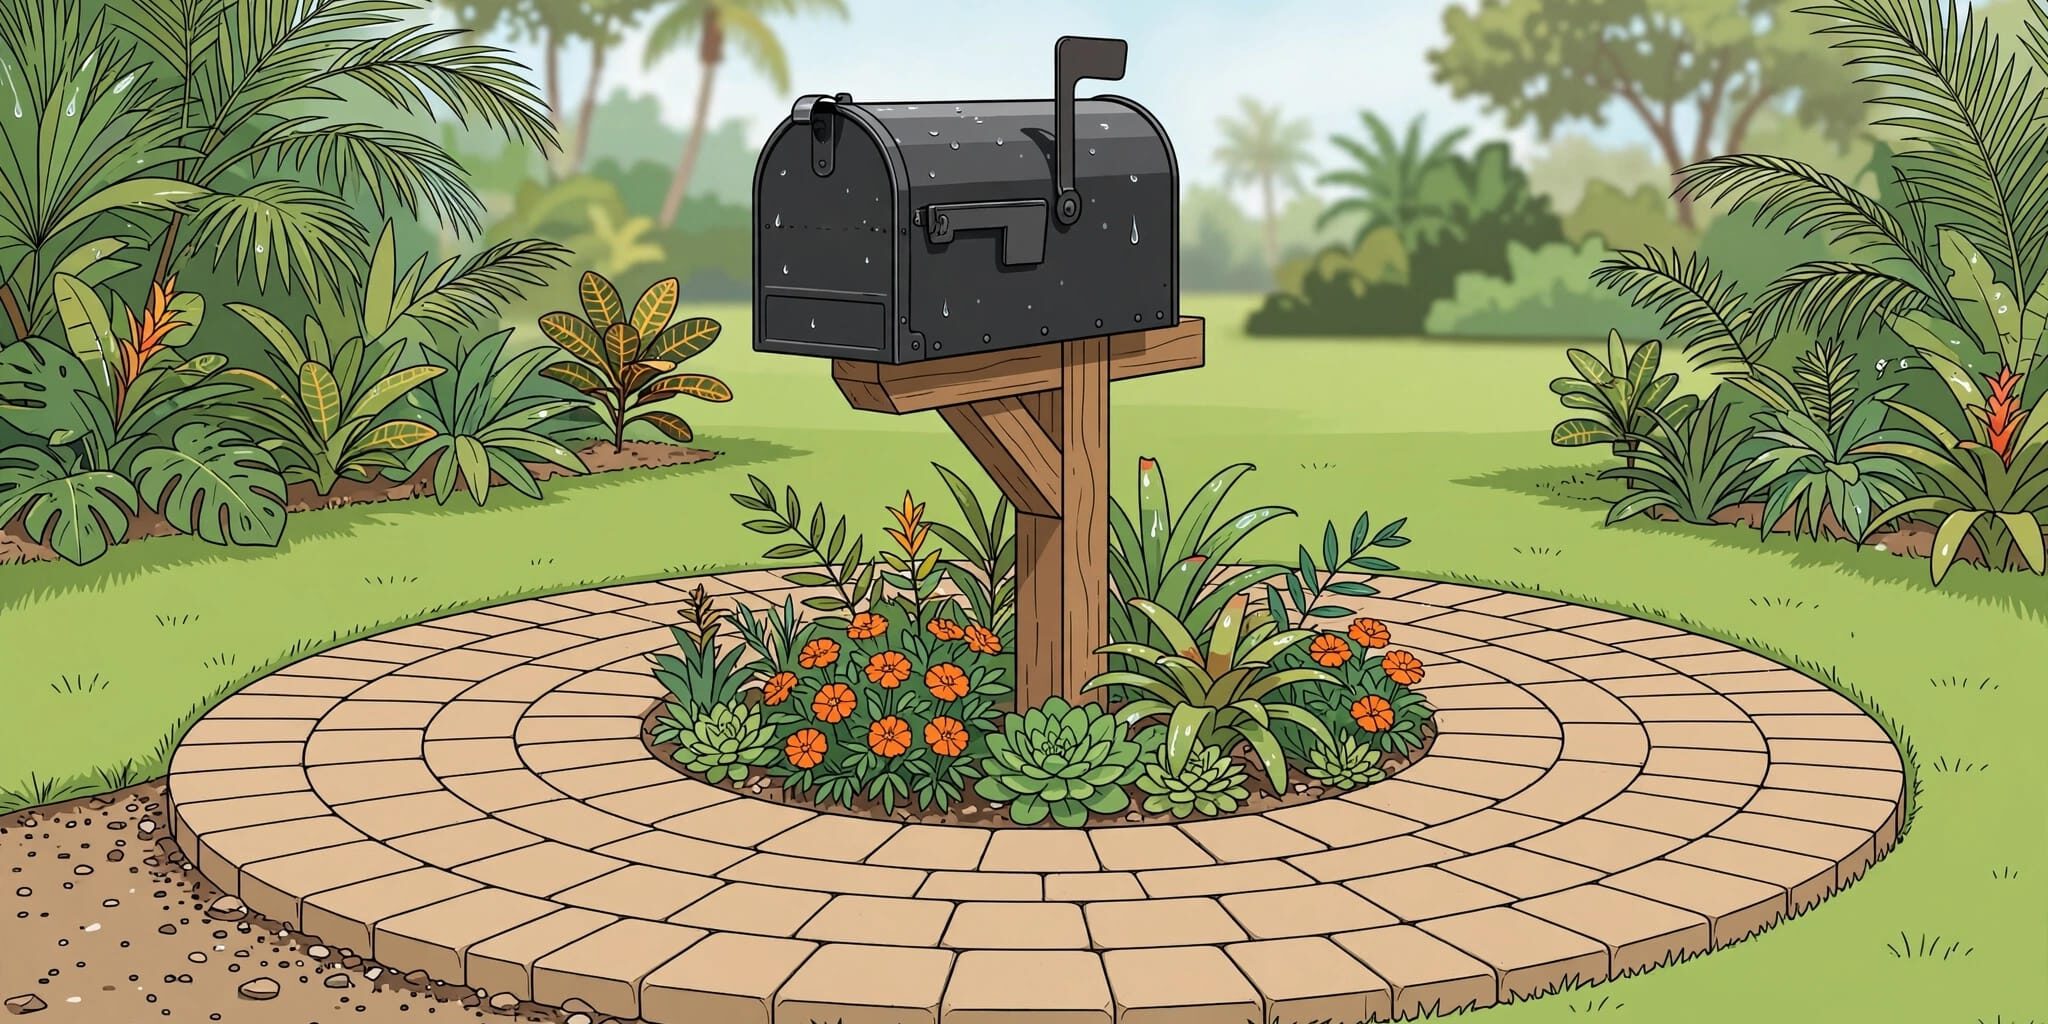
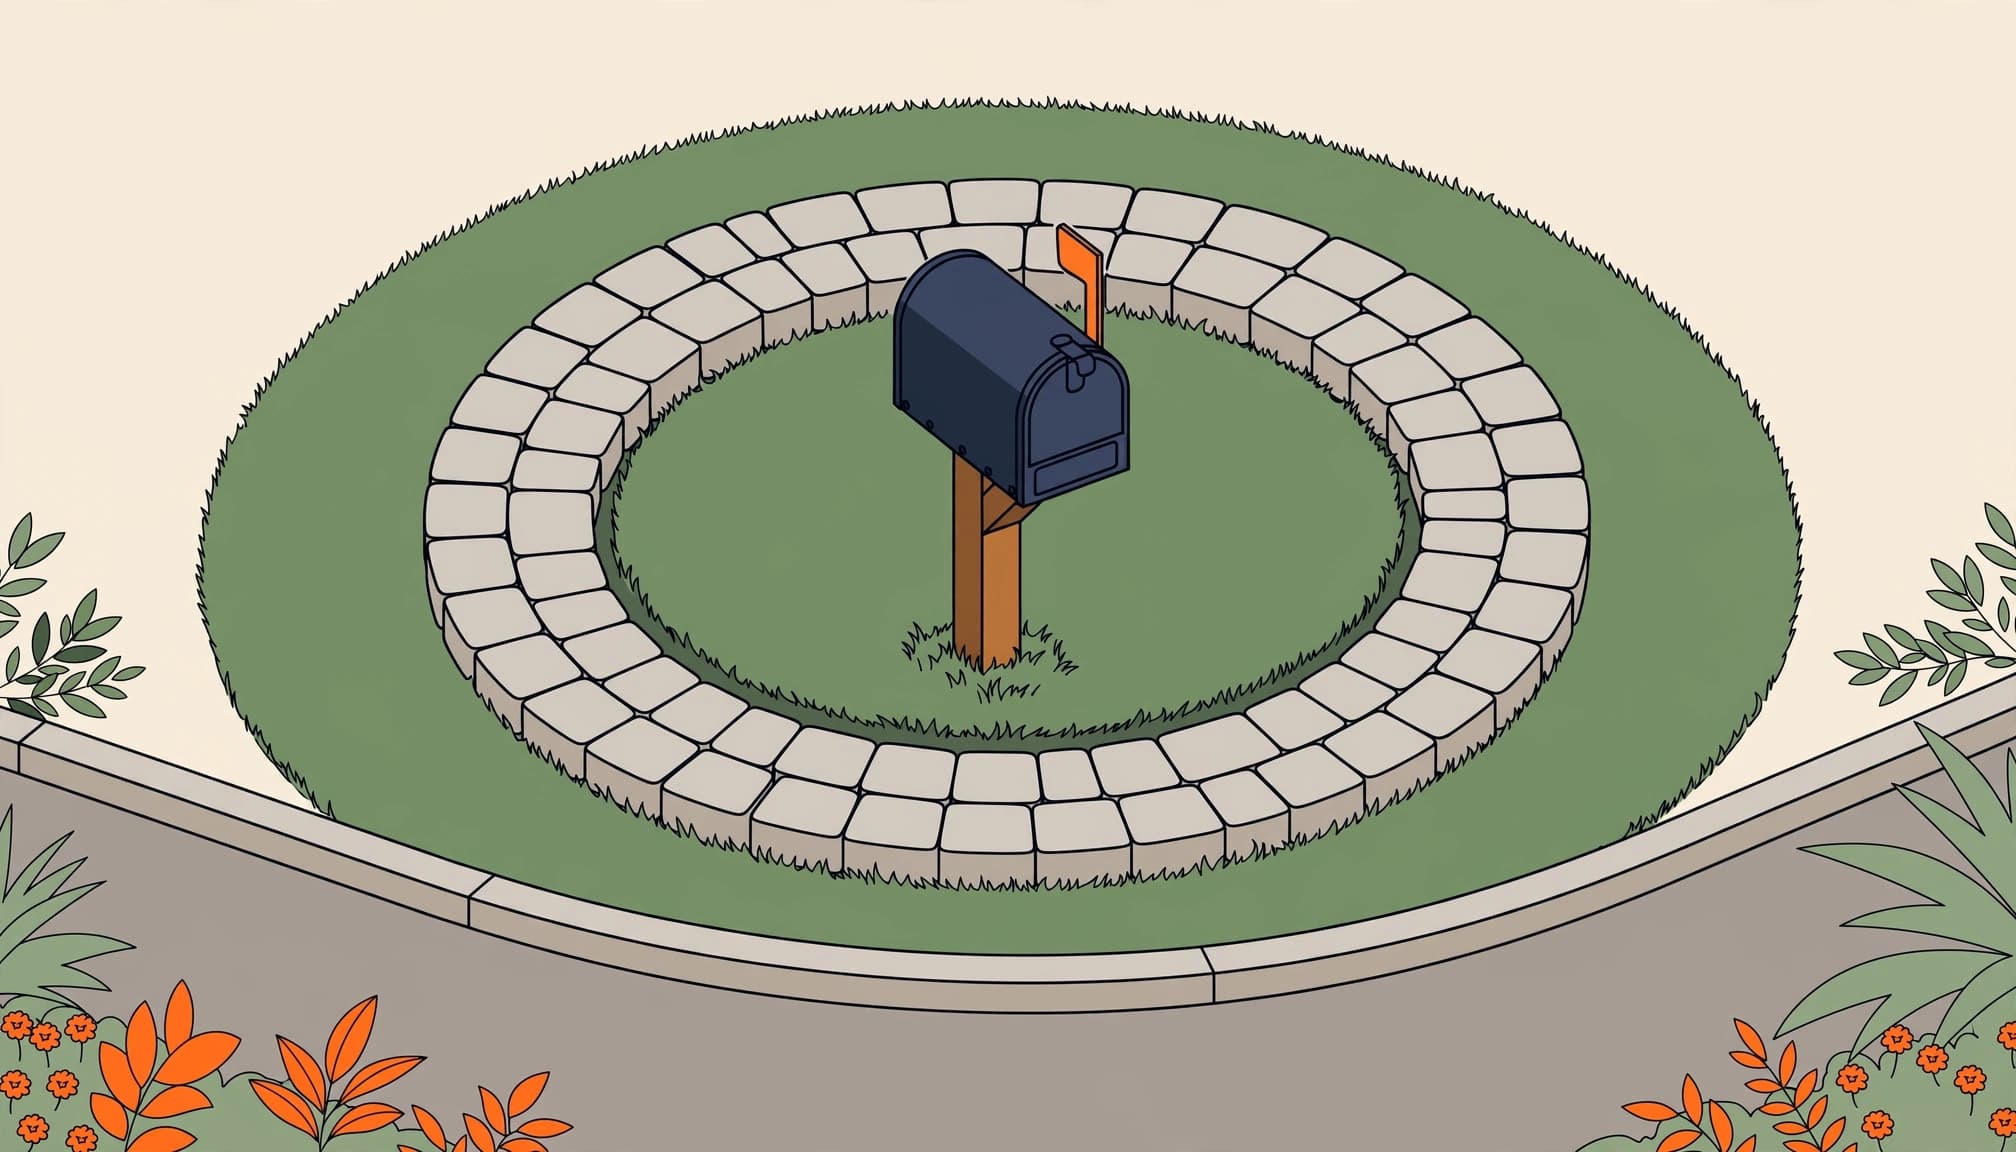
A small border is easier to install when you settle its shape and finished height before picking up a shovel. Stand at the road, then look at it from your driveway. Plan mailbox landscaping as a compact flower bed, with a low perennial border or mulch bed that doesn’t crowd the box or jut into the street.
Keep mail delivery and mowing practical
Check the USPS curbside mailbox placement guidance for current placement recommendations. It calls for the box to sit 41 to 45 inches above the road surface, measured to the bottom or mail-entry point, and 6 to 8 inches back from the curb. Check with your local post office and local requirements before relocating the box or changing the site.
Those measurements apply to the mailbox, not the paver border. Keep the carrier’s approach clear, and avoid tall plants or raised blocks on the road-facing side. A solar light can be an optional accent, as long as it doesn’t obstruct delivery access. A low border near lawn height is also easier to mow around than a stack of loose stones.
Check where you’re allowed to dig
Curbside ground may include a right-of-way, utility easement, swale, or drainage area. Check local rules and HOA requirements before changing the grade or building close to the road.
Contact Sunshine 811 for utility locates before you excavate. Marking a small bed doesn’t tell you where underground utilities run. Plan your border around marked lines, and use the care required near them.
Choose pavers and supplies for the job
For most mailbox beds, I prefer interlocking concrete landscape pavers. They create a defined edge, come in manageable sizes, and can be lifted if a section needs repair. Match them to your driveway or walkway to tie the landscape design together and improve curb appeal. It’s a simple way to give your mailbox makeover a polished look.
Which border material works best?
Concrete pavers suit a low, mower-friendly border. Clay brick offers a traditional look but still needs a prepared base and edge support. Edging stones are another option for a simple border. Retaining wall blocks create a raised bed, but they need a level foundation and shouldn’t become an obstacle beside the road.
River rock can fill a bed, but it isn’t a substitute for a restrained paver edge. It can scatter into the grass and leave you with more trimming. Choose the border first, then decide whether to use a mulch bed, river rock, or plants. Black mulch and red mulch offer different color options. A low-profile solar light can add a small landscape feature without interfering with mailbox access.
Gather the basics before digging
You’ll need marking paint or a hose for the outline, a shovel, a rake, a level, and a hand tamper or suitable compactor. Have compactable crushed aggregate, bedding sand, pavers, edge restraint, its specified stakes, and joint material ready.
A rubber mallet helps with placement. If your pattern needs cuts, use a suitable masonry saw and its required protective equipment. Check the paver and restraint manufacturer’s instructions before buying materials, since the pieces must work together.
Remove grass and prepare the mailbox bed
Don’t set pavers directly on sod. Grass, roots, and loose soil break down or move, and the finished edge begins to dip. This is where a little extra work saves you from pulling the border apart later.
Cut out the sod and check the post
Lay out the full bed, including room for the pavers and their restraint. Cut through the turf at the marked line, then lift out the sod and roots. Remove soft fill and debris until you reach soil that can be shaped and compacted.
Look closely at the mailbox post while the area is open. If it rocks or shows rot at ground level, deal with that before surrounding it with new work. Keep the post accessible; I don’t pack damp soil or mulch tightly against a wood post.
Excavate for the whole paver system
Allow room for the paver thickness, bedding sand, and compacted aggregate base. Depth depends on the product and ground conditions, so don’t copy a patio or driveway detail without checking it against this site.
Set a string or level reference for the finished height. The border should meet the lawn cleanly and direct water toward an appropriate drainage area, not trap it around the post. Save suitable soil for the mulch bed, but keep compost and garden soil out of the structural paver base.
Build a stable base for Florida rain
After more than 20 years working with Florida pavers, I’ve seen small gaps grow into loose edges and low spots. Sandy soil can shift, and heavy rain runoff can wash support away. Even a handsome paver will move on a weak base.
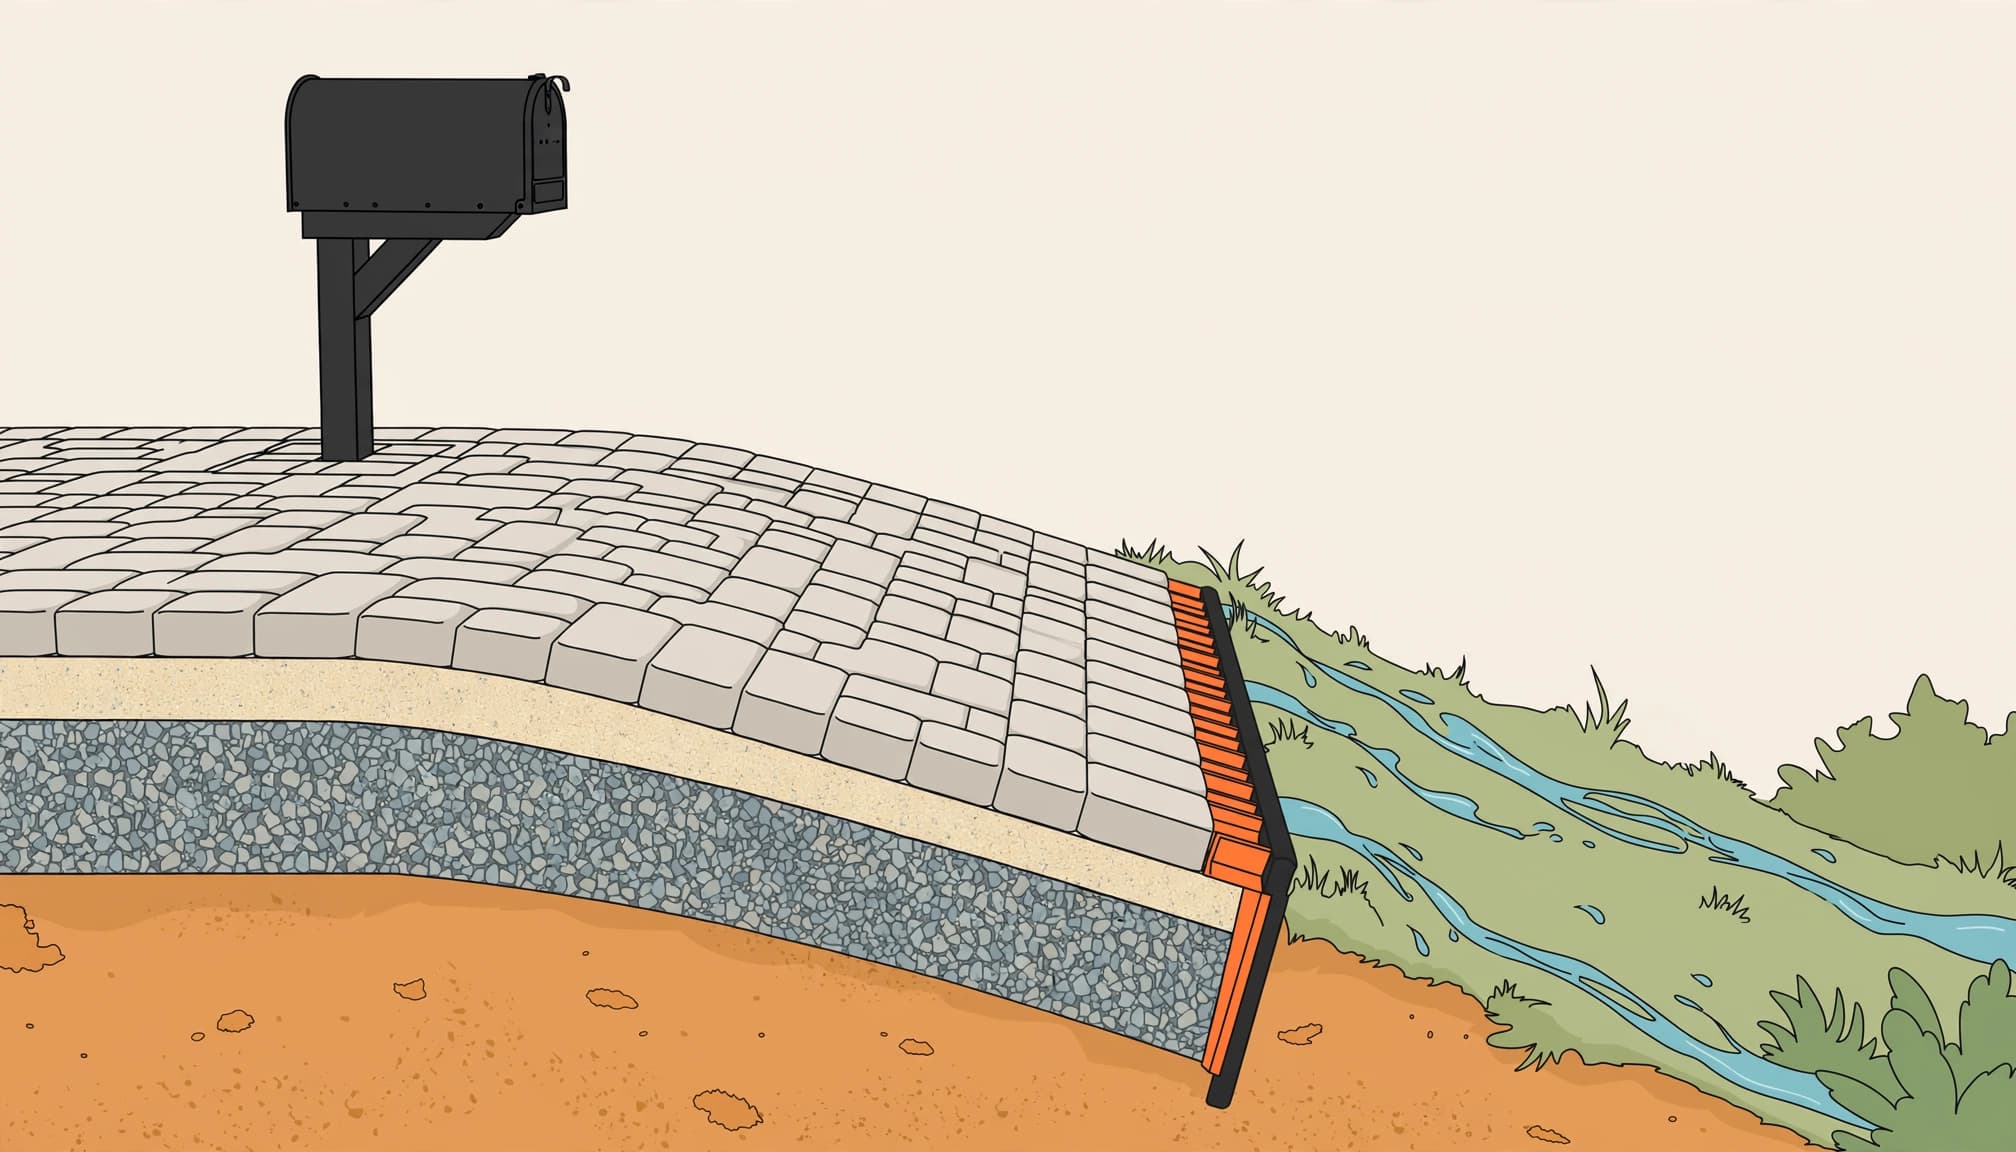
Compact the soil and aggregate
Shape and compact the exposed subgrade first. If the ground leaves deep footprints, ruts, or pumps water under pressure, stop and let it drain or correct the soft area. Covering it with stone won’t make it firm.
Place compactable crushed aggregate in manageable layers, compacting each one before adding more. Don’t use rounded pea gravel as a substitute. The CMHA guide to interlocking concrete pavements describes the base, bedding sand, and restraints as parts of one installation. For a closer look at Florida paver installation and drainage, I recommend setting the finished grade so water won’t pool against the wood post.
Decide whether fabric belongs below the base
Landscape fabric under mulch and geotextile beneath a paver base serve different purposes. I consider geotextile when loose or disturbed soil may mix into the aggregate. It isn’t necessary at every mailbox, and it can’t correct standing water or poor compaction.
If rain fills the excavation, inspect it before continuing. Washouts and soft areas need reworking, not a quick covering of sand. That same rule applies when installing pavers during Florida’s rainy season.
Lay the pavers and hold the edge
Once the aggregate is firm and graded, the visible work moves quickly. Resist the urge to use bedding sand to fill a deep dip. Sand levels the pavers; the compacted base supports them.
Screed sand and set each paver
Spread the bedding sand to the depth required by your paver system and screed it evenly. Work from a firm surface so you don’t leave footprints in the prepared bed. Set pavers in your chosen pattern and check their height as you go.
Keep joints consistent and cut the last pieces to fit, rather than squeezing small gaps closed. Leave the post accessible for future service. If a paver rocks, lift it and check what is happening below instead of forcing it down with a mallet.
Restrain the outside row and finish the joints
Install a compatible edge restraint, including stone edging if your paver system allows it, on the compacted base, not on loose bedding sand. Secure it as directed by its manufacturer, especially where the border curves. Our guide to paver edge restraints explains why the outer row needs support.
Fill the joints with the material specified for your pavers, then follow that product’s instructions for compaction and cleanup. If you choose polymeric sand, the pavers and joints must be dry before application and activation. Keep runoff and irrigation away while the product sets as directed.
Finish the planting area without creating new problems
A paver border works best when the mailbox garden inside stays tidy. Fill low spots with suitable garden soil for your plants, but keep drainage paths open. Don’t pile mulch over the pavers or against a wood post.
Pick low plants and a tidy surface
For a sunny Southwest Florida mailbox makeover, choose low-growing, drought-tolerant plants for a perennial border, such as blanketflower or sunshine mimosa. You can add annual flowers, but check their mature spread and leave room to open the mailbox. New plants still need water while they establish.
Mulch softens a mulch bed, while river rock gives it a more defined look. If you choose black mulch, keep it below the paver edge and away from the post so it won’t spill onto the road or lawn. A solar light can add visibility if it won’t obstruct the box or carrier. Skip tall shrubs where they would hide the box or make delivery difficult.
Protect the post and inspect after storms
A paver ring creates space between the mower and the mailbox post, but it won’t protect wood that’s already wet or damaged. If you’re refreshing a weathered post, clean it gently, let it dry as the coating manufacturer directs, and use an exterior product suitable for that wood. Avoid using a pressure washer near the post or paver joints unless product guidance specifically permits it.
After a heavy rain, check for puddles, missing joint material, rocking pavers, or an outside row pulling apart. I’d rather correct a base or drainage problem early than keep sweeping sand into the same gap. If settlement has started, repairing sinking pavers begins below the surface.
When should you hire a paver installer?
A small, level mailbox border can be a manageable DIY job if you have the tools and time to compact the base. Costs depend on the bed size, paver choice, cuts, site access, and any drainage or soil correction needed.
I recommend getting help when the ground stays wet, the post needs resetting, utilities limit excavation, or the border connects to an existing driveway. In Cape Coral, Fort Myers, Bonita Springs, and nearby communities, my team can assess the site and recommend a durable finish. Get a Free Quote for a free consultation and estimate.
Frequently Asked Questions
Can you lay pavers over the grass around a mailbox?
I wouldn’t. Sod and roots leave an uneven, unstable surface as they break down. Remove them, prepare the soil, and build the specified base before laying pavers.
Do mailbox pavers need an edge restraint?
An exposed outside row needs reliable lateral support. Without it, pavers can spread and joints can open. Use a restraint compatible with your paver system and install it on the compacted base. A pressure washer can wash joint material out, so follow the paver or joint-product manufacturer’s care instructions.
Should you put landscape fabric under the pavers?
Not automatically. Geotextile beneath the base can help separate problem soil from aggregate when site conditions call for it. Ordinary weed fabric in a planting bed does a different job and won’t fix a soft base.
Can you add a raised block flower bed at the curb?
Check local right-of-way and drainage rules first, and keep delivery access clear. A low paver border is often simpler near a curb. If you want a raised bed, make sure its height and location don’t interfere with the mailbox or roadside use.
A border built to stay put
Pavers around a mailbox should make mowing easier and improve your curbside look. A lasting result starts with a clear layout, firm ground, good drainage, and support along the outer edge.
Check access and utilities before digging. Then build the base with the same care as the finished pavers.
Keep water from collecting around the wood post. That work below the surface helps a small project hold its shape after Florida rain.