


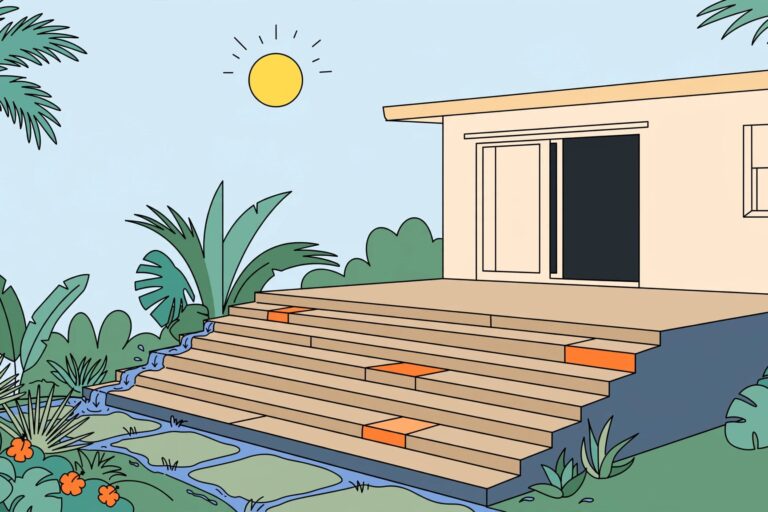
Paver Steps for Florida Patios: Rise, Run, and Landings
For paver steps on a Florida patio, set finished elevations before choosing pavers or patterns. Keep each riser consistent, allow enough tread space, build a stable base, and plan for water to drain away in wet weather.
The upper platform needs room to open a door, carry something outside, and move without stepping straight onto a stair. Set finished elevations first, then plan the landing, foundation, and drainage around the steps.
KEY TAKEAWAYS FOR A QUALITY INSTALLATION
- Aim for a comfortable riser height of 6 to 7 inches and a tread depth that suits the stair; check local code for required dimensions.
- Calculate each riser from the finished patio and landing heights, including paver thickness, then verify the finished tread.
- Build drainage into the base with proper compaction and a slight forward pitch, and provide firm support beneath blocks, treads, and outside edges.
I recommend treating the stair as one complete installation. Quality materials can’t make up for loose soil, uneven support, or water washing material away.
What Rise and Run Should Paver Steps Have?
Keep riser heights consistent
The riser is the vertical distance between finished walking surfaces. A finished height of 6 to 7 inches is a useful general comfort target for outdoor steps.
Florida’s 2023 Residential Code, 8th Edition, allows a maximum 7¾-inch riser under its stair provisions. That maximum applies only when those provisions govern, so check the applicable code and local interpretation.
The 2022 California Residential Code sets the same maximum, but California rules aren’t Florida requirements.
Handyman Startup recommends a 6- to 7.75-inch riser when using retaining-wall blocks. I’d choose the finished riser height first, then select compatible retaining blocks and pavers.
Give your feet enough tread space
The tread is the horizontal walking surface. Measure tread depth between consecutive leading edges, not by the full stone size when there’s an overhang.
Fine Homebuilding’s comfort guideline puts riser height plus tread depth near 18 inches. A 6-inch rise with a 12-inch tread is one example.
The residential-code baseline is 10 inches, though nosing requirements affect the assembly. The IRC stair dimension guide distinguishes a 10-inch tread with nosing from an 11-inch one without it. I prefer planning comfortable proportions rather than designing everything at the smallest allowance.
Calculate the Step Count Before Buying Blocks
Measure the full vertical rise between the lower finished patio and upper finished surface before calculating the step count. Don’t measure bare soil and add pavers afterward.
For the step count, use 7 inches as a starting point to choose a whole number of risers. Divide the total rise by that number to find the actual riser height. Check each riser against the finished height.
Here is the arithmetic for a 21-inch finished rise.
| Measurement | Calculation | Result |
|---|---|---|
| Number of risers | 21 ÷ 7 | 3 |
| Finished height per riser | 21 ÷ 3 | 7 inches |
| Tread depth using the comfort guideline | 18 − 7 | 11 inches |
| Separate treads below the upper platform | 3 − 1 | 2 |
| Run, excluding platforms | 2 × 11 | 22 inches |
The upper walking surface functions as the final tread, so three risers don’t automatically mean three separate treads. A stair sizing calculator can help organize that distinction.
For a conventional step bed with 6 to 8 inches of compacted aggregate, 1 inch of bedding sand, and 2-inch pavers, excavation totals about 9 to 11 inches. Paver thickness affects excavation and finished dimensions, and block foundations may need a different base depth.
Include the bottom transition and upper platform when calculating risers. Leaving either out can produce one taller riser even when the others match.
How Wide Should Steps and Upper Platforms Be?
Plan width around daily use
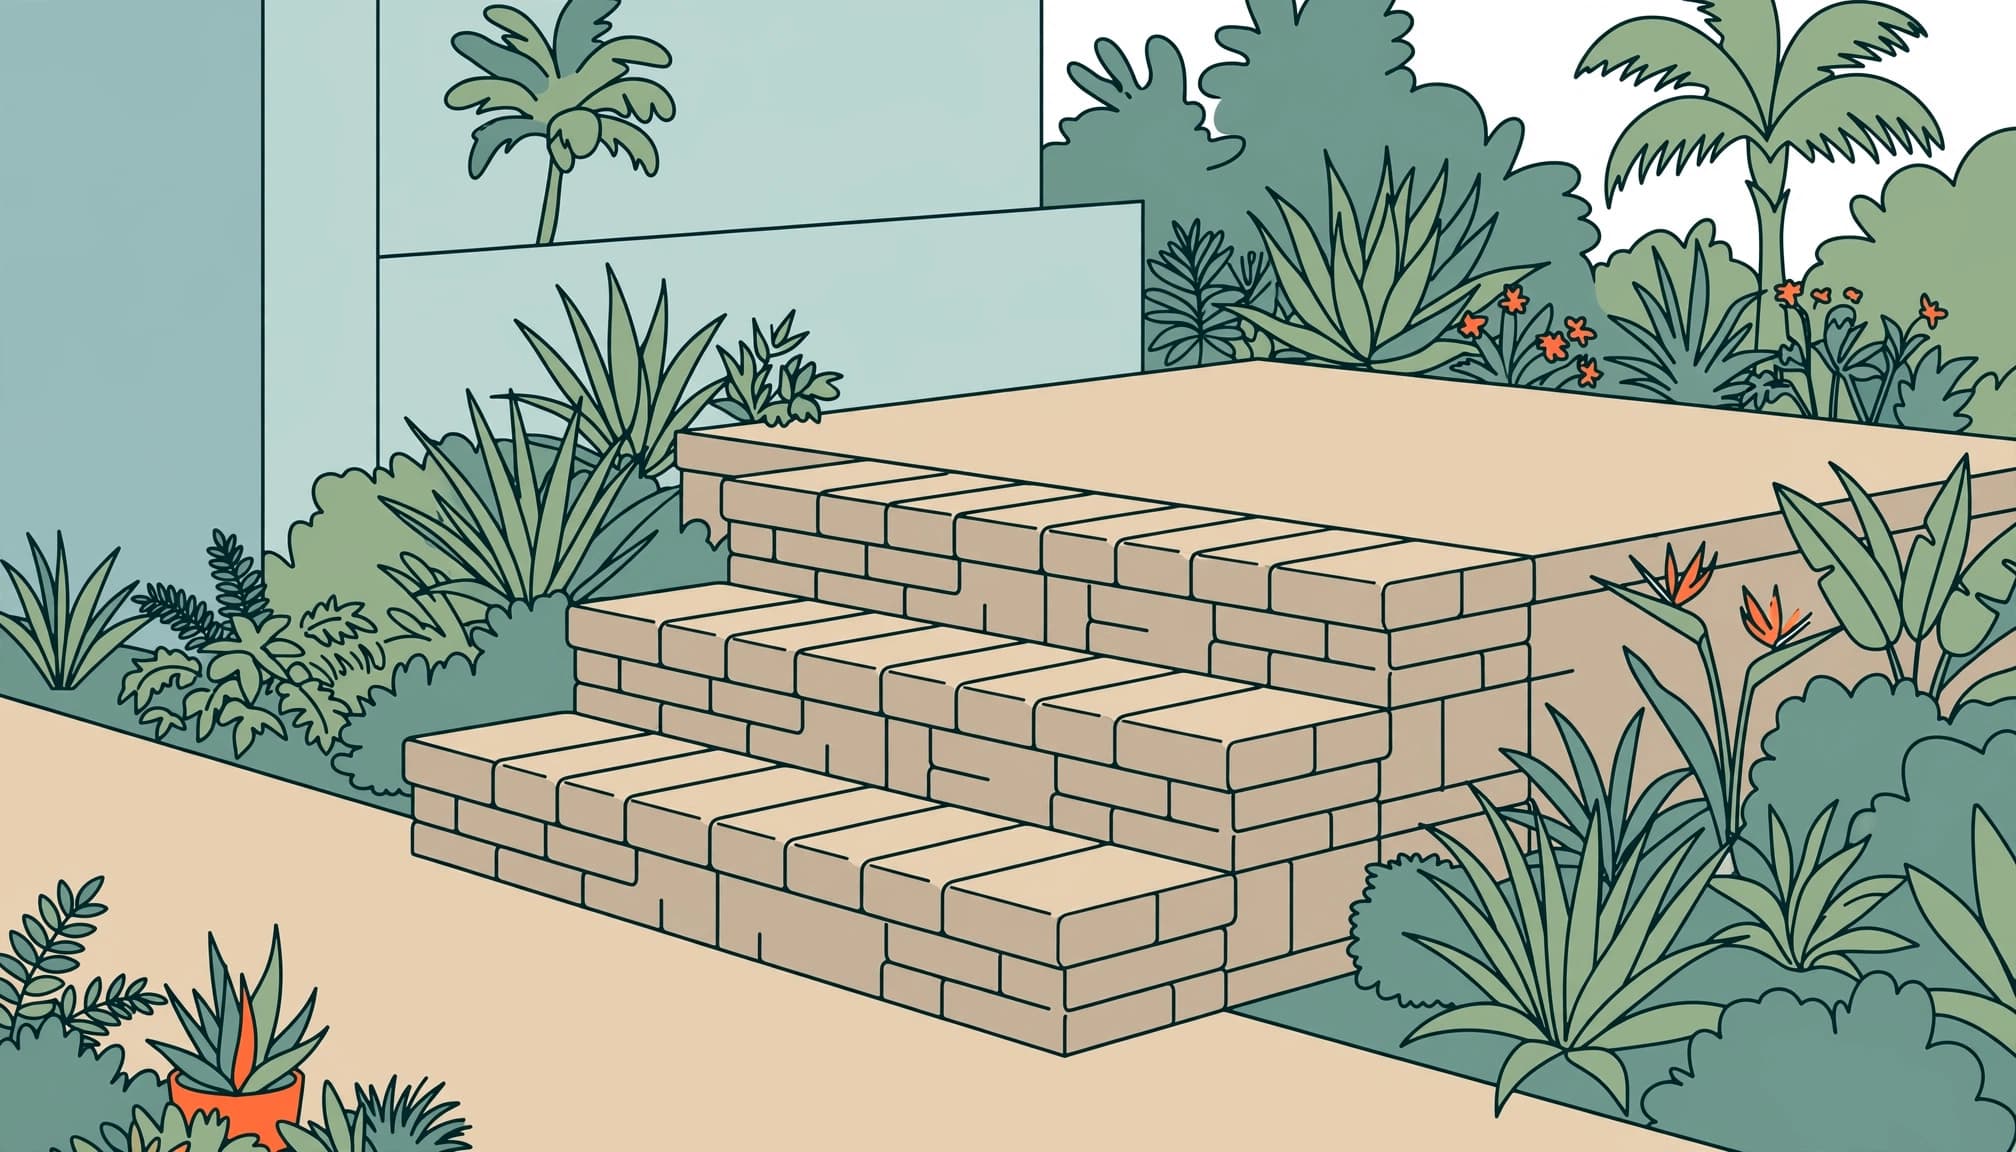
The IRC and California residential stair provisions use a 36-inch width baseline. Florida also specifies 36 inches in the applicable clear-width measurement area.
For comfortable two-way use, 48 to 60 inches is a practical planning range. That extra room helps when you carry groceries or someone passes beside you.
I recommend coordinating the pavers with the connecting path. Our guide to paver walkway widths helps keep those transitions comfortable instead of creating a narrow section beside a wider patio.
Leave usable space on the landing
Make the landing at least as wide as the steps. Its depth needs to accommodate the door swing and standing space.
For early design, I recommend considering a 48-by-48-inch landing with 48-inch steps, or a 60-by-48-inch landing with 60-inch steps. These are comfort targets, not stated code minimums.
Keep furniture, planters, and grill equipment outside the walking area. A generous platform loses its value when a chair occupies the space where your foot needs to go.
Build the Base Before Setting the Steps
Prepare stable soil and compacted gravel base
Remove roots, organic soil, loose fill, and unstable material. Shape and compact the subgrade before adding stone. If it ruts or pumps water under equipment, correct that condition first.
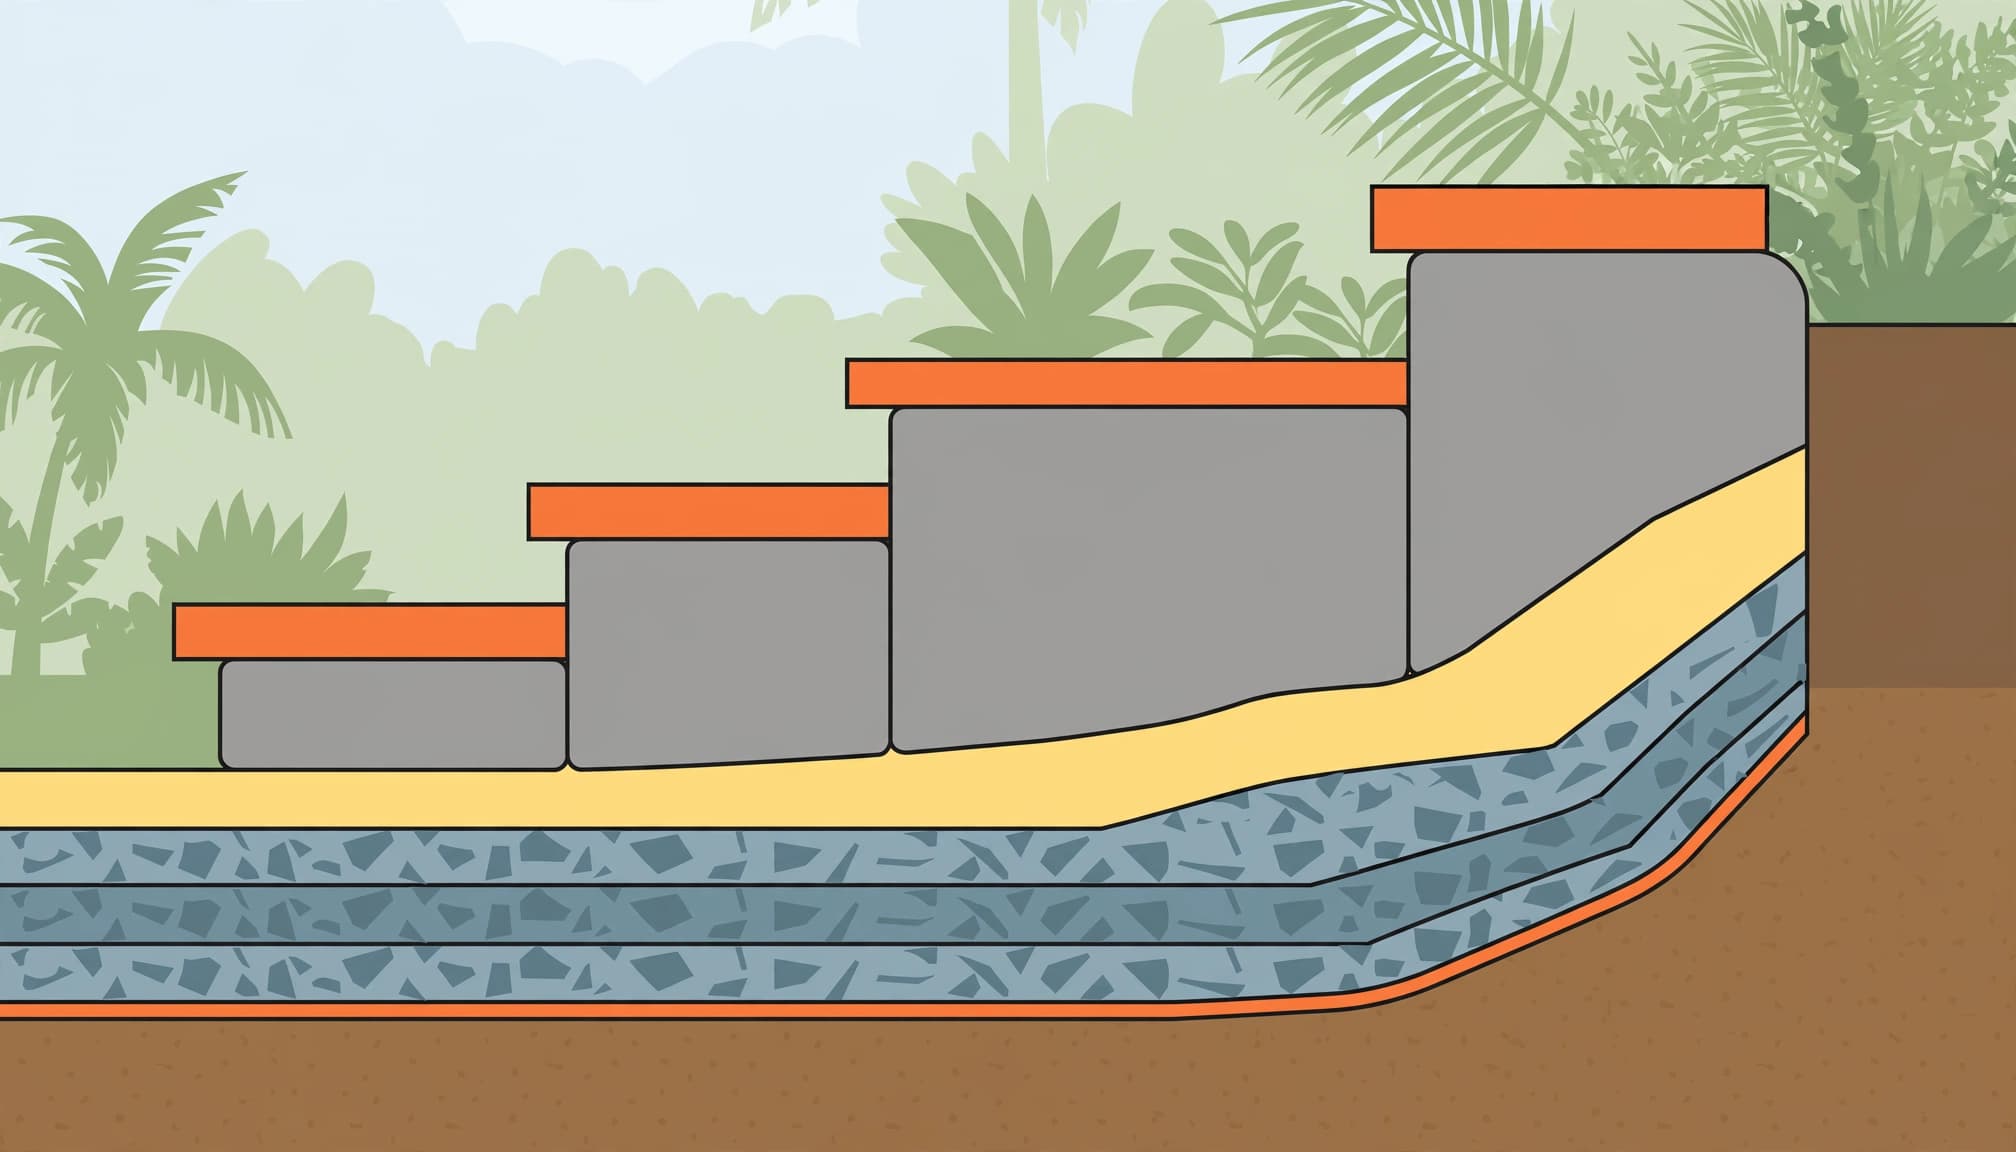
For conventional hillside steps, plan around 6 to 8 inches of well-graded, ¾-inch angular crushed aggregate for compacted bases. Rounded pea gravel doesn’t interlock like angular stone.
Place aggregate in 2- to 3-inch loose lifts, then compact each lift before adding another. Measure the finished depth after compaction, not from loose stone before compaction.
Use geotextile over the prepared soil where separation is needed. Our Florida base depth guide explains why soil conditions and drainage affect the foundation.
Keep gravel and panel systems separate
Handyman Startup describes both a packed gravel base and paver-base panels, including a panel assembly with a half-inch sand layer. These are alternative systems, not layers to combine.
A patio panel assembly doesn’t automatically provide suitable support for stacked concrete blocks. I recommend compacted aggregate as the starting approach on a slope, with hillside support requirements based on the soil and chosen block assembly.
For conventional sand-set pavers, screed about 1 inch of coarse bedding sand over the firm base. Keep it consistent, and don’t use extra sand to cover a deep dip or alter the riser height. Each riser should follow the block assembly’s requirements.
Install Blocks, Treads, and Edges in Order
Have concrete blocks, compatible pavers or caps, aggregate, bedding sand, jointing material, and perimeter restraints ready. Basic equipment includes a level or laser, plate compactor, excavation tools, and suitable cutting equipment for proper compaction.
- Set the lowest riser on firm support. Establish its finished elevation before continuing upward. Don’t stack loose units as a substitute for a supported assembly.
- Build support behind each course. Place and compact the fill as the stair develops. Use concrete adhesive only when the compatible block-and-cap system specifies it for bonding joints.
- Set the tread to the planned dimensions. Include paver thickness when measuring riser height. Maintain consistent joints and full support beneath the walking surface.
- Restrain the outside edges and finish the joints. Anchor compatible restraints into the compacted base, not loose bedding material. Use the jointing material specified for the paver system.
Polymeric sand can help stabilize joints, but it can’t correct a moving block or failed base. Lift a rocking tread and fix its support instead of forcing it down. Concrete adhesive can bond specified joints, but it can’t replace firm foundation support.
For freestanding steps, support the sides and back as well. Exposed aggregate beside an elevated landing can shift if left unsupported.
Drain Water Away Without Creating a New Problem
Build the drainage grade into the subgrade and aggregate, then carry it through the finished surface. A forward pitch of about ⅛ inch per foot helps shed water away from the riser.
Handyman Startup recommends a 1 to 2 percent slope away from the house, roughly ⅛ to ¼ inch per foot. Treat that range as guidance, not a universal code requirement. The forward pitch also needs a suitable discharge point, subject to site conditions and local permitting rules.
Plan drainage so runoff moves away from the house, but confirm where it can discharge under local rules. I recommend keeping water away from the house, outdoor kitchen cabinets, screen enclosure footings, and corners that already stay wet. Check the surrounding slope so water doesn’t collect around the steps. Southwest Florida’s sandy soil can drain quickly, but drainage concentrated at one point can carry fine material away and weaken support, especially on a hillside.
Choose textured outdoor finishes. Polished stone can become slippery when wet, and a honed finish shouldn’t automatically be treated as slip-resistant. Our shellstone and travertine comparison explains how surface finish affects material selection.
What Do Paver Steps Cost and How Long Do They Take?
Use documented costs as a reference
Handyman Startup reported about $1,600 for its 2023 DIY project, compared with contractor estimates around $5,500. These dated figures describe that project, not current Southwest Florida prices.
Concrete blocks cost $1,268.10, while pavers cost $134.49. That difference shows why pricing only the visible tread material misses much of the expense.
Delivery, excavation, disposal, equipment rental, drainage, and side support also affect the budget. Our paver patio cost factors cover those supporting expenses.
Allow time for preparation and handling
The same tutorial estimates about 20 hours for an efficient project, including roughly 5 hours for planning and shopping and 15 hours of work. It advises allowing about 30 hours or longer.
Even a short stair requires excavation, compaction, measuring, and cutting. More steps, deeper foundations, difficult access, and drainage work increase the workload.
Keep the schedule flexible enough to correct soft ground rather than rushing to cover it.
When Is Professional Installation the Better Choice?
I recommend professional help when steps support a raised landing, retain substantial fill, meet an exterior door, or cross unstable ground. Steep grades and repeated settlement call for a structural plan that addresses drainage.
Florida’s residential stair provisions exclude some steps that don’t serve a building, porch, or deck. That distinction doesn’t guarantee a permit exemption for landscape steps.
Permit, handrail, guard, and door-adjacent platform requirements depend on the project and local rules, so verify them with your building department. At Platinum Pavers of SWFL, our installation and repair services can address the patio transition as part of the complete paved area.
Frequently Asked Questions
How many paver steps do I need?
Measure the finished rise between the lower patio and upper surface, then divide it by a whole number of risers to find the finished height of each one. The upper platform is the final walking surface, so the number of separate treads is usually one fewer than the number of risers.
What base do paver steps need?
For conventional hillside steps, use a prepared, compacted subgrade and about 6 to 8 inches of well-graded, angular crushed aggregate. Place the stone in 2- to 3-inch loose lifts and compact each lift; block assemblies may require a different foundation depth.
How should paver steps drain?
Build the drainage grade into the subgrade and aggregate, then carry it through the finished surface. A forward pitch of about ⅛ inch per foot helps move water away from the riser, but the water also needs a suitable discharge point.
Do paver steps need a permit or handrail in Florida?
Permit, handrail, guard, and door-adjacent platform requirements depend on the project and local rules. Check with your building department, since the rules can differ for steps that don’t serve a building, porch, or deck.
Build Comfortable Steps on Reliable Support
Consistent risers, comfortable treads, and a clear landing help paver steps connect your patio to the yard safely. Reliable support, safe transitions, and effective foundation and drainage work together to keep the steps stable.
For help planning your Southwest Florida project, Get a Free Quote for a free consultation and estimate. Quality steps begin with correct measurements and a firm base beneath your feet.