


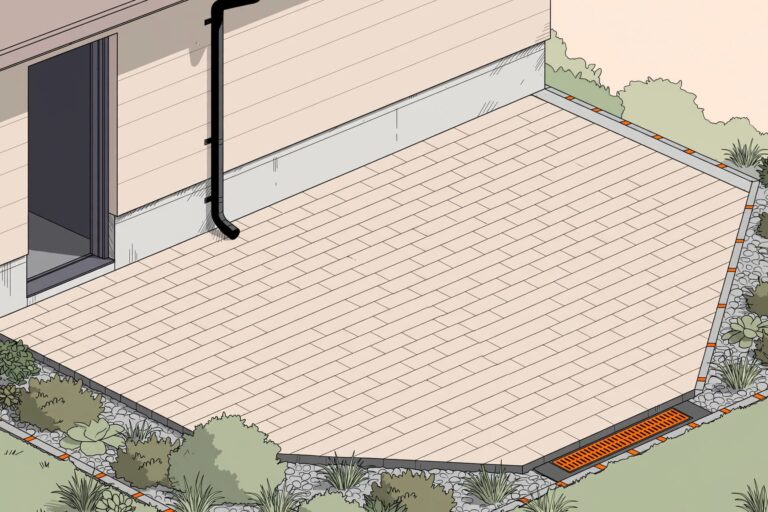
How to Plan a Paver Layout Around an Existing Foundation
A new patio can look beautiful and still send rainwater straight toward your house. I start every paver layout beside an existing foundation by checking the finished height and drainage route, then choose a pattern. The foundation sets the limits, even when the yard looks wide open.
Planning a patio, walkway, or driveway for your outdoor living space? Measure doors, downspouts, garage slabs, and low spots first. These details guide paving stone layouts and patio paver patterns, from a simple grid to a circular pattern.
Start With the House, Not the Paver Pattern
Walk the area after a hard rain if you can. Where does roof water land? Does it cross the planned patio, collect near the wall, or flow toward a neighbor’s property? Get those answers before anyone marks out a border.
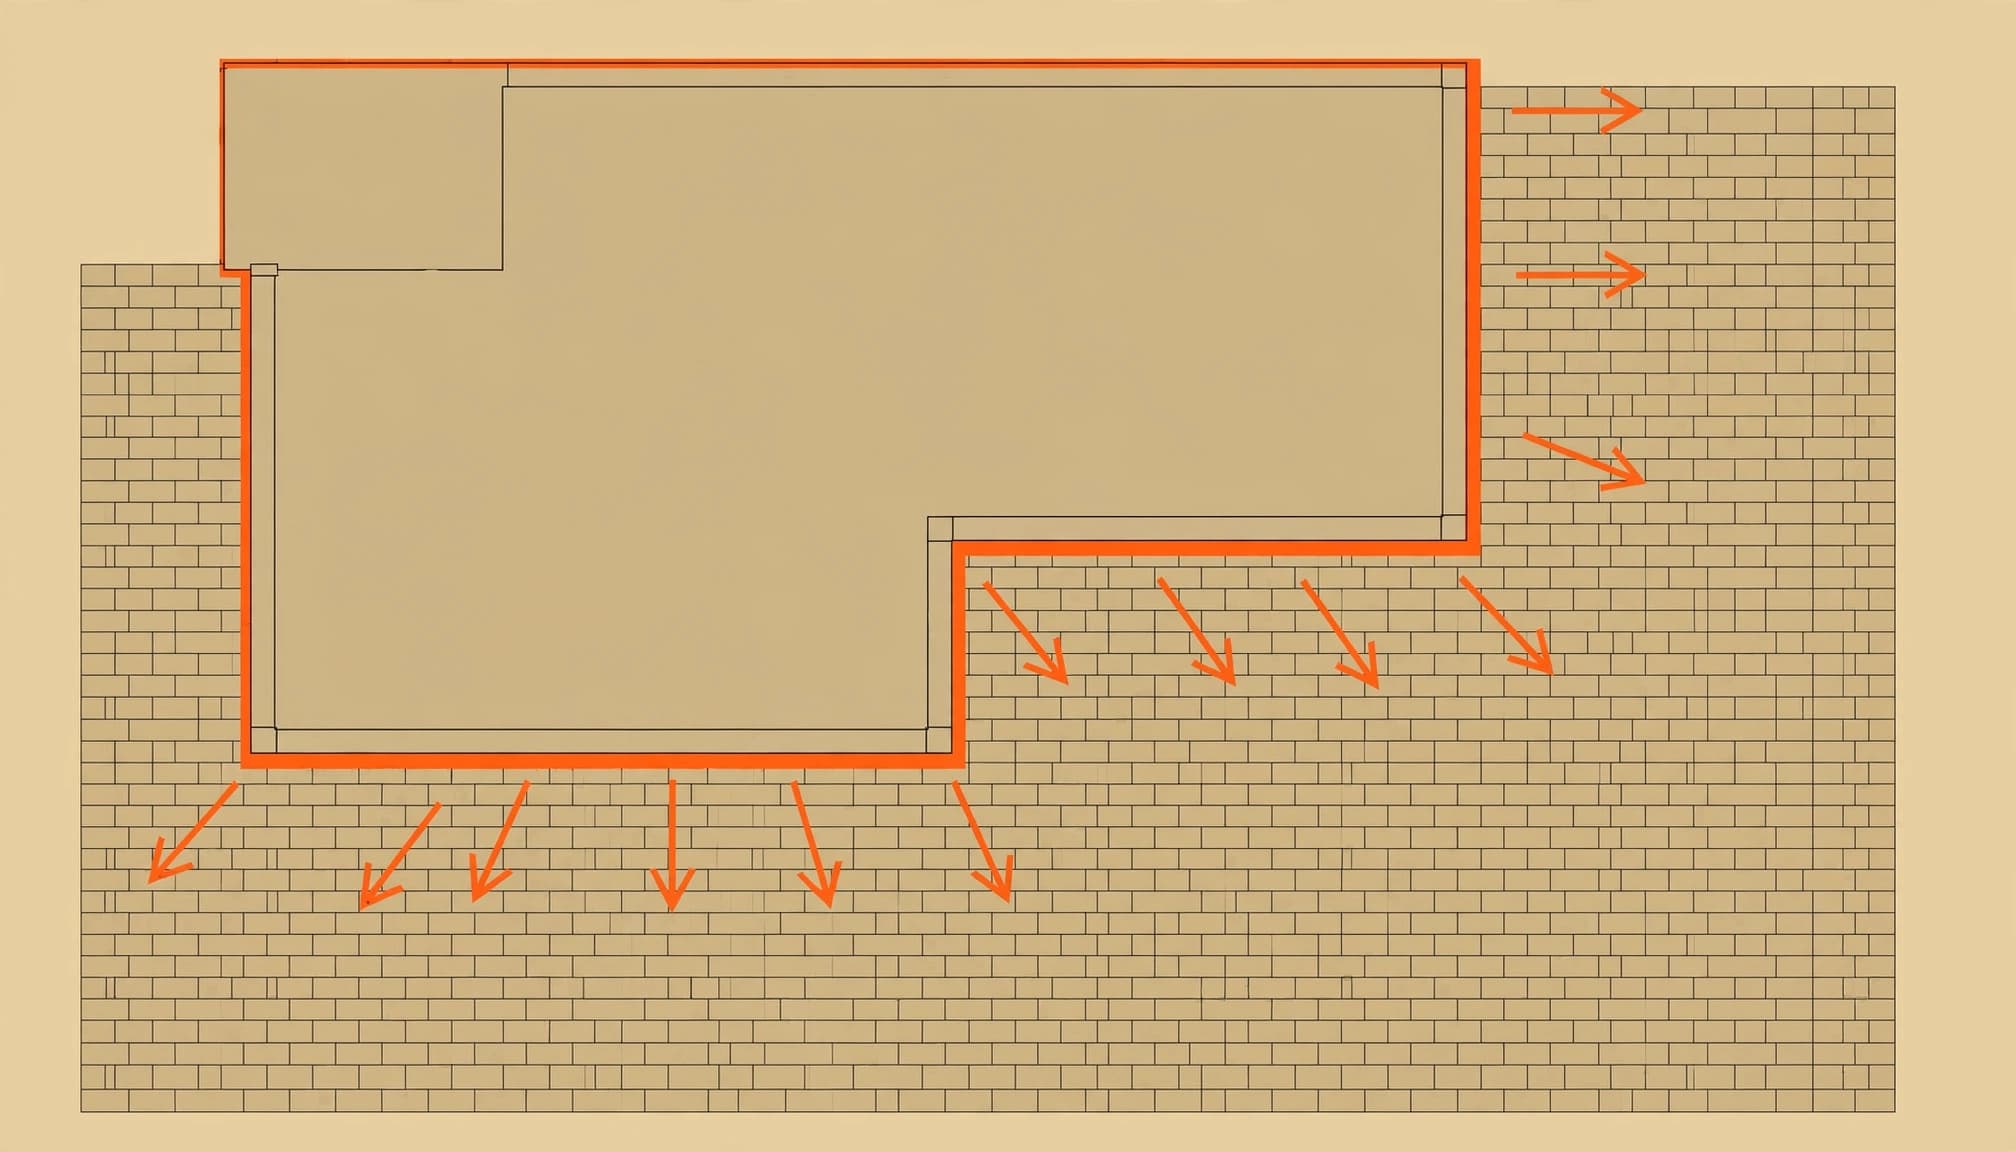
Check door thresholds, garage entrances, stucco or siding edges, vents, and visible foundation details. The finished pavers must leave these features working as intended. Don’t cover an opening or raise the surface against the wall to avoid an awkward cut. Required clearances depend on the building and local requirements, so confirm them for your property instead of guessing.
I also check for existing settlement. If the walkway beside the house already sinks or holds water, a new pattern won’t fix the soil underneath. Address that area before work begins.
Measure the Space You Can Use
A house wall gives you a reference, but it may not be perfectly straight. I measure the proposed surface at several points, then mark its outside edge with stakes and string. That shows the usable paver area after foundation clearances, drainage features, and planting beds are accounted for.
Mark every fixed connection
Record the height of each doorway, existing slab, pool deck, screen enclosure footer, and walkway connection. Note irrigation heads, utility covers, cleanouts, and downspouts as well. A clean drawing on paper is helpful, but these fixed points decide what you can build on the ground.
For a rectangular patio, measure both diagonals to check whether the corners are square. If the house line and the planned outside edge aren’t parallel, decide where that difference will show. I would rather plan a wider cut at one end than discover a row of thin pieces beside the door.
Dry-lay before you order
Set out a few rows of concrete pavers, checking their actual dimensions against standard sizes and the manufacturer’s joint spacing. Check where full units land at the house, corners, and far edge. When comparing patio paver patterns, shift the starting line if that gives you healthier cuts on both sides. For a circular pattern, check its actual footprint during the layout test.
This small test matters most with modular paver patterns. A drawing may show a neat fit, but testing laying patterns with actual units reveals how joints affect the finished measurement. For a manufacturer-supplied five stone pattern, follow its diagram and unit counts. Don’t order solely from the nominal size printed in a catalog; check that the actual units match its standard sizes.
Give Rainwater a Route Away From the Foundation
I establish the finished paver elevations before deciding how deep to excavate. A slope of about 2%, or roughly 1/4 inch of fall per foot, is a useful planning target where the site allows it. Across 12 feet, that works out to about 3 inches of fall. It isn’t a universal requirement, and the water still needs a suitable destination.
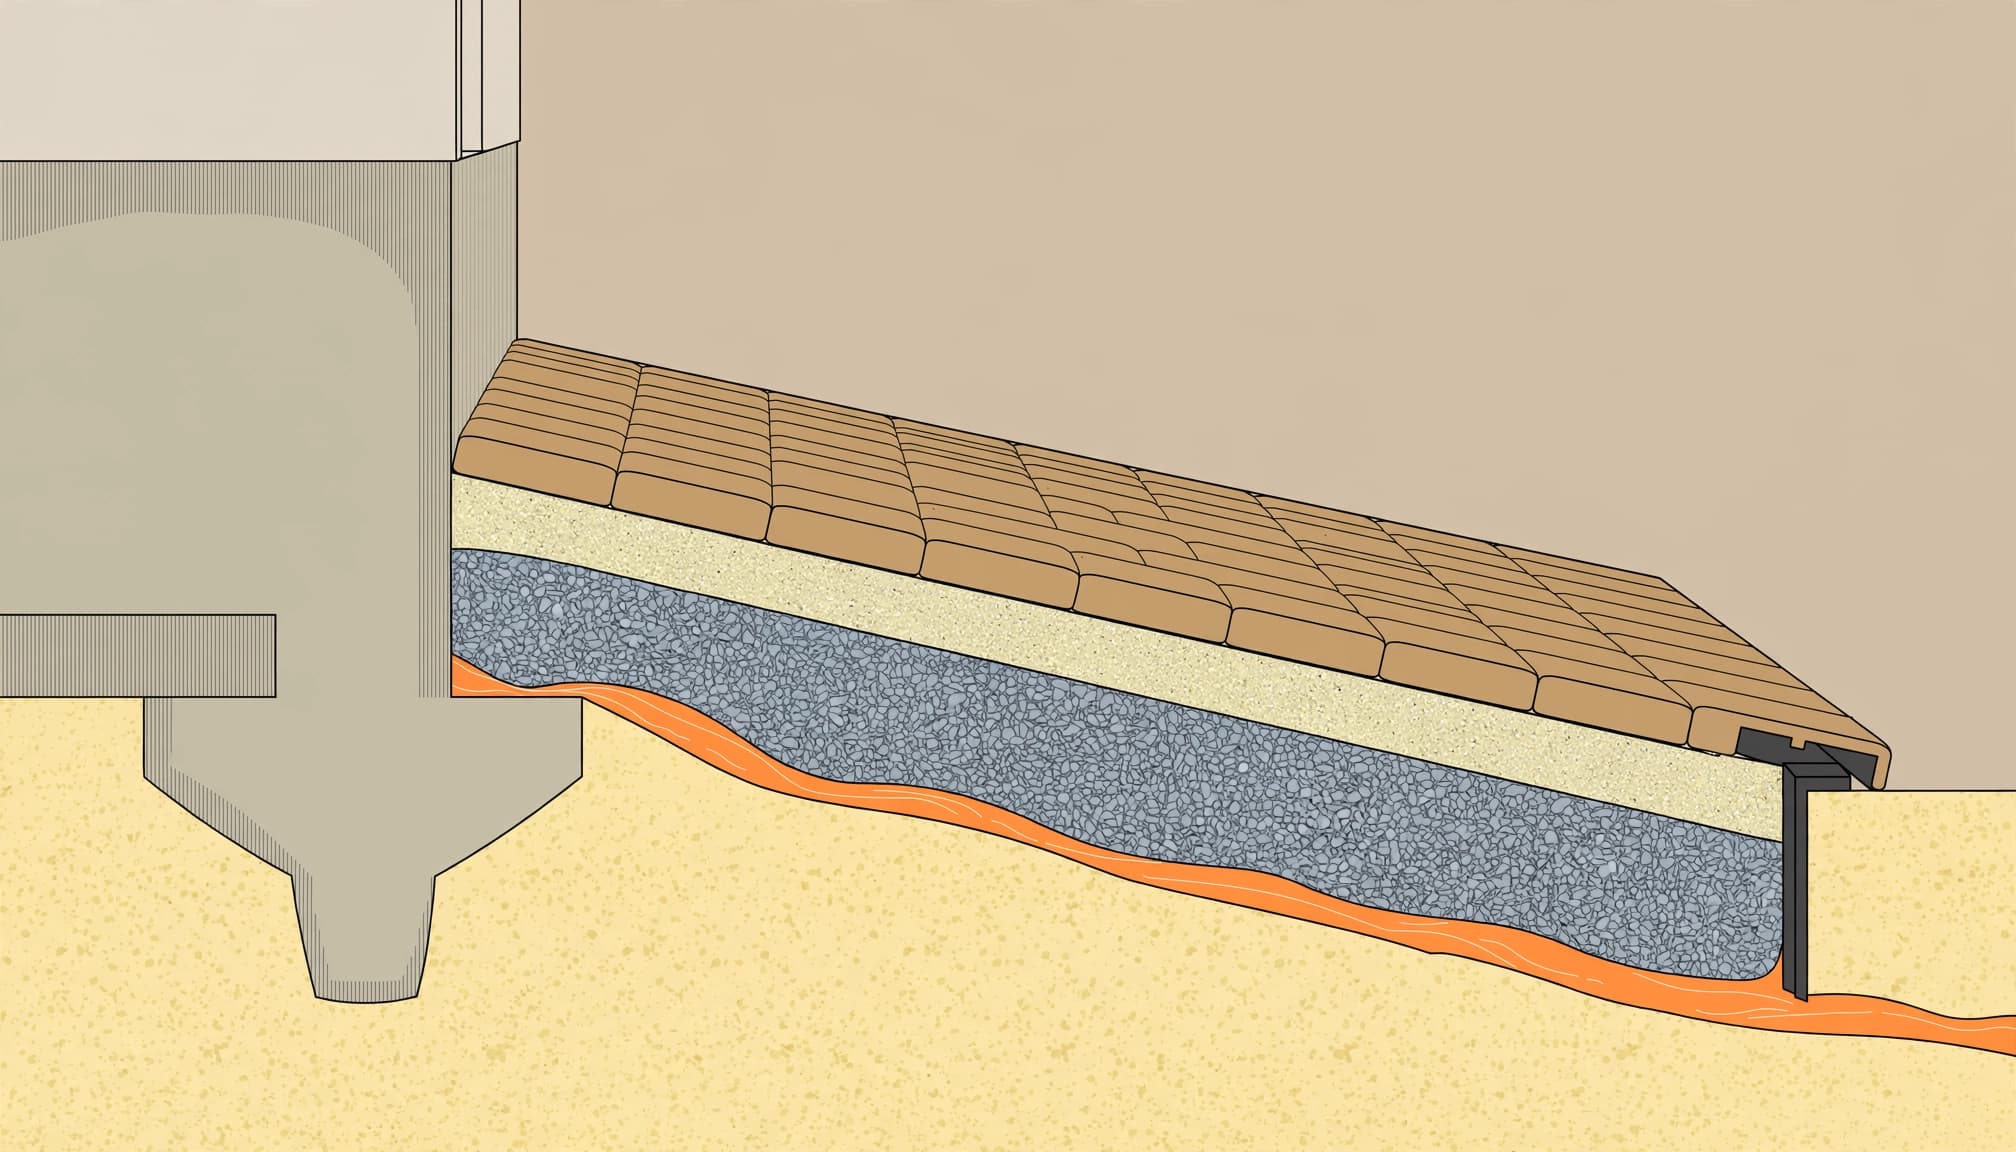
Follow the full route to a suitable swale, planted area, or approved drainage outlet. Check whether downspouts or neighboring grades feed more water into the area. On a tight site, a drain or grading change may be necessary. Our guide to paver foundation depth and drainage explains why the finished slope has to be planned before the base goes in.
Permeable pavers are another option where the soil, groundwater, and drainage design support them. The EPA’s permeable pavement guidance explains how those systems reduce surface runoff. They still need a properly designed base and a place for water to go.
If water has no good route away from the house, changing the patio paver patterns won’t solve the drainage problem.
Choose a Pattern That Fits the Traffic
The most popular paver patterns all look different, but they also create different cuts and edges. I compare patio paver patterns after measuring the usable width and deciding whether the surface will carry feet, furniture, or tires.
| Pattern | Good fit | Watch for |
|---|---|---|
| Running bond | Walkways and simple patios | Repeated joints and edge support |
| Stack bond | Clean, straight patio lines | Continuous joints and visible alignment errors |
| Basketweave | Traditional brick-style patios | Awkward cuts in narrow areas |
| Herringbone | Driveways and busy walkways | More perimeter cuts and layout time |
Keep patios comfortable to use
The running bond pattern staggers each row and is forgiving beside a house with several doors. The stack bond pattern creates straight joint lines, giving a crisp look but making small alignment errors easy to see. The basketweave pattern uses pairs of rectangular units turned at right angles. I test a basketweave pattern at the border first, especially on a narrow walkway.
For design inspiration, compare patio paver patterns with modular paver patterns sold as compatible sets. Natural stone pavers, concrete pavers, brick pavers, and clay pavers come in product-specific standard sizes, so confirm dimensions first. A French pattern or five stone pattern can suit a larger patio if the site’s dimensions allow. Follow the supplier’s diagram to confirm laying patterns and unit counts. In a random paver pattern, vary joints to avoid aligned corners and long seams. A fan pattern or circular pattern needs room for its curves and cuts.
Give driveways a stronger layout
A 45-degree or 90-degree herringbone pattern is a dependable choice in a driveway application, especially where vehicles turn. The units interlock across traffic directions, making this a useful option for high-traffic areas. The pattern doesn’t make a weak base strong, though. Use pavers rated for the intended vehicle traffic and give the perimeter proper support.
Running bond may be simpler to lay, but I pay closer attention to restraint where tires turn. If the new drive meets a garage slab, plan that transition before choosing the starting row. For a closer look at the work beneath vehicle pavers, see our brick paver driveway installation steps.
Plan the Border, Cuts, and Order Together
A border can make a patio feel finished, but it reduces the space available for patio paver patterns in the field. Draw the border and field pattern to scale, including border patterns, before calculating how many pavers to buy.
Let the border absorb uneven edges
A soldier course pattern places rectangular pavers side by side around the perimeter. It gives cut field pavers a clean line and can frame a gentle curve or circular pattern. Keep the border width consistent where possible, and check that it won’t leave narrow slivers at the house or outer edge.
A border still needs suitable base and edge support. I don’t treat the house foundation as a convenient anchor for the pavers. At exposed edges, the restraint must match the paver system and be secured into properly prepared material.
Calculate with the real layout
Measure the field and border separately if they use different products. A 12-by-16-foot rectangle covers 192 square feet before you account for border changes, cut pieces, or any area removed from the plan. Then use the dry layout and supplier’s coverage figures to estimate the order.
There is no single waste percentage that suits every job. Straight runs with full pieces usually produce fewer offcuts than curves, a fan pattern, columns, herringbone edges, or several pattern changes. Natural stone pavers, concrete pavers, brick pavers, and clay pavers have product-specific coverage, so check their standard sizes and packaging; for a French pattern, confirm the products are a compatible set. For a soldier course pattern, count border units by their actual run, including turns, and check how each product is packaged. Keep a few matching units for future repairs if the supplier’s quantities allow it.
Build the Base for the Finished Height
Once you’ve chosen patio paver patterns and settled the drainage elevations, work backward through the paver thickness, bedding layer, and compacted aggregate to set excavation depth. I won’t use one digging depth for every property. Existing fill, soft areas, slopes, and expected traffic all affect the plan.
Compact the support beneath the pattern
For patios, our Florida paver base guide discusses 4 to 6 inches of compacted aggregate plus an approximately 1-inch bedding layer as a common starting point. Sloped or weaker sites, along with high-traffic areas, may need more. The subgrade should be stable for interlocking pavers or brick pavers. Compact aggregate in manageable lifts, rather than dumping it in one thick layer.
Bedding material helps set the pavers evenly. It isn’t a fix for a soft spot or a poorly graded base. If soil could work into the aggregate, a suitable separation fabric may also be part of the design.
Set lines and edges as you lay
Start from a firm reference line, checking the pattern and finished grade as work continues. Leave cuts until the full field shows where they belong, but confirm their likely size during the dry layout. A string line helps keep long rows from wandering.
Secure exposed edges using the specified restraint for the site. On a slope, the downhill side deserves extra attention because moving edges let joints widen and pavers spread. Our advice on paver edges on sloped yards covers those conditions in more detail. Finish with the joint material required for your chosen paver system.
Catch Problems Before They Become Repairs
I look for three warning signs before approving a layout: water has no clear outlet, cuts become thin along a long edge, or the planned height crowds the house or an existing slab. Any one of those is a reason to adjust the design while changes are still easy.
Pay attention to utilities and existing concrete, too. Don’t excavate under a footing to fit a thicker base, and don’t assume pavers can hide a slab that is settling. If the project changes drainage near the foundation or requires work close to a footing, bring in a qualified professional before digging.
For homeowners in Cape Coral, Fort Myers, and the rest of Southwest Florida, rain will test the finished work. I want you to know what the proposal includes: drainage, excavation, base, border support, cuts, cleanup, and the specified interlocking pavers. These questions to ask a paver contractor can help you compare the work, not only the color of the pavers.
Key Takeaways
- Set finished heights and a clear drainage route away from the foundation before choosing a pattern.
- Measure doors, slabs, foundation features, and the outer edge, then dry-lay the actual units.
- Choose patio paver patterns for the traffic they’ll carry, and give cuts and borders solid support.
- Build the base for the site’s soil, slope, and intended use. Joint sand can’t correct weak support.
Frequently Asked Questions
Can pavers go right up against a house foundation?
The finished installation has to respect the building’s required clearances and drainage details. I wouldn’t set a gap by guesswork or use the foundation as an edge restraint. Check the wall construction and local requirements before marking the first course.
Which pattern works best beside a house?
Among patio paver patterns, running bond often keeps cuts manageable for a patio or walkway, while herringbone works well for driveways where vehicles turn. The best choice also depends on the width, border, and doorway locations, so dry-lay it before committing.
Should a patio beside the house be perfectly level?
I plan for water to move away from the house toward a suitable outlet. A level-looking patio can still have a gentle fall. What matters is the measured grade, the doorway transitions, and where runoff ends up.
Build the Layout Around What Matters
A good paver layout starts with the house, drainage, and finished height. Once those conditions are right, patio paver patterns can complement the space without forcing awkward cuts or hiding drainage problems.
If you’re planning pavers beside your foundation, Get a Free Quote. I would rather check the grade and base plan with you first than have you pay to correct a beautiful surface later.