


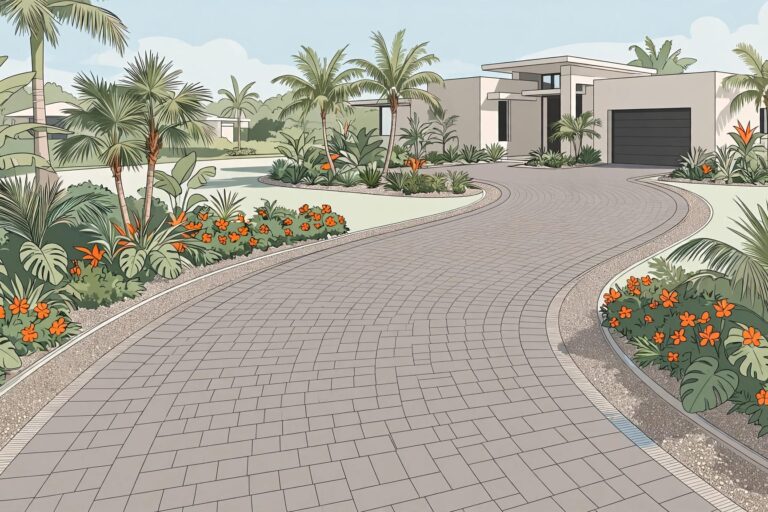
Curved Paver Driveway Layout: A Florida Planning Guide
A curve can make your driveway look beautiful, but turning tires put extra pressure on its edges. In Florida, plan the driving path, drainage, and gravel base before choosing colors or other hardscaping details.
Southwest Florida rain quickly exposes low spots. A driveway that looks smooth on installation day can develop puddles or shifting pavers if the ground beneath it wasn’t prepared for vehicles. Start the layout by marking where your cars need to drive.
Plan a curved paver driveway around your vehicles
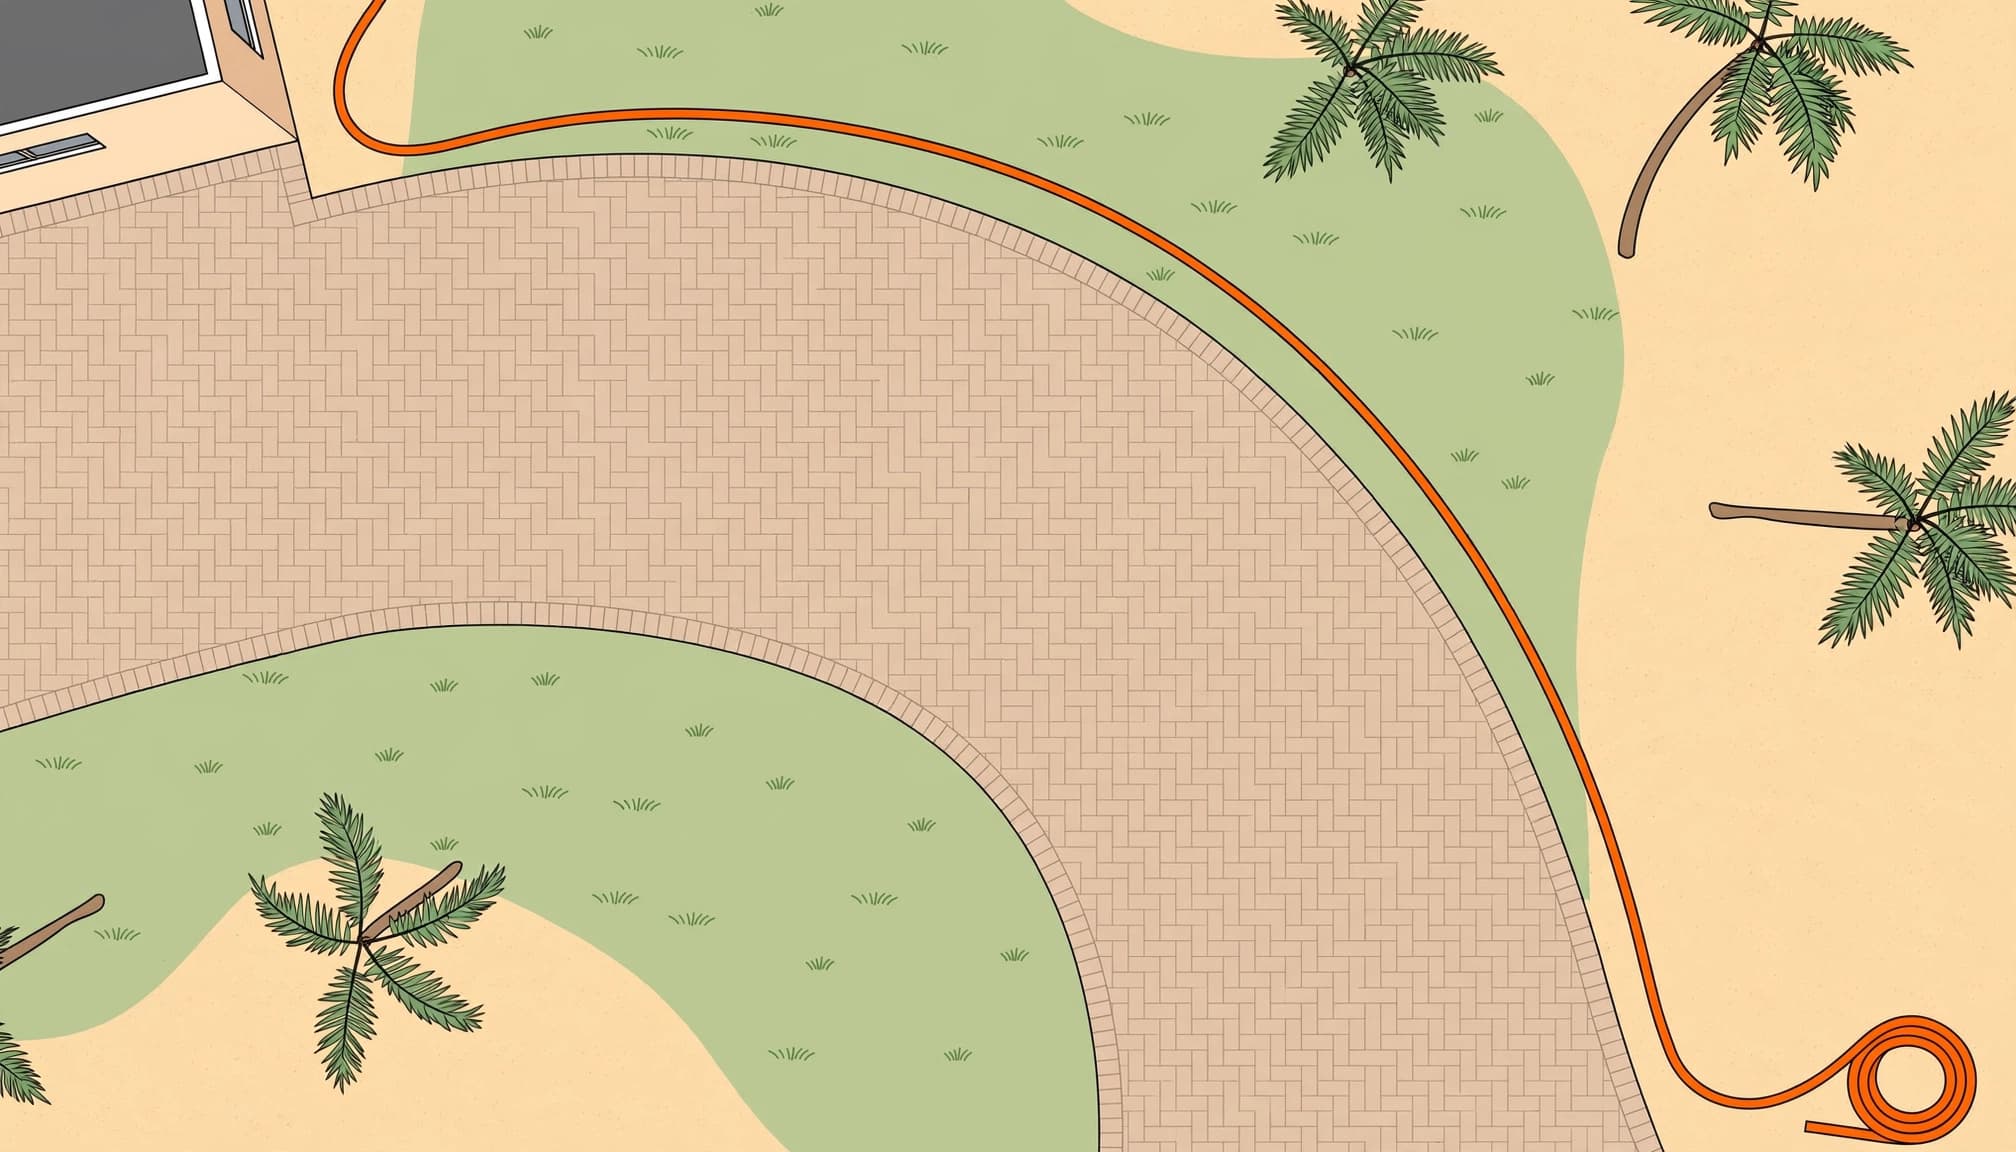
Mark the route at full size
Lay a garden hose or flexible PVC conduit along the proposed outside edge. Mark the inside edge too, then check the turning radius from the street and garage. A curve that looks generous on paper can feel tight when you pull in.
I like to check where tires travel, not only where the car body fits. Test the route with your largest or most frequently used vehicle, and leave clearance at the garage and street connection. Make sure there’s room for walkways and landscape beds too, so tires don’t climb the border.
Check the property before excavation
Locate irrigation, drainage pipes, and other buried utilities. Contact 811 before digging. Confirm applicable city or county permits, right-of-way rules, and driveway-approach requirements with the relevant local authority. Garage thresholds, sidewalks, and existing curbs limit finished paver height, so check the route’s slope and drainage.
I wouldn’t order materials until those elevations are measured. Changing the curve later can change how much material you remove, along with the base stone, edging, and cut pavers you need.
Give the curve a pattern that stays together
Choose a radius that limits awkward cuts
A broad, consistent radius usually looks cleaner than a curve that tightens without a clear reason. Tight inside curves create more small cuts. Those little pieces can look busy and may be harder to secure where tires turn.
Choose paving stones and a pattern suited to driveway traffic, then lay them out before you commit. A 45-degree or 90-degree herringbone pattern is a dependable choice because the units interlock across traffic directions. Running bond gives you straight, simple lines, but I pay closer attention to the edge restraint in turning areas. If you’re considering patio pavers, verify they’re rated for vehicle use rather than assuming they’re suitable.
Keep the colors and border under control
One main paver color with a modest contrasting border can add curb appeal without making the curve feel busy. Too many textures and colors can make it look chopped into sections, especially in a smaller front yard.
A soldier course can frame the sweep and give cut field pavers a clean finish. It still needs proper support beneath it. The border should follow the curve smoothly without forcing thin slivers along the inside edge.
Set drainage elevations before choosing a base depth
Work from the finished surface down
Measure the garage, street, adjoining walkway, and planned landscape edge. Then set the finished paver height and calculate backward through the paver, bedding layer, and compacted base, allowing for expected compaction. Digging a certain number of inches everywhere won’t help if the finished driveway sends water toward your garage.
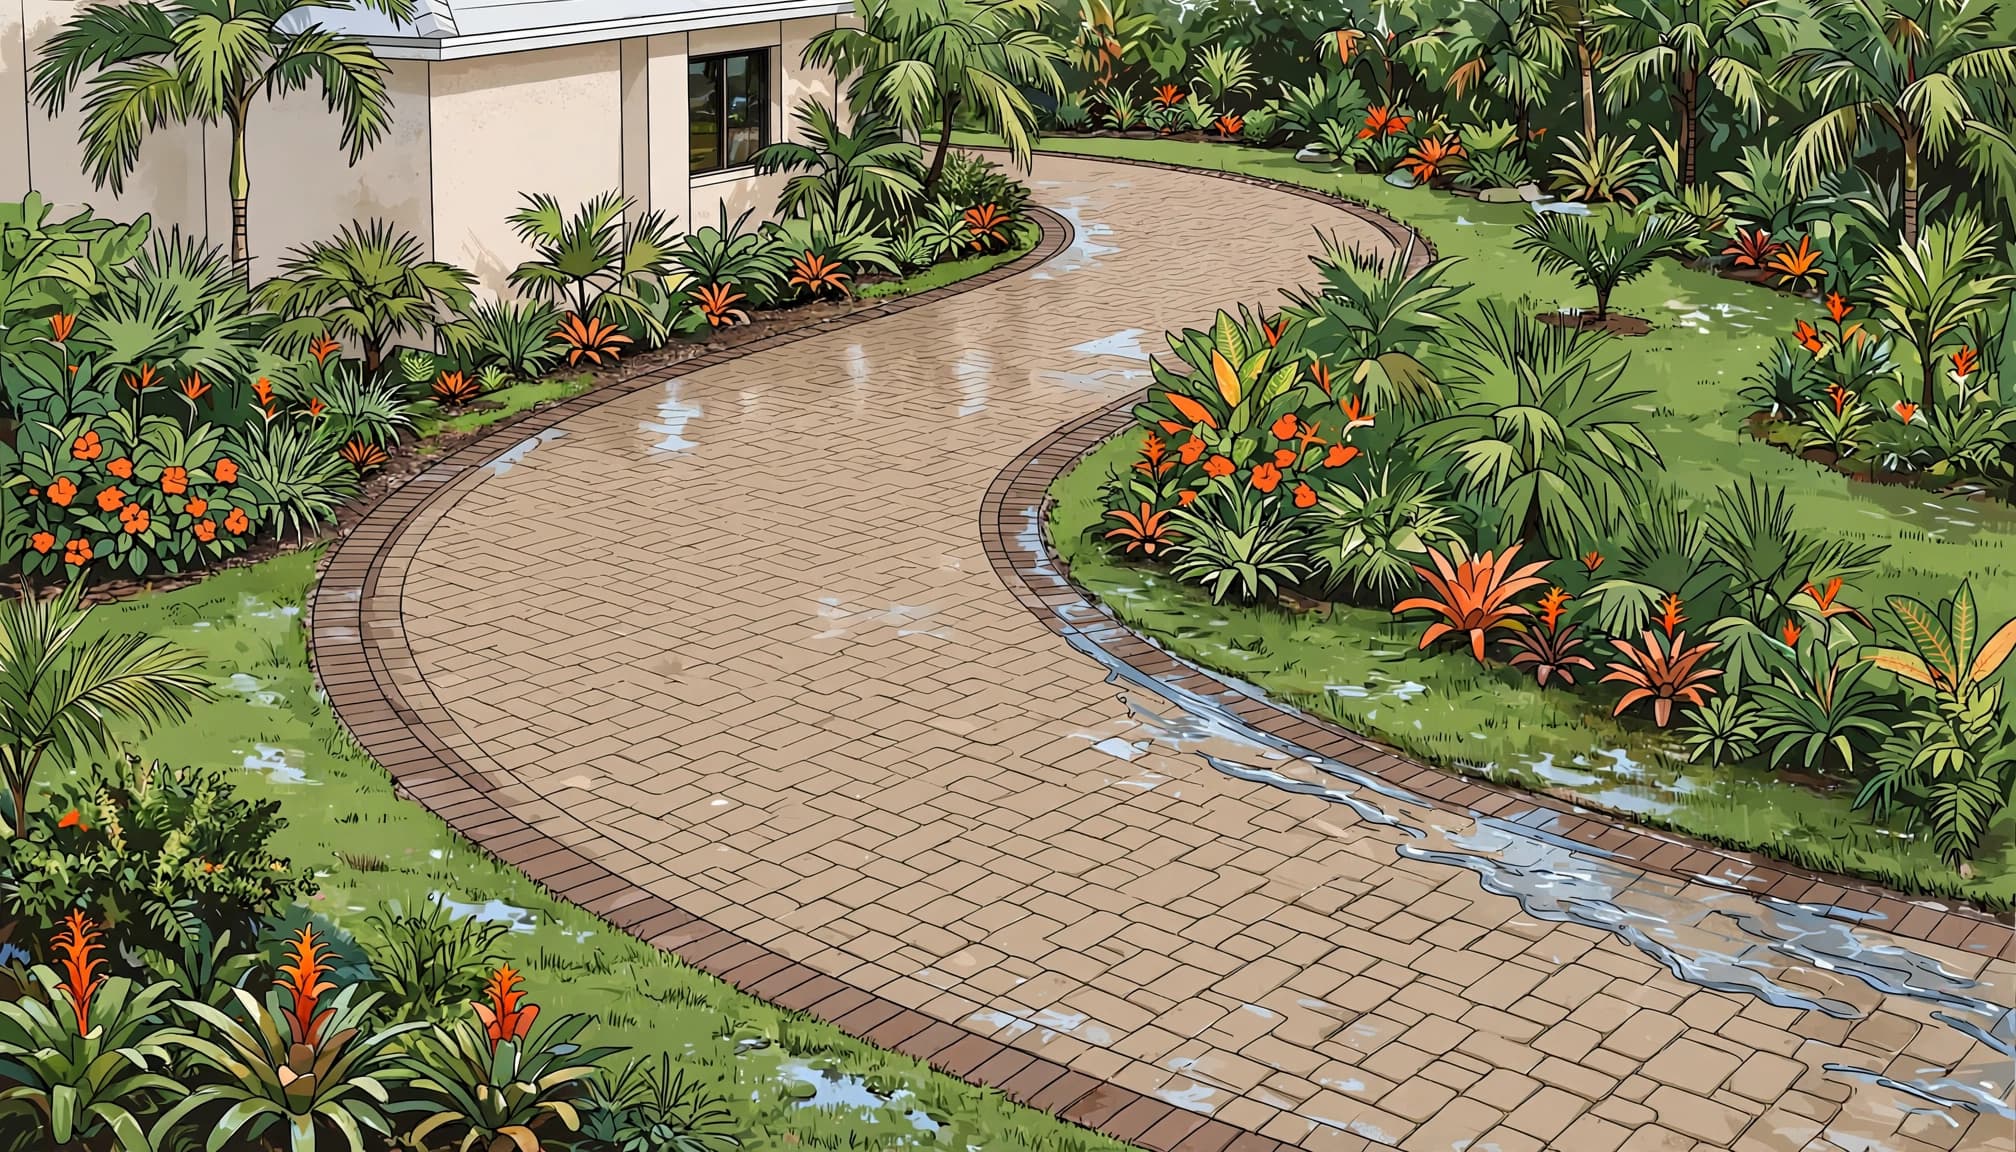
For a typical residential driveway, I often plan around a 2% surface slope where the site allows it. That’s about a quarter inch of fall per foot. It’s a planning target, not a universal Florida code requirement. The right direction and outlet depend on the property.
Give runoff a place to go
Check downspouts, irrigation, neighboring grades, and the low point of the curve. Direct the slope away from your home, and make sure the drainage route and outlet work together without sending water onto a neighbor’s property. On difficult sites, a swale or drain may be part of the drainage plan; the Department of Energy’s stormwater grading guidance explains why surface grading and drains must work together.
Pay attention to the inside of a sweeping curve. If both sides pitch toward that point, you may create a long puddle beside the border. I check each slope during installation, before the bedding sand and pavers hide the base.
Build a base for vehicle loads
Calculate excavation for every layer
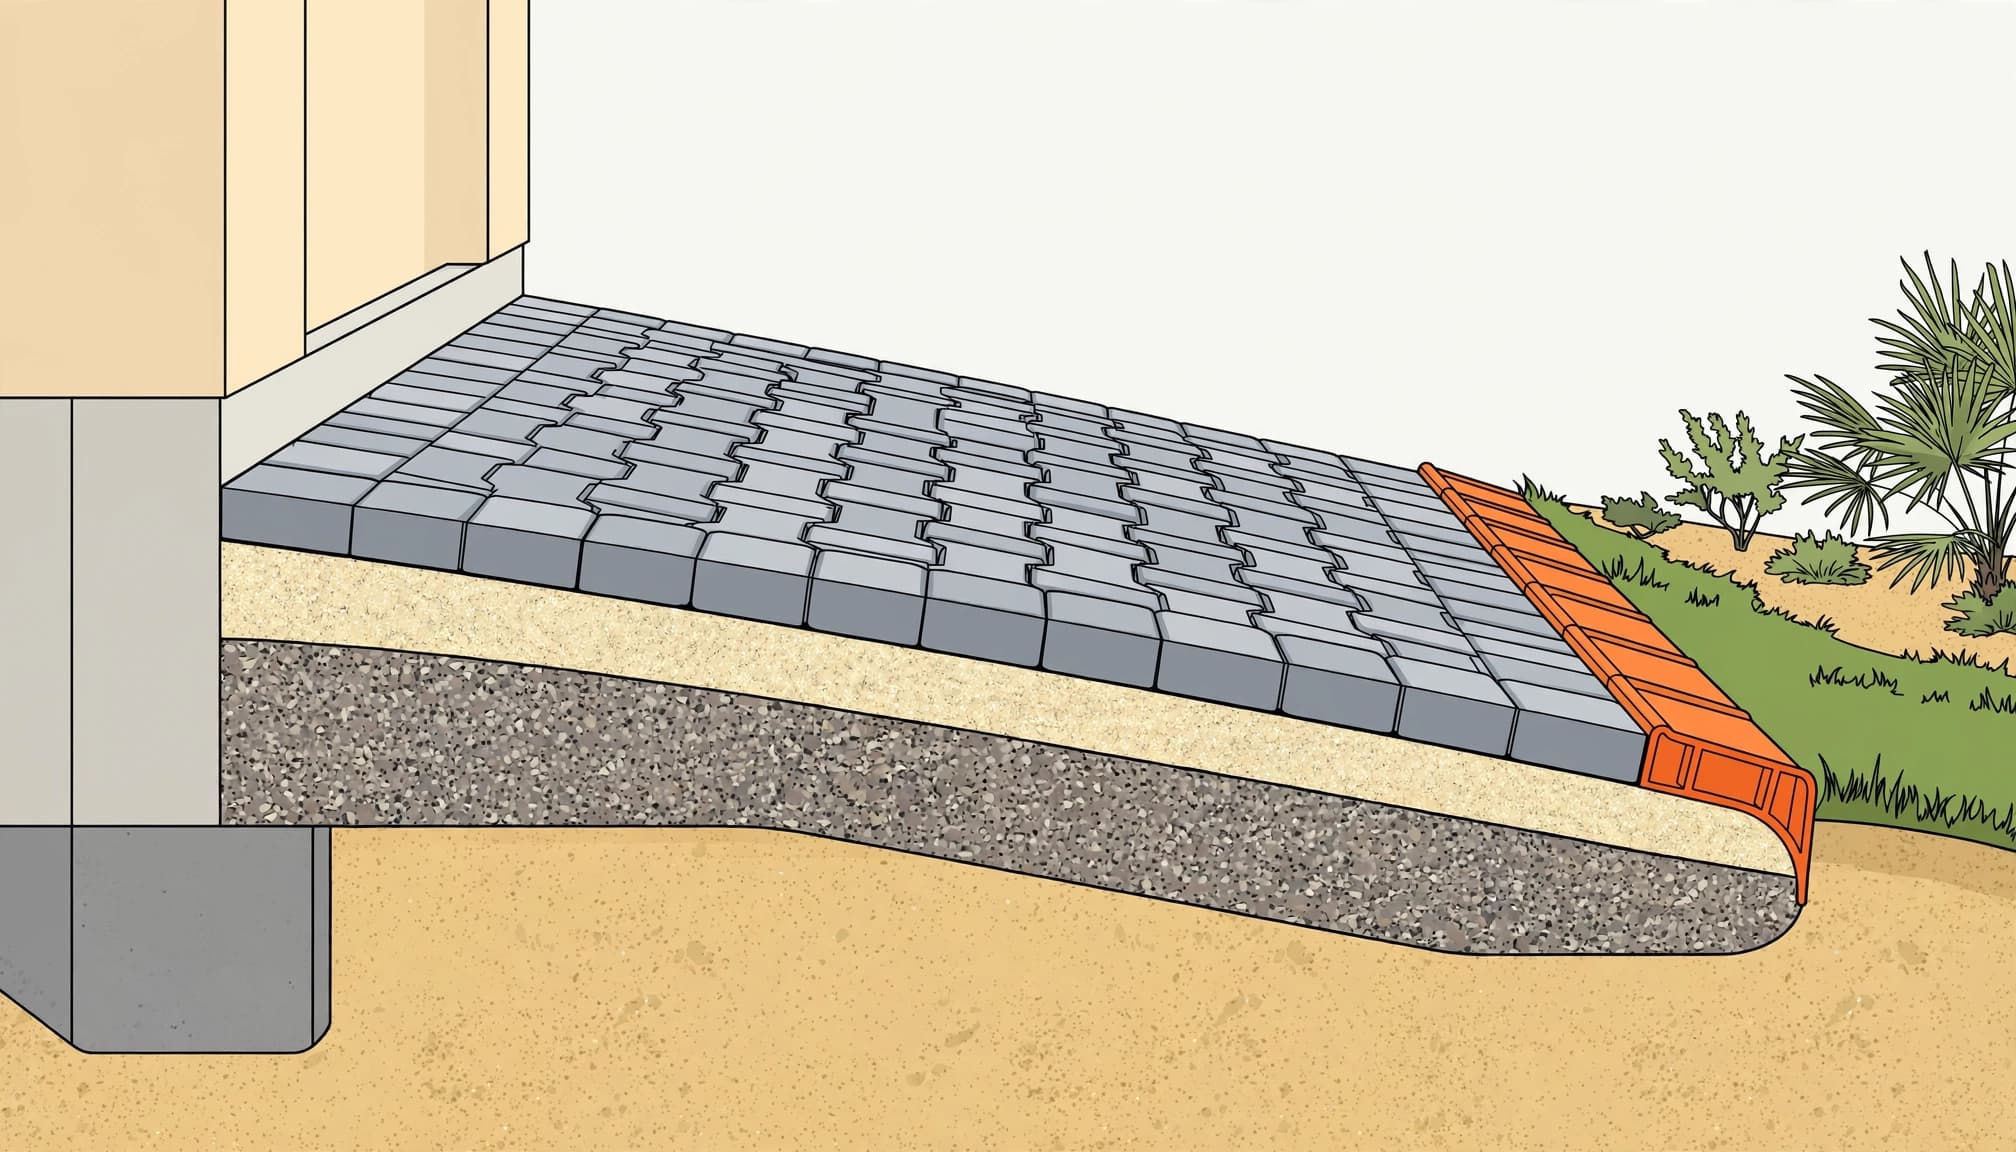
A driveway needs more support than a curved walkway. The Concrete Masonry & Hardscapes Association application guide lists 6 to 8 inches of aggregate, or gravel base, as a general driveway starting range. Soil strength and traffic still determine the final design.
For many residential jobs, I start with 6 to 8 inches of compacted aggregate, about 1 inch of sand for the bedding layer, and vehicle-rated pavers. That gravel base measurement is after compaction and excludes the bedding layer and pavers. Loose or variable Florida sandy soils, disturbed fill, wet pockets, and utility trenches can affect support and drainage, so confirm base depth and preparation for the actual site.
A 60 mm concrete paver, about 2 3/8 inches thick, is a common choice for passenger-vehicle driveways. A product’s use as patio pavers doesn’t establish that it’s suitable for driveway loads. If you park a work van, trailer, or RV, discuss paver thickness and base design. A thicker paver alone won’t fix soft ground. My guide to paver base depth in Florida gives more detail on those starting ranges.
Compact the soil and aggregate in lifts
Remove roots, organic material, loose fill, and wet pockets. Shape the subgrade and check its compaction before placing aggregate. Use a plate compactor where conditions and access allow.
Previously disturbed areas deserve extra attention because utility trenches and old driveway repairs can settle differently from untouched soil. Plan drainage and slope before excavation, and carry the base to the perimeter to support the edge restraint.
I don’t dump the full base depth in one pass. Place aggregate in manageable lifts, with lift thickness based on the material and site conditions. Compact each lift with a plate compactor or other suitable equipment, then verify compaction before adding the next layer. Rainy-season paver installation needs that same patience when the ground is saturated.
Lay the field, then cut the curve
Keep the bedding layer even
Complete and check base compaction before screeding. Screed the specified bedding layer to a consistent thickness, commonly about 1 inch for a conventional concrete-paver system. Concrete sand is often used for this layer, which must remain even. Don’t use the bedding layer to make up for a low base.
Start the field pattern from a reliable straight reference, such as the garage or another planned alignment. Keep the joints consistent as you set the paving stones toward the curved border. I avoid a four-corner joint, where four corners meet at one point, because it disrupts the staggered pattern that helps neighboring pavers work together.
Make cuts that can stay in place
Once the field is laid, trace the final curve where the edge restraint will follow. Make perimeter cuts with appropriate masonry-cutting equipment, such as a wet saw. Wear eye, hearing, and dust protection, and follow the equipment instructions.
Check each cut piece before setting it. A smooth line matters, but pieces that taper into narrow points aren’t a good trade for a perfect-looking arc. A small adjustment to the border or pattern can give you stronger cuts and a cleaner finish.
Restrain the edge and stabilize the joints
Support the turning edges
A curved driveway needs restraint around exposed edges, especially where tires steer or brake. Purpose-made flexible edge restraint systems may suit some areas. A properly designed concrete edge or curb can offer stronger support where traffic and grade put more pressure on the perimeter.
Choose an edge restraint for the load and site, then anchor it according to the product instructions. I don’t use a walkway edging detail as a blanket driveway specification. A neat border won’t hold the field if the base beneath the turning edge is loose.
Finish with the specified joint material
Use a plate compactor only if the system allows it, with any required protective mat, and follow its instructions. After the paving stones are seated and checked, fill the joints with the sand specified for the system. Polymeric sand is one option I often consider for a conventional driveway. Follow its directions for joint depth, surface cleaning, watering, and curing. Bedding sand and joint sand have different jobs, so don’t treat them as interchangeable.
Polymeric sand can help hold sound joints, but it won’t stop a driveway from sinking over a weak base.
Check the finished driveway and keep an eye on it
Walk the edges and look for rocking paving stones, low spots, open joints, and areas where runoff collects. Review the drainage path and slope, then check again after a heavy rain. Florida weather gives you a practical test of the plan.
Clean leaves and stains before they build up, and watch for joint sand loss after storms or pressure washing. If pavers begin sinking, investigate the support below them, including whether the base had adequate compaction. Don’t just add sand on top. My advice on repairing sinking brick pavers explains why the support often needs correction.
Cost depends on the amount of excavation, soil repairs, drainage work, cuts, border choice, and paver product. For a site visit and an estimate based on your vehicles and property, Get a Free Quote.
Key Takeaways
- Mark the driveway full size and check the turning path with the vehicles you use.
- Set finished elevations and a runoff route before excavation starts.
- Specify a compacted base for the soil and vehicle load, not just the appearance of the pavers.
- Provide solid edge restraint along curved edges, and avoid narrow cut pieces where tires turn.
Frequently Asked Questions
How deep should I excavate for a curved paver driveway?
Add the planned compacted base, bedding layer, and paver thickness, then measure down from the required finished height. With 6 to 8 inches of compacted base, about 1 inch of sand, and 60 mm pavers, the total is roughly 9 1/2 to 11 1/2 inches before allowances for site conditions. Soft ground can require more excavation.
Do I need a special paver pattern for a curve?
You don’t need one required pattern, but the layout must handle vehicles and produce sensible cuts at the edges. I often favor herringbone in turning areas. Whatever pattern you choose, keep joints staggered and make sure the perimeter has proper restraint.
Will polymeric sand prevent puddles or settlement?
No. Puddles usually point to a grading issue, while settlement often starts with weak soil, poor compaction, or lost support below the pavers. Joint sand helps stabilize the finished surface. It can’t repair the layers underneath.
A Curve That Holds Up
A beautiful curve should feel easy to drive, drain properly after a hard rain, and enhance curb appeal. I plan those details first in the hardscaping, then choose pavers and a border that fit the home.
For your driveway, the strongest decision is the one made before installation: build the right support under the curve.