


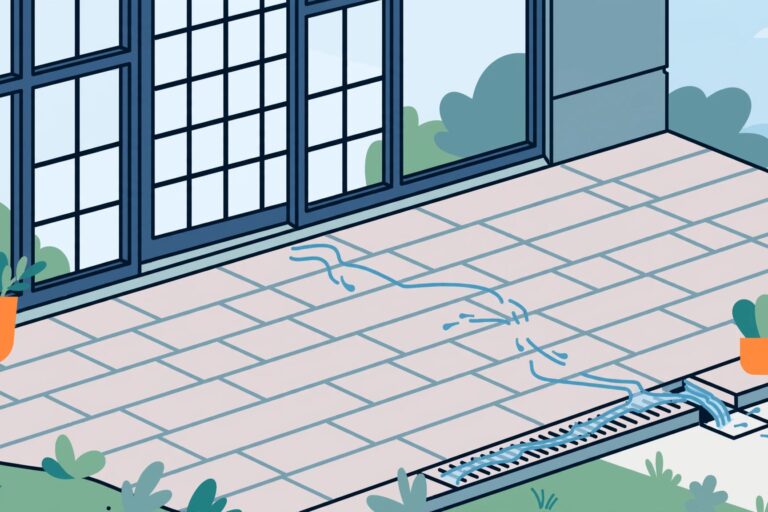
Paver Patio Drainage at Screened Lanai Doorways
Good paver patio drainage starts with a supported surface that slopes away from your home and gives rainwater somewhere to go. At a screened lanai doorway, that means protecting door clearance, keeping drainage openings exposed, and preventing rainwater from collecting where you step.
I recommend planning the doorway height and water route together, before choosing the paving pattern. A beautiful patio still needs solid workmanship underneath, so start with where the water enters, where it collects, and where it can safely leave.
Key Takeaways
- Plan finished paver heights around the doorway, then provide about 1/4 inch of fall per foot where the site allows.
- Build a compacted base with consistent bedding, secure edges, and joint material suited to the paving system.
- Add drains when grading alone cannot carry water away, and connect them to a functioning outlet.
Where Is the Water Coming From?
A puddle shows where water stops. It doesn’t always show where the problem starts. I recommend looking beyond the doorway before deciding which repair you need.
Roof Runoff and Surrounding Ground
A downspout beside the lanai can deliver more rainwater than a small landing can handle. An extension can move that concentrated discharge away from the doorway, as Nebraska Extension’s downspout guidance explains.
Look at mulch beds, irrigation heads, and higher ground too. Soil or mulch banked against the patio can hold water along its edge and contribute to soil erosion. Regrading those areas may be necessary before rebuilding the pavers.
A screened enclosure admits rain, so the paving inside still needs drainage. Persistent dampness around a shaded lanai doorway can encourage mold and mildew.
Poor Slope or Missing Support
A broad puddle can point to poor pitch. One sunken corner, rocking pavers, or washed-out joints can point to failed support underneath.
Standing water can soften supporting material and carry bedding sand away. Pavers then settle into the weakened area. Continued surface water near the house can also contribute to foundation moisture problems.
Around a pool cage, screen enclosure footing conditions belong in the inspection. Don’t excavate beside structural concrete without understanding what supports it.
Set the Slope Without Crowding the Doorway
Establish the Finished Height First
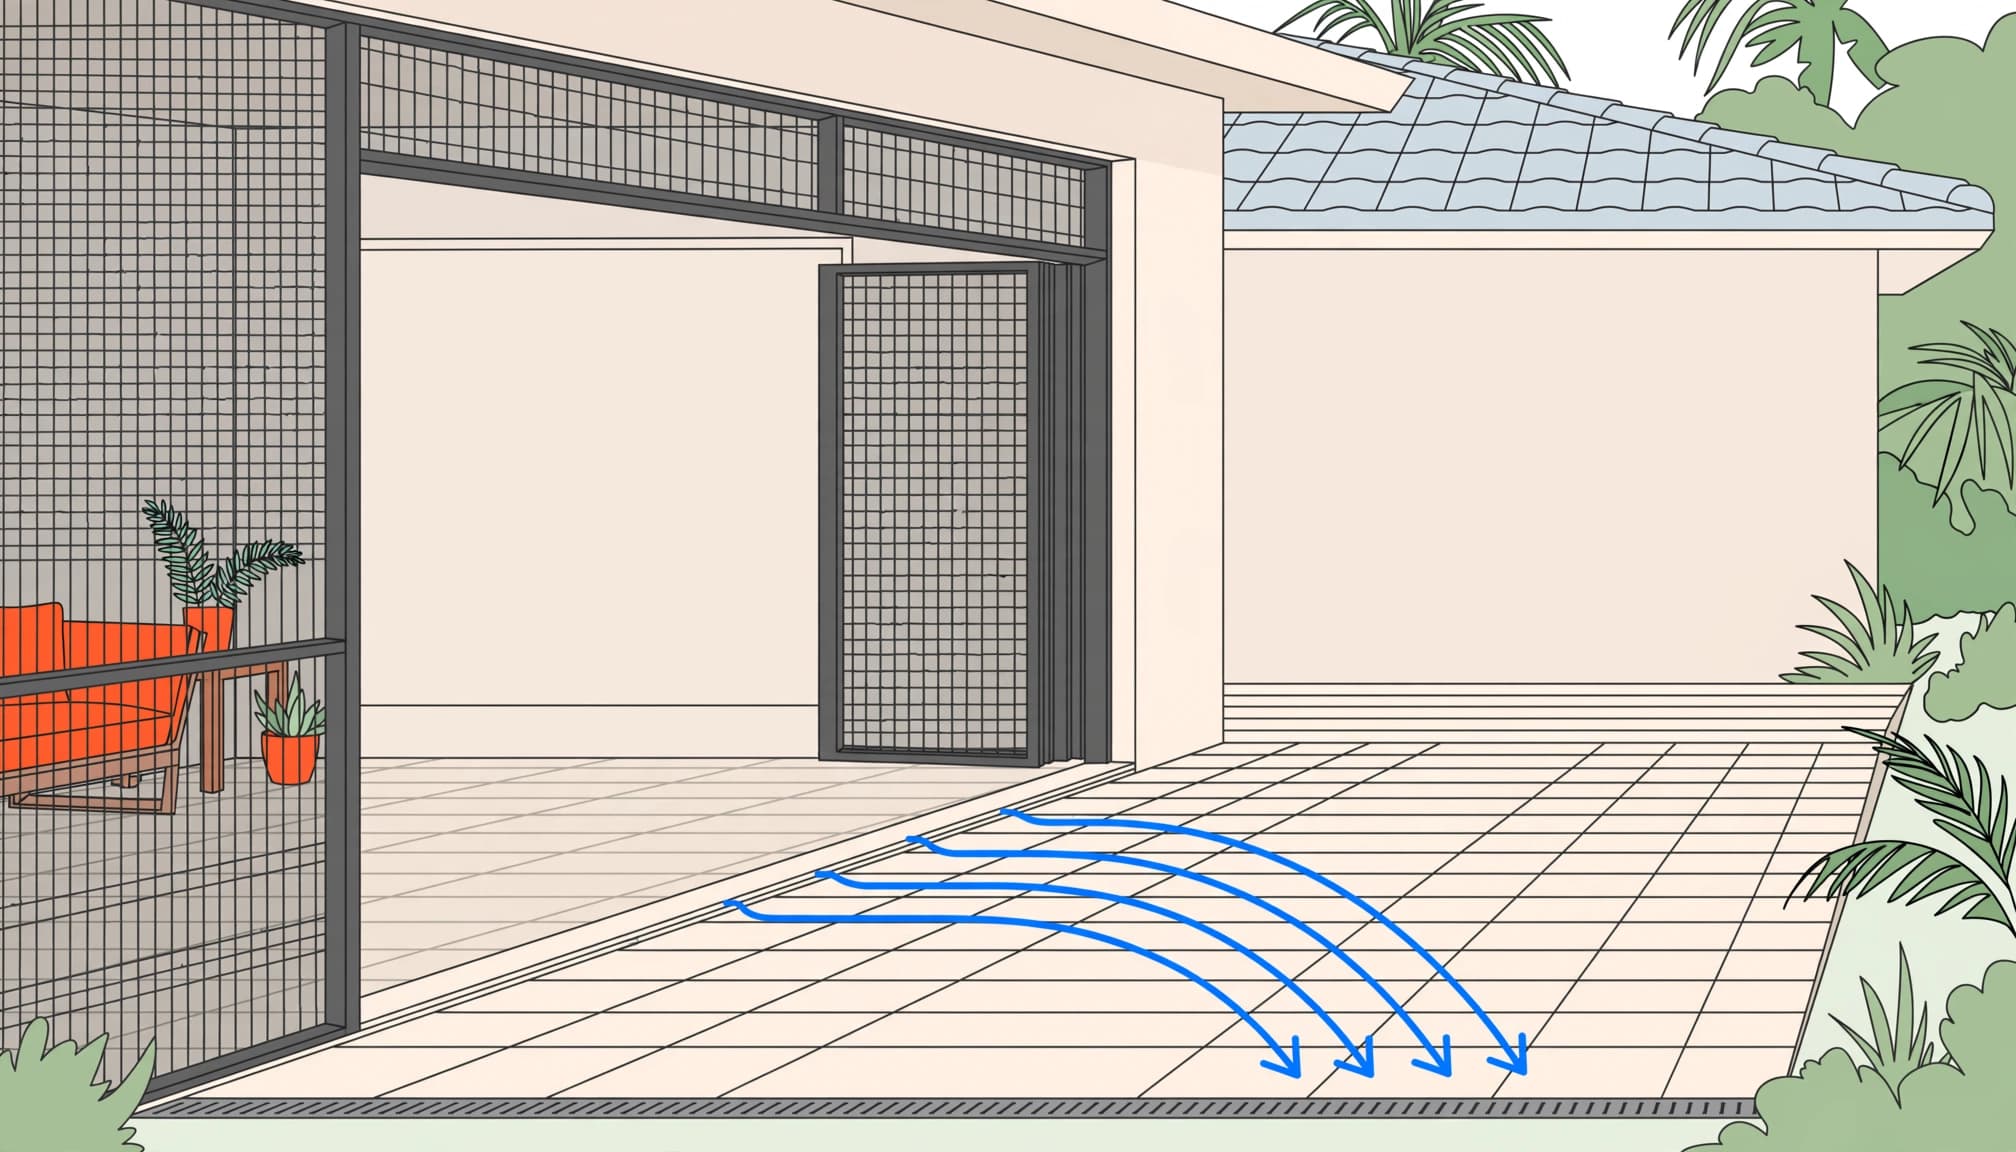
I start with the doorway elevation because raising the patio changes the landing, door swing, and clearance below operating parts. At a sliding house door, keep sill tracks, flashing, and weep openings exposed.
The screen door also needs room to open without scraping. Don’t raise pavers against the frame just to remove a step. A low-threshold entrance needs coordinated landing heights, drainage, and waterproofing.
Our door threshold planning guide covers how these parts work together. Keep the landing stable and leave room to step through comfortably.
Carry the Fall Through Every Layer
About 1/4 inch per foot away from the house, roughly 2%, is a useful planning target where conditions allow. The final grade must also suit the doorway, walking surface, and available outlet.
Build that fall into the prepared ground and compacted base. Keep the bedding layer consistent rather than using thick sand to hide a low spot.
Direct water toward a suitable swale, landscaped drainage area, or planned drainage outlet. Sending it against enclosure footings or onto neighboring property creates another problem.
Build the Base in the Right Order
For soil-supported patios, dependable paver patio drainage starts below the finished surface. These are planning dimensions, not one assembly for every property.
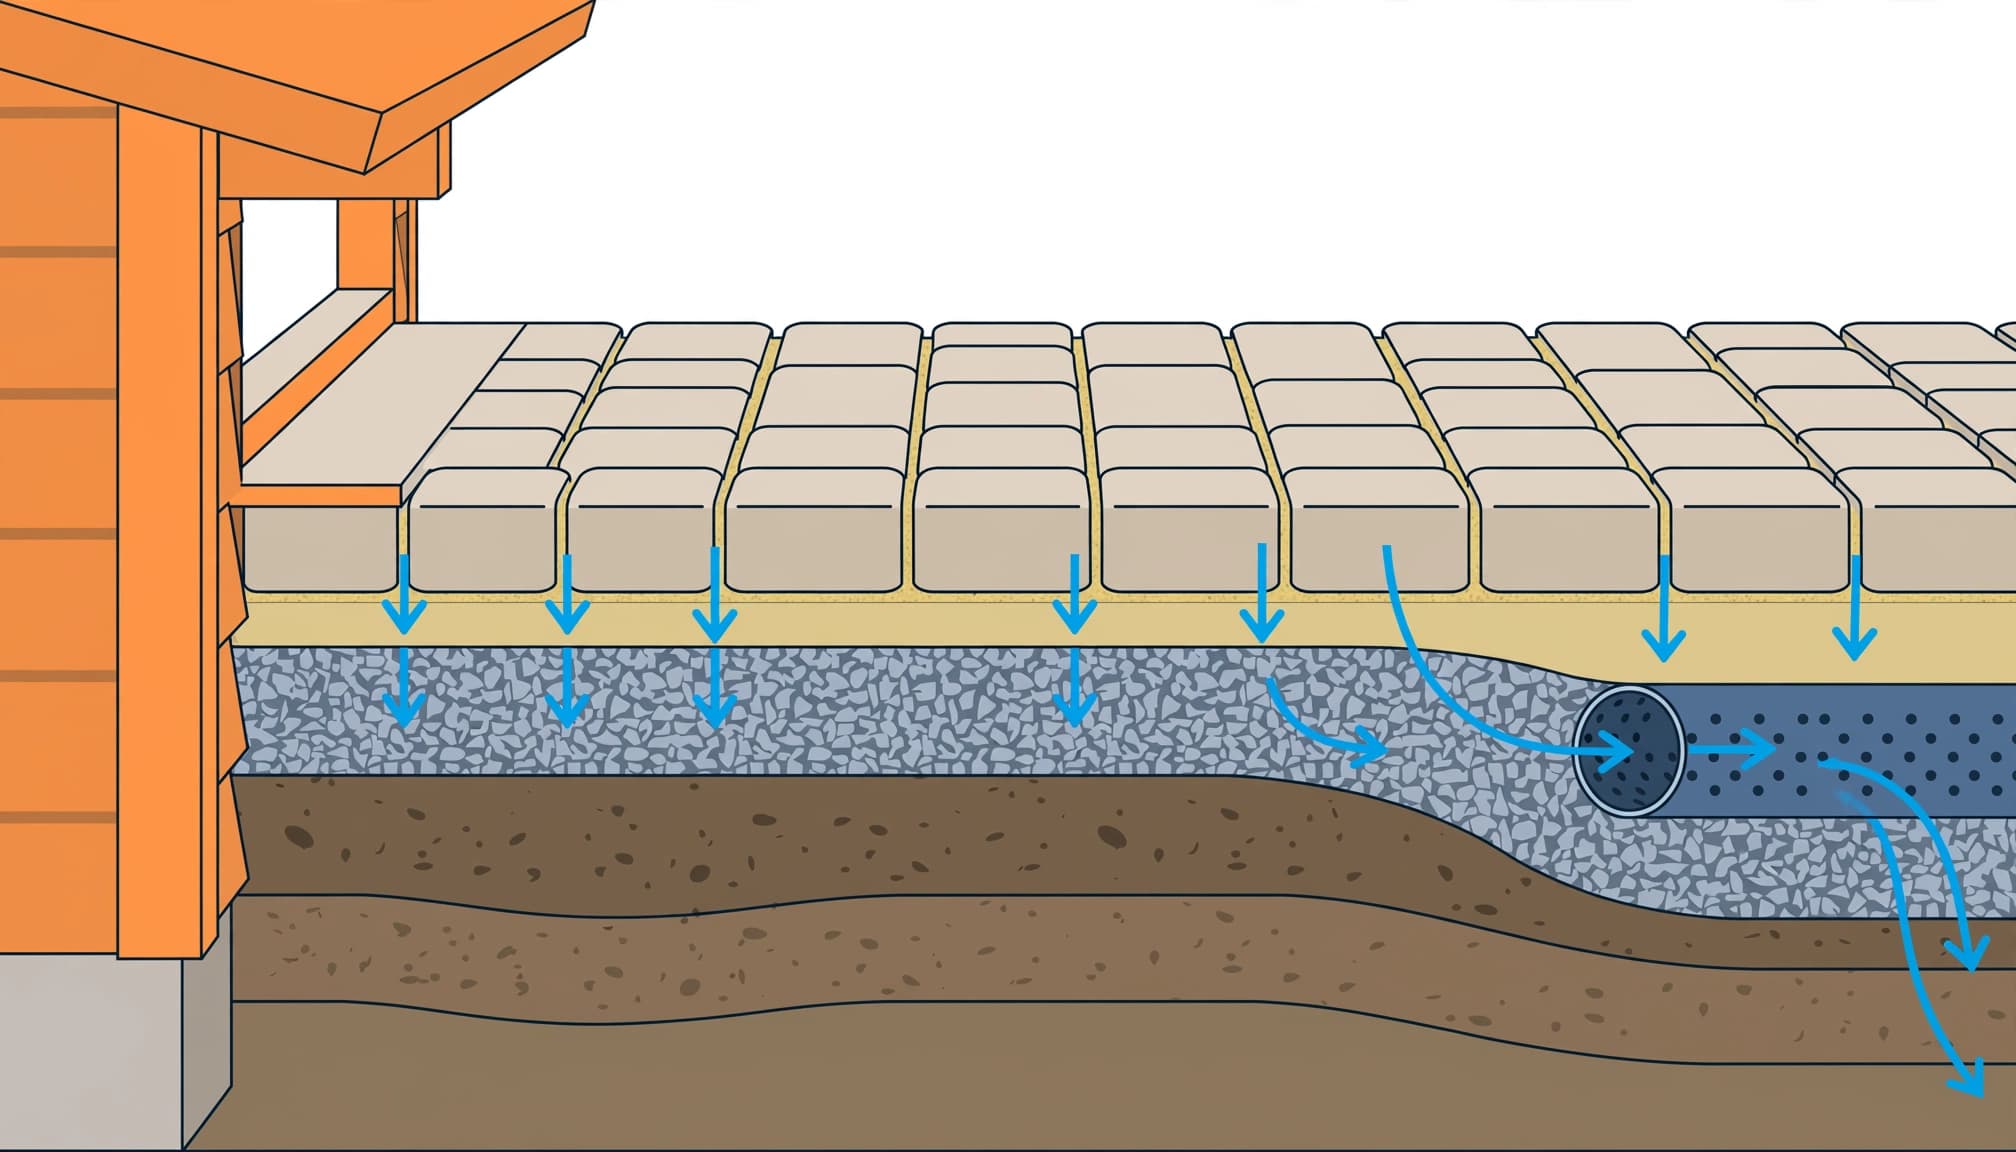
- Establish elevations and excavate. Allow for the paver thickness, bedding, and compacted base. Recommendations for 6 to 8 inches of excavation shouldn’t be confused with finished base thickness. Local building requirements for substrate, underlayment, and doorway landings belong in the installation plan.
- Prepare stable ground. Remove organic material and unsuitable loose fill. Shape the subgrade toward the intended drainage route. Geotextile can separate soil and aggregate where needed, but it doesn’t replace firm support or an outlet.
- Compact the crushed stone in controlled lifts. A common pedestrian patio starting point is 4 to 6 inches of compacted crushed stone. Another recommendation uses 6 inches or more of 3/4-inch crushed rock or road base. Soil, loading, and the selected assembly control the final depth.
- Add consistent bedding. Conventional installations commonly use about 1 inch of bedding sand before laying pavers. In heavy-rainfall areas, clean 1/4-inch chip stone can replace sand in compatible systems where erosion is a concern. Don’t substitute materials without matching the entire assembly.
- Lay and stabilize the paving. Set the pavers to the planned grade, install compatible edge restraints, and complete compaction and joint filling as specified for the system.
If the pavers sit over an existing concrete lanai slab, this soil-supported installation sequence doesn’t apply. The overlay needs its own drainage details and finished-height allowance.
When Does the Patio Need an Extra Drain?
A drain is useful when it solves a water problem. I wouldn’t add pipe beneath every patio just because the paving is near a house.
Channel Drains Collect Surface Water
A channel drain or surface inlet can collect water at a planned low point. Where higher ground sends water toward the lanai, a channel can intercept it before it crosses the doorway.
Set the grate so water reaches it without leaving a raised obstruction or an unstable landing. The inlet, conveyance, and outlet must work as one drainage system. Keep the grate removable for cleaning and connect it to a suitable discharge route.
A grate beside the door provides no lasting protection if the outlet is blocked or the connected pipe has nowhere to discharge.
Drainage capacity must account for contributing roof and yard runoff, not only the paved area.
French Drains Address Water Below Ground
A French drain uses gravel around perforated pipe to collect subsurface water. It may help on a flat site or beside a structure where wet ground keeps the base saturated.
It doesn’t replace surface grading, and it isn’t automatically needed beneath an already well-draining patio. Surface runoff and saturated ground call for different remedies, as Oklahoma State’s drainage guidance discusses.
Collected surface water generally travels through solid drainage pipe from the inlet to its discharge point. Perforated pipe belongs where the design intends to collect or disperse water. High groundwater or restricted outlets may require professional drainage design.
Secure the Edges and Finish the Joints
The perimeter keeps the pavers from spreading. For conventional soil-supported installations, use compatible edge restraints secured with spikes into the compacted base. Edges beside enclosure footings, concrete, or drains may need a different detail.
I recommend completing the restraint before calling the installation finished. A loose border allows movement and can leave an opening for washout.
For conventional joints, sweep compatible polymeric sand into place and activate it with water according to the product directions. Some products require light misting, while others have different watering instructions.
Inspect the joints regularly and replenish lost material as needed, often every few years. Polymeric sand supports the paving system, but it cannot rebuild missing base.
Keep leaves and sediment out of grates, channels, and accessible outlets. Clean them regularly and after storms that deposit debris. Avoid pressure washing bedding or joint material out beside the doorway.
How to Repair a Patio That Already Pools
I recommend tracing the water’s path before lifting pavers. Check during ordinary rain and after heavy rain. You can also use a controlled hose test, but don’t spray water into the door assembly.
Mark the boundary of any pooling water, then note whether it comes from the roof, yard, or patio. A straightedge or level can identify a depression, but the full route to the outlet matters too. Persistent dampness around the doorway can encourage mold and mildew.
Lift the affected paving far enough to expose sound surrounding support. Remove failed material, correct the water source, and rebuild the compacted base to the intended grade. Then reset the pavers, restore edge support, and refill compatible joints.
Installing a channel drain may be part of that repair. The channel needs firm support so it doesn’t settle separately from the paving.
Surface sealer and extra joint sand won’t correct a depressed base. If pavers repeatedly sink beside the frame, or structural concrete is cracked or undermined, involve a qualified professional before rebuilding around it.
Frequently Asked Questions
Does Water Drain Through Ordinary Paver Joints?
Some water enters conventional joints, but ordinary pavers aren’t automatically a permeable pavement system. The surface still needs a planned route for surface water.
Water disappearing between joints can also carry supporting material away. I wouldn’t treat that disappearance as proof that drainage is working.
True permeable pavers use wider, aggregate-filled joints over compatible open-graded stone. The EPA’s permeable pavement guidance explains how these systems reduce runoff. Depending on site conditions, they may also need an underdrain or overflow route. Don’t fill their drainage joints with ordinary polymeric sand.
Can Pavers Be Installed Flush With the Lanai Door?
Only when the doorway and paving assembly are designed for that transition. I don’t recommend bringing pavers flush against an existing sill simply to improve appearance.
Door drainage openings, flashing, operating clearance, and landing requirements must remain protected. A channel drain may help manage incoming water, but it doesn’t replace proper door waterproofing.
The same concern applies over an existing slab, where added paving raises the walking surface. In freezing climates, trapped water also creates expansion and cracking risks. In Southwest Florida, the priority is controlling rainfall and protecting support below the patio.
Protect the Doorway With a Complete Drainage Plan
A dependable lanai entrance needs a stable base, suitable finished heights, and a clear water route. I recommend treating the doorway, patio, and incoming runoff as one project so the repair addresses the cause of the problem.
Good workmanship underneath helps keep the finished surface supported and the entrance comfortable to use.
For help with a new patio or a settled doorway area, Get a Free Quote for a consultation and estimate from Platinum Pavers of SWFL.