


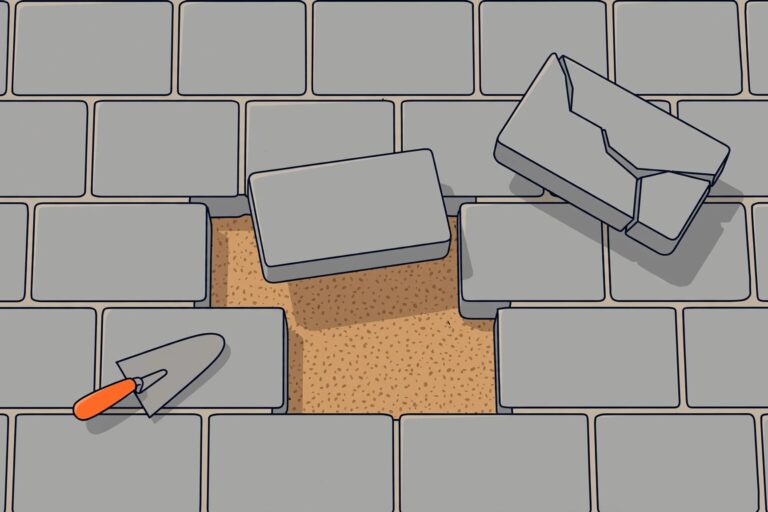
Replace a Broken Paver Without Shifting the Pattern
You can replace broken paver units on a paver patio without shifting the surrounding pattern. Clear the joints, remove the damaged unit inward, and set a matching replacement on firm bedding while protecting neighboring edges.
I recommend fixing the support underneath before filling the joints. A replacement can crack or sink again if the base is weak. Start by deciding whether the damage needs a patch, a replacement, or a larger repair.
Key Takeaways
- A shallow surface chip may be repairable, but a deep chip or spreading crack usually needs replacement.
- Match the replacement’s size, thickness, color, and orientation before removing the damaged stone.
- Firm bedding, full joints, and secure edge restraints work together to keep the repair stable.
Can This Paver Be Repaired?
Small chips may only need a patch
Small paver chips don’t always mean you need a new unit. A chipped paver may be repairable if it’s solid, stable, and free of spreading cracks. A compatible paver repair compound may be enough.
An adhesive-based paste made with matching paver material can also help blend a minor repair. The repair material needs to suit the paving surface, especially for natural stone and concrete pavers.
I don’t recommend using plain cement as a general patch. It may not bond properly, and the color can stand out against the original finish. A patch also won’t correct a unit that rocks under your foot.
Deep damage calls for replacement
Deep paver chips, especially those over about 1/2 inch, and damage that spreads across the surface are practical reasons to replace the unit rather than patch it. Replace a chipped paver if it’s cracked through or breaking into loose sections.
That depth is a useful guide, but stability matters too. A smaller chip along a loaded edge can still cause trouble.
This procedure is for conventional dry-laid pavers. Mortar-set paving and specialized systems need a different repair approach.
Get the Right Replacement and Tools Ready
Match more than the color
Measure the original paver’s length, width, and thickness. A similar-looking stone with different dimensions can change the joint spacing or finished height.
Match the texture and edge profile as well. Concrete pavers, clay brick, and natural stone aren’t interchangeable simply because they look close in color.
Take a clear photograph before starting, especially with herringbone or mixed-size patterns. Keep the replacement facing the same direction as the original.
Older pavers change with sun, dirt, wear, and sealer. Spare original units usually offer the closest match, although some difference may remain. Our guidance on matching replacement pavers covers those appearance issues.
Keep the tool list simple
Have everything nearby before opening the joints:
- Gather a stiff brush, narrow putty knife, flathead screwdriver, and small flat pry bar for joint cleaning and lifting.
- Keep a hammer and cold chisel available if the damaged paver must come out in pieces.
- Use a rubber mallet, trowel, short straightedge, level, and small hand tamper for resetting.
- Prepare suitable base material, compatible bedding material, a matching jointing product, gloves, and eye protection.
Wear eye protection when chiseling, and keep other people clear of flying fragments. Don’t strike a damaged chisel head.
1. Remove the Broken Paver Carefully
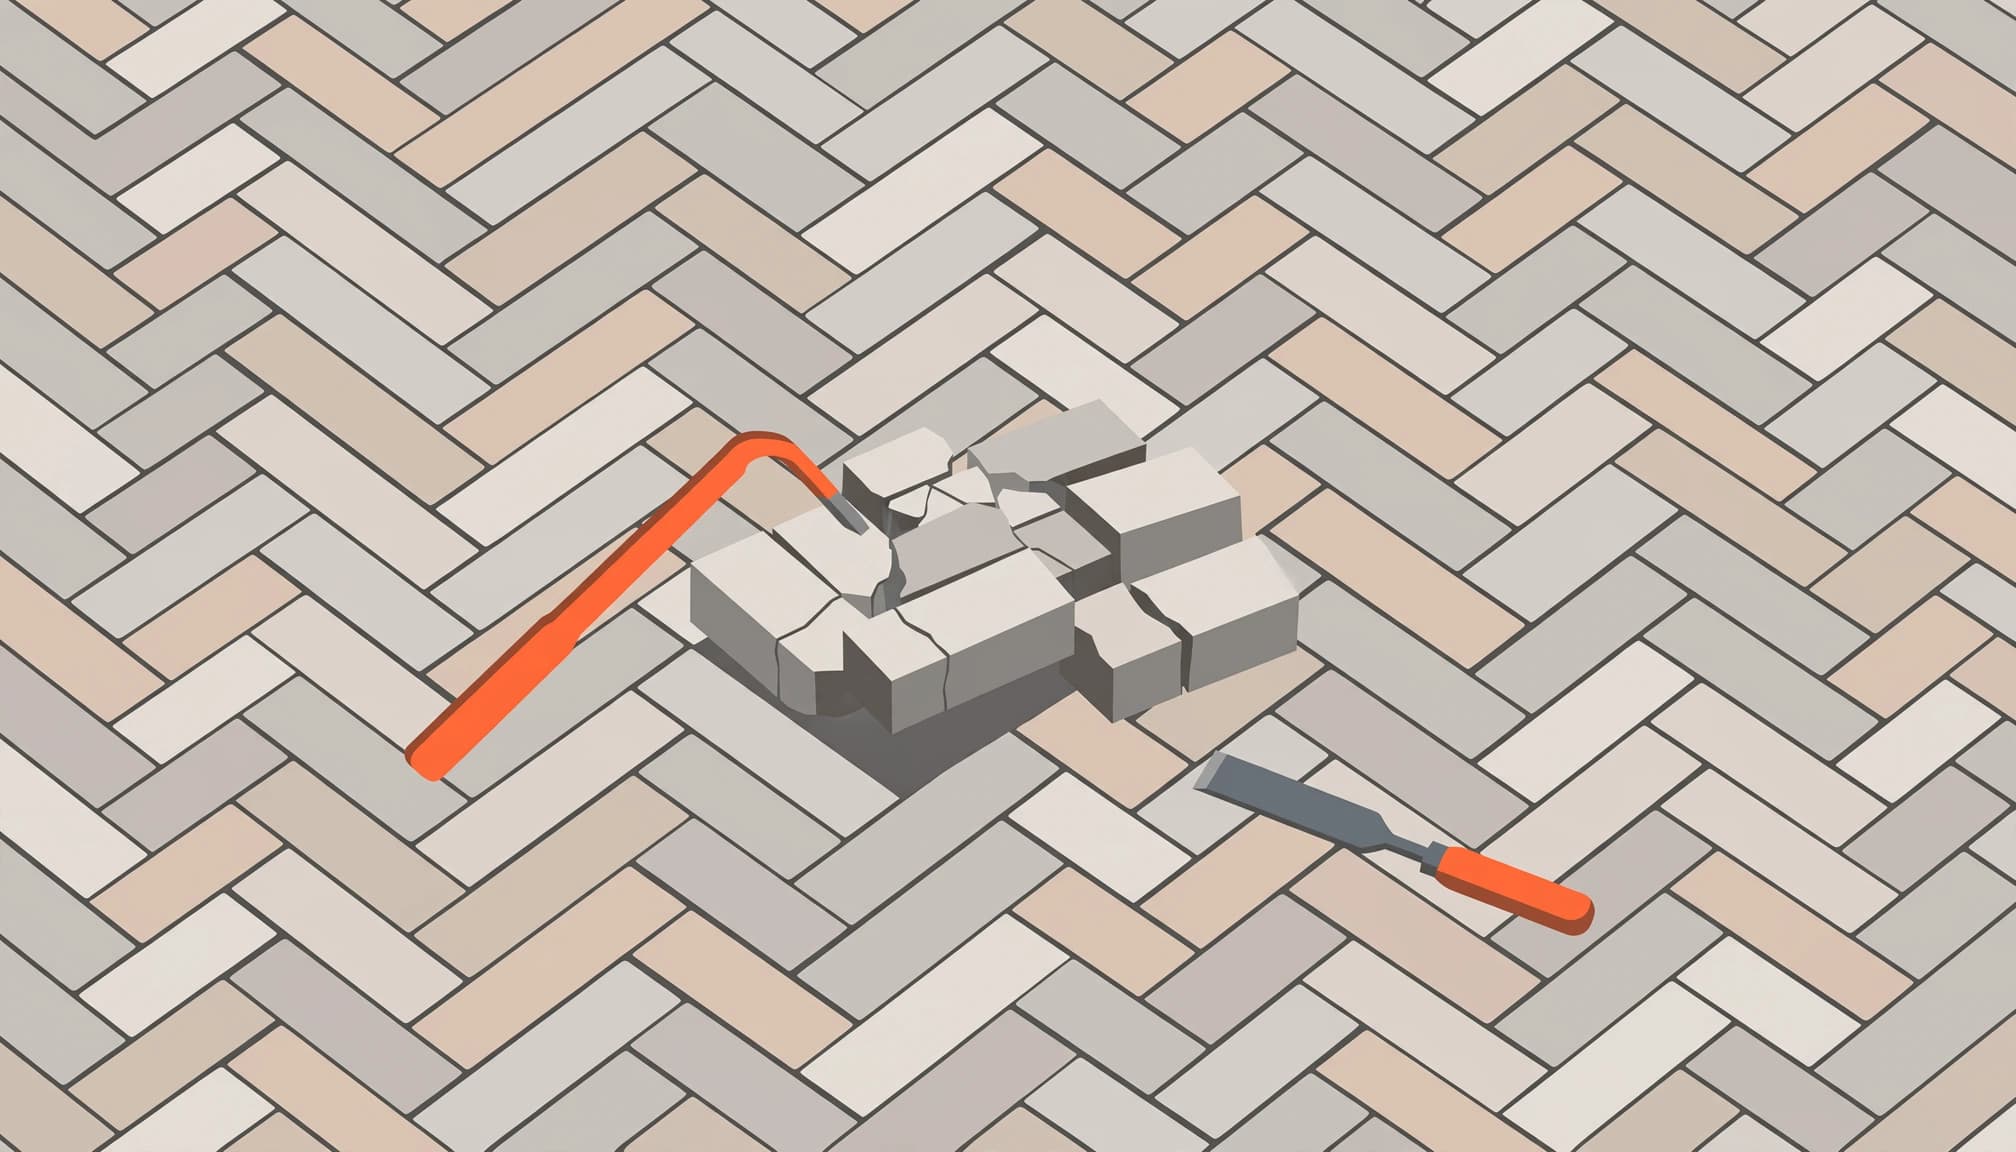
Remove the jointing material along all four sides. Work carefully with a narrow tool, keeping it against the damaged stone instead of scraping neighboring faces.
If ordinary compacted sand is hard to remove, wet it slightly to loosen it. Hardened polymeric sand may still need careful mechanical removal.
Insert a putty knife, flathead screwdriver, or narrow pry bar on opposite sides. Lift a little at a time, alternating sides instead of forcing one corner upward.
Light taps with a rubber mallet on the surrounding stones can help release tight joints. Don’t strike hard enough to shift the pattern.
Never use a neighboring stone’s edge as an unprotected fulcrum. Thin protective shims can reduce contact damage, but they don’t make heavy prying safe.
If the unit won’t lift, break it inward. Use controlled blows with a cold chisel near its center, then remove the pieces toward the opening. Keep the chisel away from neighboring edges.
Making space inside the damaged stone reduces the outward pressure that can chip the pieces you want to keep.
Stop if the surrounding stones begin moving. More force can turn a single-unit repair into a larger job.
2. Inspect and Rebuild the Support
Remove fragments and loose debris without digging beneath the surrounding pavers or disturbing the compacted sand beneath them. Inspect the paver base and any exposed aggregate for voids, washout, or soft material.
A firm base with a small bedding disturbance usually needs only a careful adjustment. Add suitable material a little at a time, then smooth it with a trowel or straightedge.
Keep the layers separate. Compacted crushed aggregate provides structural support, while a thin, even bedding layer positions the paver. Compatible concrete sand is commonly used for conventional bedding.
I don’t recommend filling a deep hole with masonry sand or piling loose bedding material beneath one corner. That can leave uneven support and another rocking paver.
Compact repaired base material before restoring the bedding. Use the level and straightedge repeatedly, matching the surrounding drainage slope rather than making the repair perfectly horizontal.
If drainage issues caused sinking pavers, widen the repair. Lift stones about 12 inches beyond the low spot, check the edge restraints, and extend farther if unstable material continues. Correct the water source, rebuild the gravel base in compacted layers, and restore the bedding.
Our information on repairing sunken brick pavers explains why settlement needs attention below the surface.
3. Set the Replacement in the Original Orientation
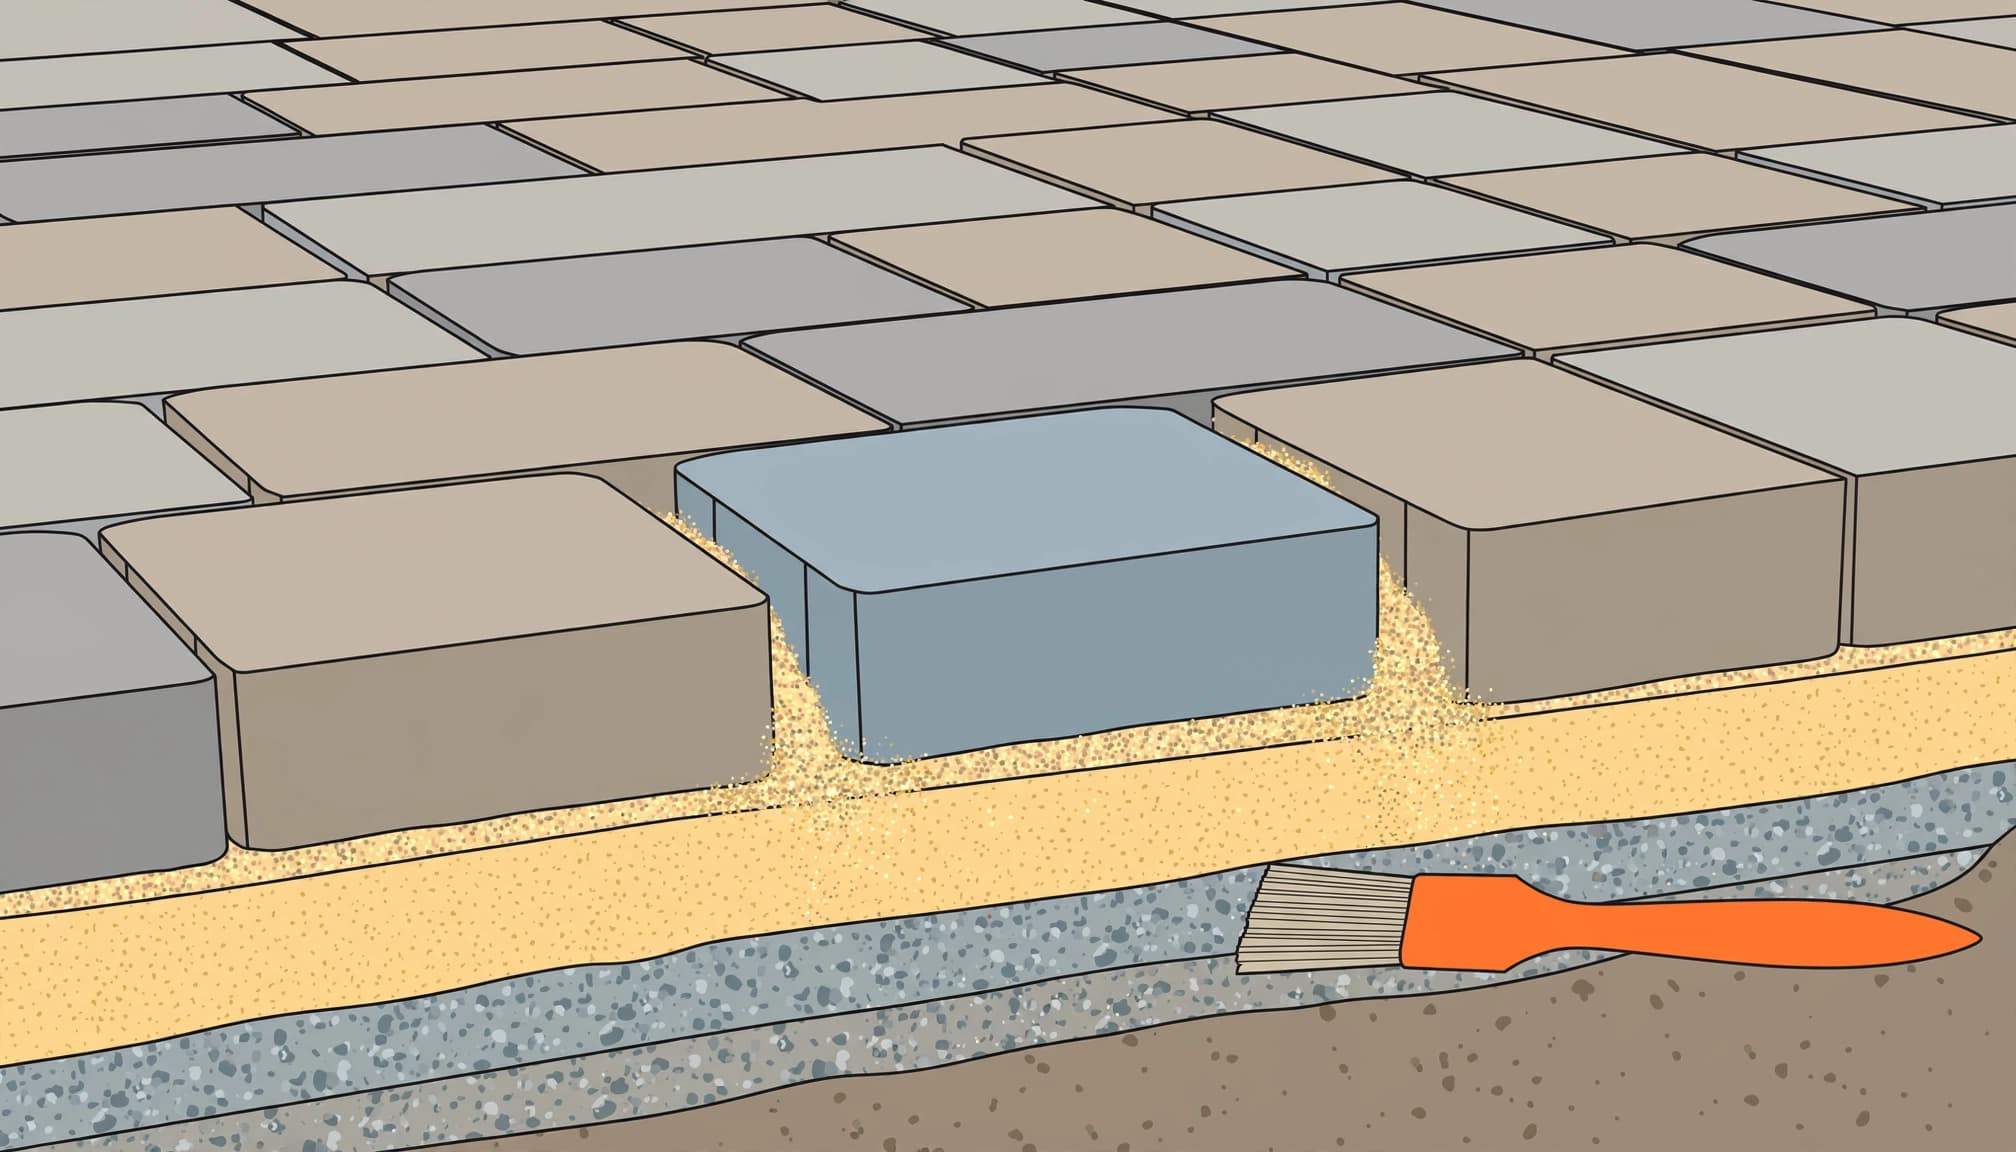
Lower the matching replacement into the opening. Match its orientation and joint spacing to your photograph and the neighboring pattern.
For a standard bedding repair, set the top about 1/8 to 1/4 inch above the surrounding stones. Tap gently with a rubber mallet until it’s flush.
If it won’t settle with gentle tapping, lift it and adjust the bedding layer. Heavy blows won’t fix the wrong bedding height.
Lay a straightedge across the replacement and its neighbors. Use a level to compare the existing slope, then press opposite corners to check for rocking.
The finished paver should have even support, consistent joints, and no raised edge that catches a shoe.
4. Refill the Joints Without Leaving Haze
Choose jointing material that matches the existing installation. Polymeric sand can resist washout and limit openings for weeds, but it can’t hold up a failed base.
The paver faces and joints must be completely dry before you add polymeric sand. This includes moisture from removal. Hanover’s polymeric sand guidelines warn against applying it to even slightly damp surfaces.
Sweep the product into the joints, settle it with the appropriate compaction method, then refill. Repeat until the joints accept no more material at the required finish depth.
Don’t mound the product over the paver faces. Remove all surface dust with a soft broom or carefully controlled blower before watering.
Mist with water to begin activation, then wet the joints gently without flooding them or washing out the binder. Too little water leaves the material poorly activated; too much can carry the binder away.
Finish filling the joints before activation instead of adding fresh product to wet joints. Keep traffic and irrigation off the area while the material cures, and don’t start if rain will interrupt the process.
Keep the Repaired Area Secure
Inspect the outside border, even when the damaged paver is near the middle. Concrete curbing or properly anchored aluminum edge restraints help prevent outward movement that opens joints and chips edges.
Use lower pressure on a pressure washer when cleaning porous concrete pavers. An aggressive, narrow spray can damage the surface and remove joint sand. Keep the nozzle moving rather than aiming it straight into the gaps.
The CMHA maintenance bulletin covers cleaning, sealing, and joint-sand stabilization as related parts of pavement care.
For sealed installations, reapplication is often needed every 2 to 3 years, with timing adjusted for exposure, traffic, and the sealer. Apply sealer after repairs and joint curing, not over moving pavers or damp surfaces.
Our paver washing and sealing services can help protect the repaired surface and maintain the surrounding finish.
Frequently Asked Questions
Can new polymeric sand go over old sand?
Don’t cover an old, shallow crust with fresh jointing material. Remove failed material to the depth required by the replacement jointing system, then let the joints dry before refilling.
Sakrete’s existing-patio guidance explains how to install polymeric sand during renovation. The joints need enough depth because a thin surface layer has little support.
Why does the replacement keep sinking?
Repeated sinking points to a problem below the paver. Common causes include poor compaction, leaking irrigation, concentrated runoff, or missing base material.
I recommend fixing the cause before resetting the stone. More joint sand won’t replace washed-out aggregate, and extra bedding sand won’t stabilize soft ground.
Will polymeric sand stop all weeds?
It reduces the loose openings where seeds collect, but it isn’t completely weed-proof or waterproof. Debris can collect above the joints, and movement can create cracks.
Regular sweeping and good drainage still matter. Strong joints help a stable installation stay together, but they can’t replace the base or edge restraints.
A Small Repair Deserves Solid Workmanship
Replacing one damaged unit should leave the pattern aligned and the surface secure. Careful removal protects neighboring stones, while firm support underneath keeps the replacement from becoming loose.
If you find repeated sinking, spreading joints, or a difficult removal, I can help you plan the repair. Get a Free Quote for a consultation and estimate before a small problem becomes a larger section to rebuild.